Garage storage systems are sold as a finished wall, but your garage is a mix of car doors, outlets, a water heater, and things you grab daily or twice a year. Plan the wall around how you move through the space, and the right system becomes obvious.
Sort what you own, divide the wall into three height bands, and fasten anything heavy into studs. Use pegboard or rails for tools you reach often, sturdy shelving for bins, and high space only for light, rarely used items.
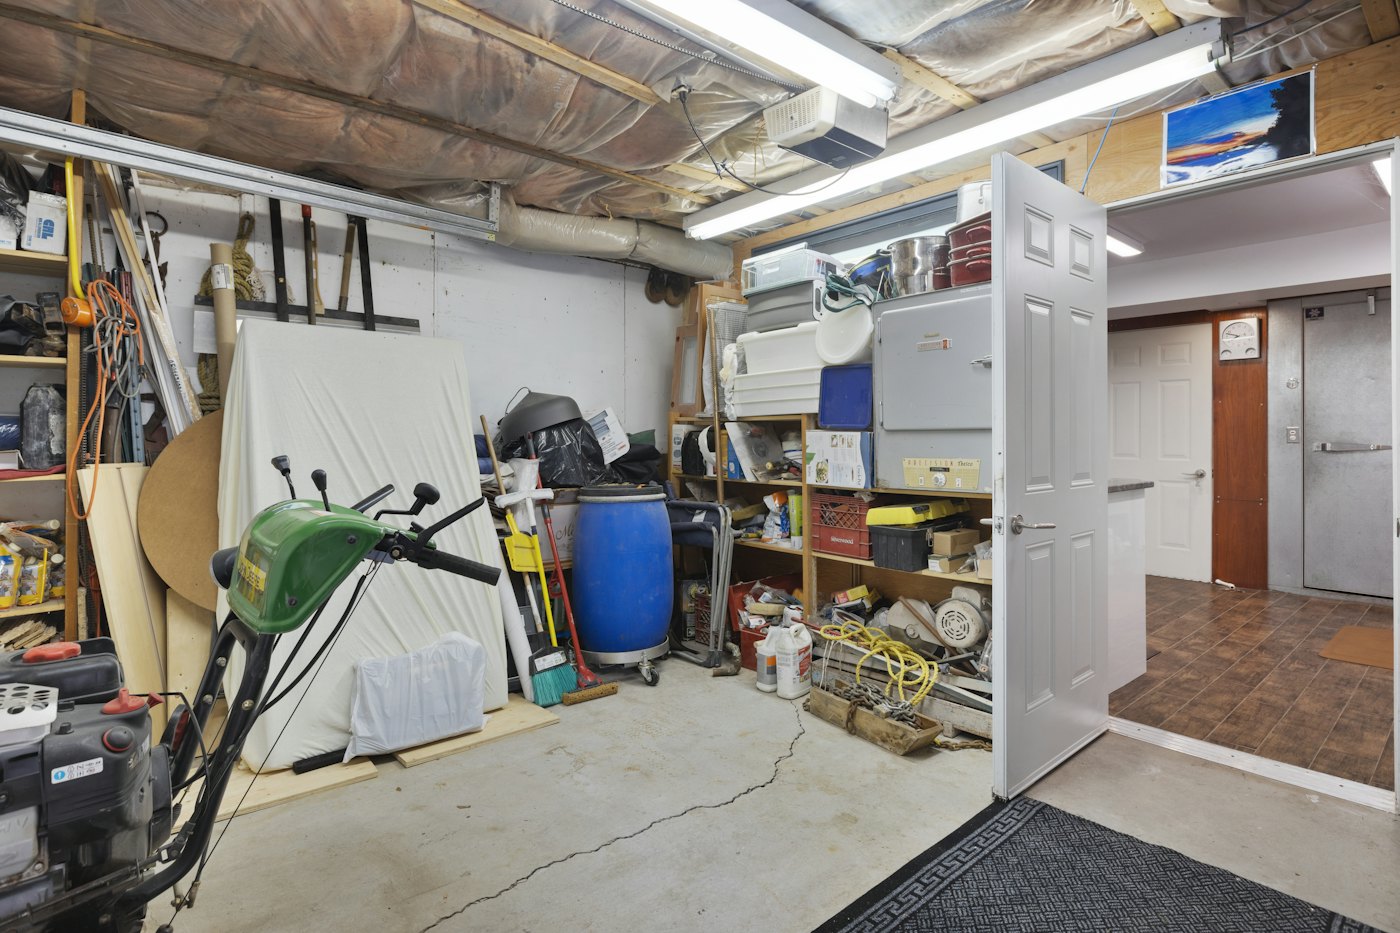
1. Sort before you plan
Pull everything off one wall and sort into four groups. You can’t size a wall system until you know what is going on it.
- Weekly tools: drill, tape measure, gloves, the tools you reach for on most projects.
- Seasonal gear: garden tools, sports equipment, holiday decorations.
- Long items: rakes, shovels, ladders, extension cords.
- Bulk and backstock: paint, spare supplies, bins of things you rarely open.
Anything you haven’t used in a couple of years is a candidate to donate, sell, or dispose of properly. Check your local rules for paint and chemicals rather than putting them in household trash.
2. Divide the wall into three height bands
Light, seasonal
Daily tools, eye level
Heavy bins, long items
- Middle band, roughly hip to shoulder height: the tools you use most. This is the most valuable space on the wall.
- Low band: heavy bins and long-handled tools standing upright. Heavy things belong low so you aren’t lifting them overhead.
- High band: light, seasonal items only. Use a stable step stool or ladder to reach it.
Mark where the car doors swing, where you walk, and anything you must keep clear: outlets, the electrical panel, the water heater, and the door to the house.
3. Match the format to what you store
| Format | Best for | Check first |
|---|---|---|
| Pegboard | Small hand tools you want visible | Pegboard needs a gap behind it for hooks; mount on furring strips or a frame |
| Slat wall or rail system | Mixed hooks, baskets, and long tools; easy to rearrange | Rated load for the rail and each hook; fastening into studs |
| Freestanding shelving | Bins and boxes | Shelf rating, depth that clears the car, anchoring to the wall |
| Wall-mounted shelves or brackets | Overflow above the reach zone | Bracket rating and stud spacing |
Many garages end up with two formats: a rail or pegboard section near the workbench and shelving for bins elsewhere. That’s fine, as long as each one has a clear job.
4. Mounting and safety
- Find the studs with a stud finder and confirm with a small test hole. Studs are often 16 or 24 inches apart, but check yours.
- Fasten heavy rails, shelves, and brackets into studs using the screws the manufacturer specifies, not drywall anchors.
- Compare the product’s weight rating with what you plan to store, and don’t load to the limit.
- Anchor tall freestanding shelving to the wall so it can’t tip.
- Keep clear access to the electrical panel, water heater, and any shutoff valves.
- Store paint, fuel, and chemicals as their labels direct, away from heat sources, and out of children’s reach.
If you rent, ask before drilling. Freestanding shelving that is anchored with a small number of screws is often easier to agree than a full wall system.
Worked example: an 8-foot wall beside the car
Imagine an 8-foot section of wall with 20 inches of clear depth before the car door opens. Shelving 24 inches deep would block the door, so an 18-inch-deep shelf unit is the limit for the low band. Above it, a 4-foot rail at shoulder height holds the daily tools and a cord hook. The remaining 4 feet take long-handled garden tools on upright hooks.
That plan uses the depth you have, keeps heavy bins low, and leaves the car door working. It also means buying one shelf unit and one rail, not a full wall kit.
5. What to buy, and in what order
- A stud finder, if you don’t have one.
- Shelving for the low band, sized to the depth you measured.
- A rail or pegboard section for weekly tools.
- Hooks matched to your long items.
- High shelving or brackets last, only if seasonal items still need a home.
Compare garage storage
Affiliate disclosure: As an Amazon Associate I earn from qualifying purchases. These links open Amazon search results for the formats in this guide, not recommendations for a specific model. Check weight ratings and mounting requirements before buying.
Questions
Pegboard or a rail system?
Pegboard is inexpensive and good for many small tools. Rails generally handle heavier items and are easier to rearrange. Check the load rating of each hook either way.
Can I hang a bike on the wall?
Yes, with a hook or bracket rated for the bike’s weight and fastened into a stud. Leave room to lift the bike on and off without hitting the car.
How deep should garage shelves be?
As deep as your bins, and no deeper than the space you can spare beside the car. Measure with the car parked and its doors open.
Keep reading
More guides for your space


THE KINDRED JOURNAL
Latest from the journal
- Small Entryway Storage: A Landing Spot for Shoes, Bags, and Keys
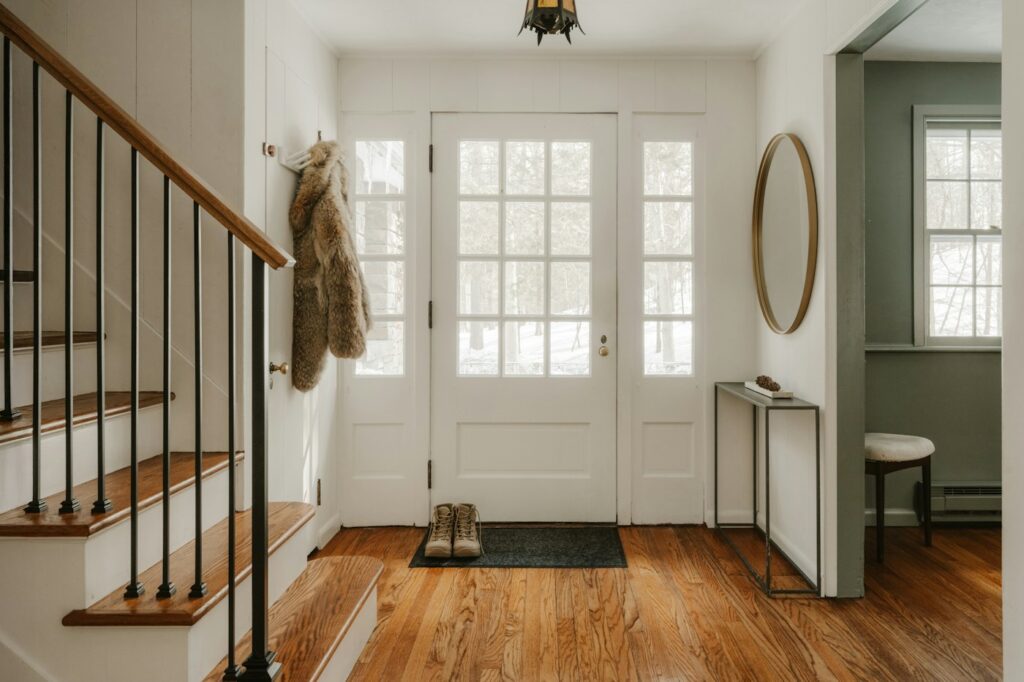 Give shoes, bags, coats, and keys one home each by the door. A small entryway plan with measurements, walkway clearance, and a short buying order.
- Kitchen Sink Cabinet Organization: Work Around the Pipes and Disposal
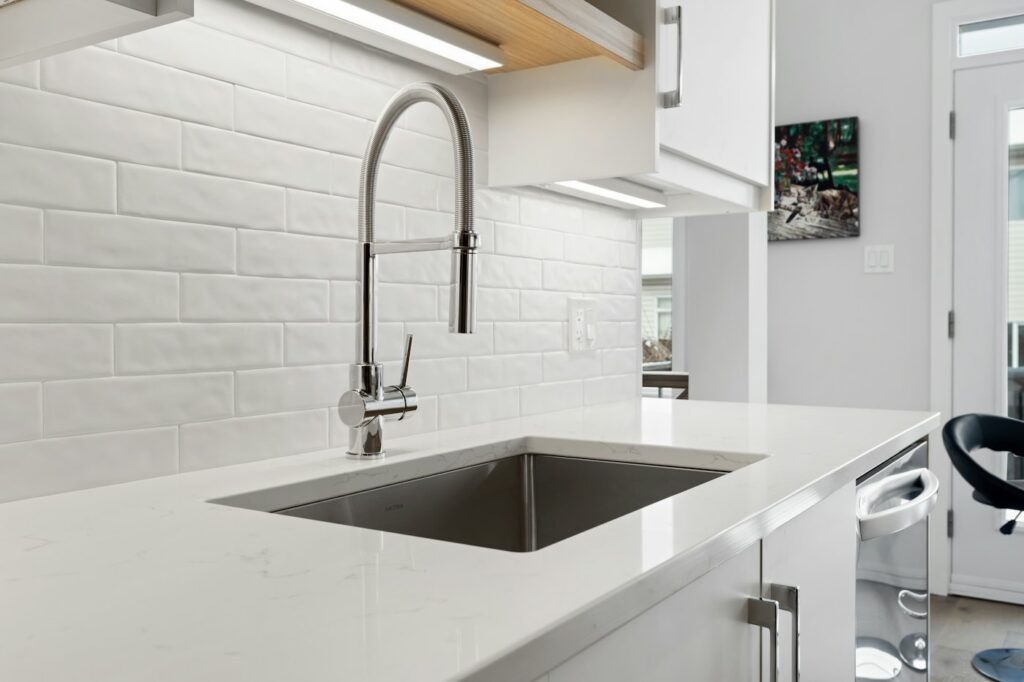 Plan the cabinet under a kitchen sink around the drain, disposal, and shutoff valves. Zones, measurements, leak checks, and storage that keeps access clear.
- Over-the-Door Pantry Racks: Will One Fit Your Door?
 Check door thickness, the gap above the door, shelf clearance, and swing before buying an over-the-door pantry rack. A fit checklist with a worked example.
- Under-Bed Storage: Bins, Drawers, or Bed Risers?
 Measure the clearance under your bed, then choose low bins, rolling drawers, or bed risers. A practical guide with a fit calculation and stability checks.
- Closet Shelf Dividers: How to Measure, Choose, and Fit Them
 Stop folded stacks from toppling with shelf dividers. Measure shelf thickness and height, pick clip-on, freestanding, or bin-style dividers, and plan the spacing.
- How to Organize Deep Kitchen Cabinets So Nothing Gets Lost at the Back
 Bring the back of a deep cabinet forward with zones, handled bins, risers, or a pull-out. A practical plan with a fit calculation and a short buying order.
- Small Bathroom Storage Without Drilling: A Renter-Friendly Plan
 Use the space over the toilet, inside the vanity, behind the door, and on the counter without drilling into walls. A renter-friendly plan with fit and safety checks.
- How to Organize a Spice Drawer So You Can Read Every Label
 Measure the drawer and your jars, choose an order you’ll actually keep, then pick a tiered insert, a liner, or uniform jars. A practical spice drawer plan with a fit calculation.
- Garage Wall Storage: Plan the Wall Before You Buy the System
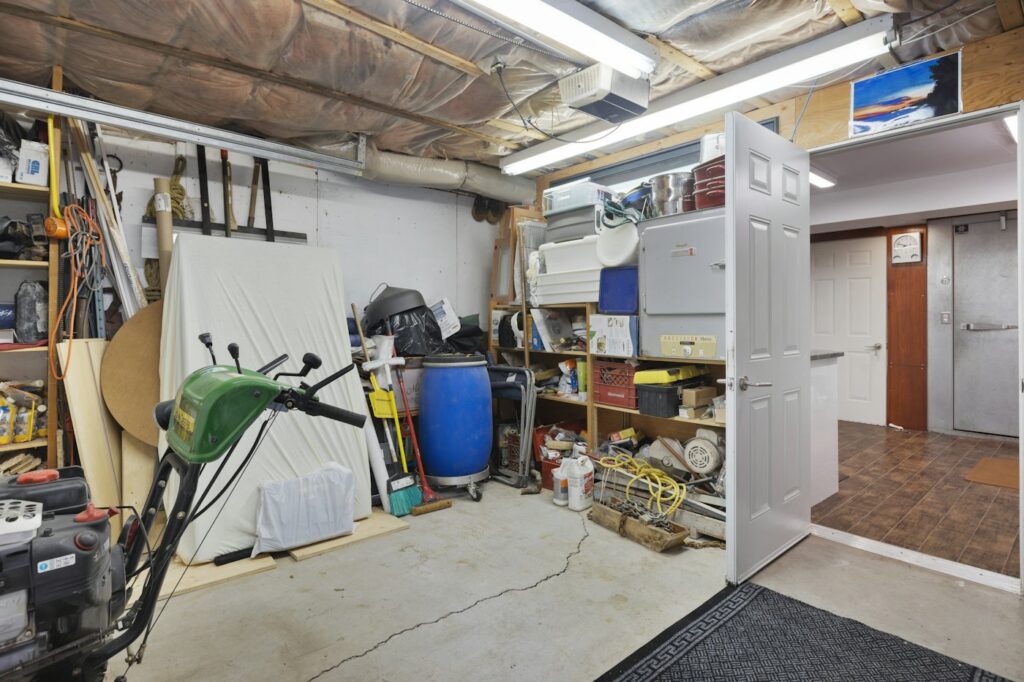 Clear the floor, map the wall into three height bands, find the studs, then choose pegboard, rails, or shelving. A practical garage wall plan with load and safety checks.