It’s the Tuesday before Thanksgiving, guests land Wednesday night, and you need the glass cleaner. There’s one under the kitchen sink behind the trash bags, a second in the hall closet, and a third, nearly empty, in the upstairs bathroom. Meanwhile the mop is leaning in the garage and nobody knows where the microfiber cloths went. Cleaning supplies drift because they get used all over the house. The fix is a home base plus small kits that travel, set up so the riskiest products are the hardest for little hands to reach. Here are thirteen ways to do that.
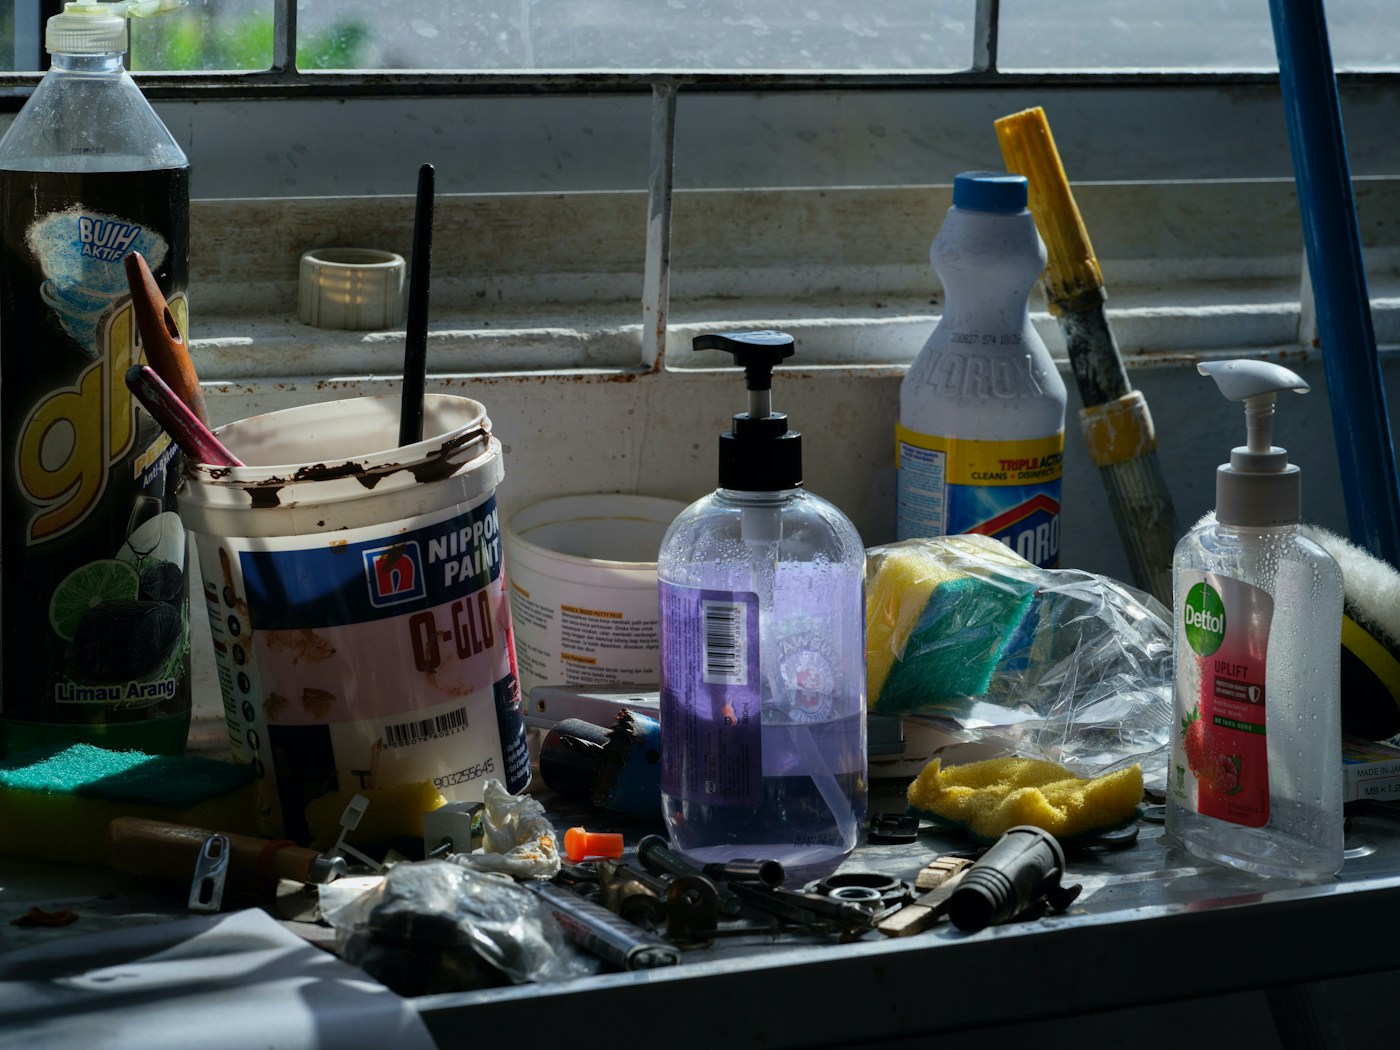
Pick one closet or cabinet as the hub for backstock, tools and anything harsh. Give each bathroom and the kitchen a small kit with only what gets used there. Keep every product in its original container, store chemicals up high or locked if kids visit or live with you, keep bleach and ammonia products apart, and get mops and brooms onto the wall. Then label the shelves so refills go back where they came from.
Start with what you have
1. Pull everything into one spot and count
Gather every spray, powder, sponge and tool from the kitchen, bathrooms, laundry and garage onto one table or the floor. Group like with like. Most homes find duplicates: three all-purpose sprays, two half-used bottles of the same tub cleaner. Keep one open bottle of each type in use, and put the rest in a single backstock bin.
Try it if you keep buying a product you’re sure you’re out of.
2. Edit by what you actually clean
For each product, ask what surface it’s for and whether you’ve used it this year. A specialty cleaner for a countertop you no longer have can go. Don’t pour old chemicals down a drain or mix leftovers together to “use them up”; check your city or county’s household hazardous waste program for how to get rid of them, and follow the disposal directions on the label.
Set up the home base
3. Choose one closet as the hub
A hall closet, a utility closet or a cabinet in the laundry room makes a good hub: it holds backstock, the vacuum, the mop and anything you’d rather not keep where food is made. If you’re working with a coat closet, our coat closet guide shows how to plan the rod and floor so a cleaning shelf still fits. The point is one answer to “where do refills live?”
4. Put chemicals on the highest shelf, and lock them if kids are around
The Consumer Product Safety Commission advises keeping chemicals and cleaning supplies in a locked cabinet or box, out of children’s reach. A top closet shelf gets you height; a latching or lockable bin on that shelf gets you the rest. Put everyday gentle items like dish soap and cloths lower, and harsh products like drain cleaner, oven cleaner and bleach at the top.
Try it if grandkids, nieces or nephews will be over for the holidays, even if no children live with you.
5. Keep bleach and ammonia products on separate shelves
Since the CDC says never to mix bleach with ammonia or any other cleaner, store them so a leak or a spill can’t bring them together. Bleach and bleach-based products go in one lipped bin. Ammonia-based products, which include some glass cleaners (check the label), go in another bin on a different shelf. Read the warning panel of each product as you sort; that’s where mixing and storage cautions are printed.
6. Seal laundry packets and store them up high
CPSC’s guidance for liquid laundry packets is specific: keep them sealed in their original packaging, locked up and out of a child’s sight and reach. That means the tub goes on the high shelf, lid closed, not in a pretty open jar on top of the dryer. Our laundry room shelving guide covers adding a shelf above the machines.
7. Hang mops and brooms on the wall
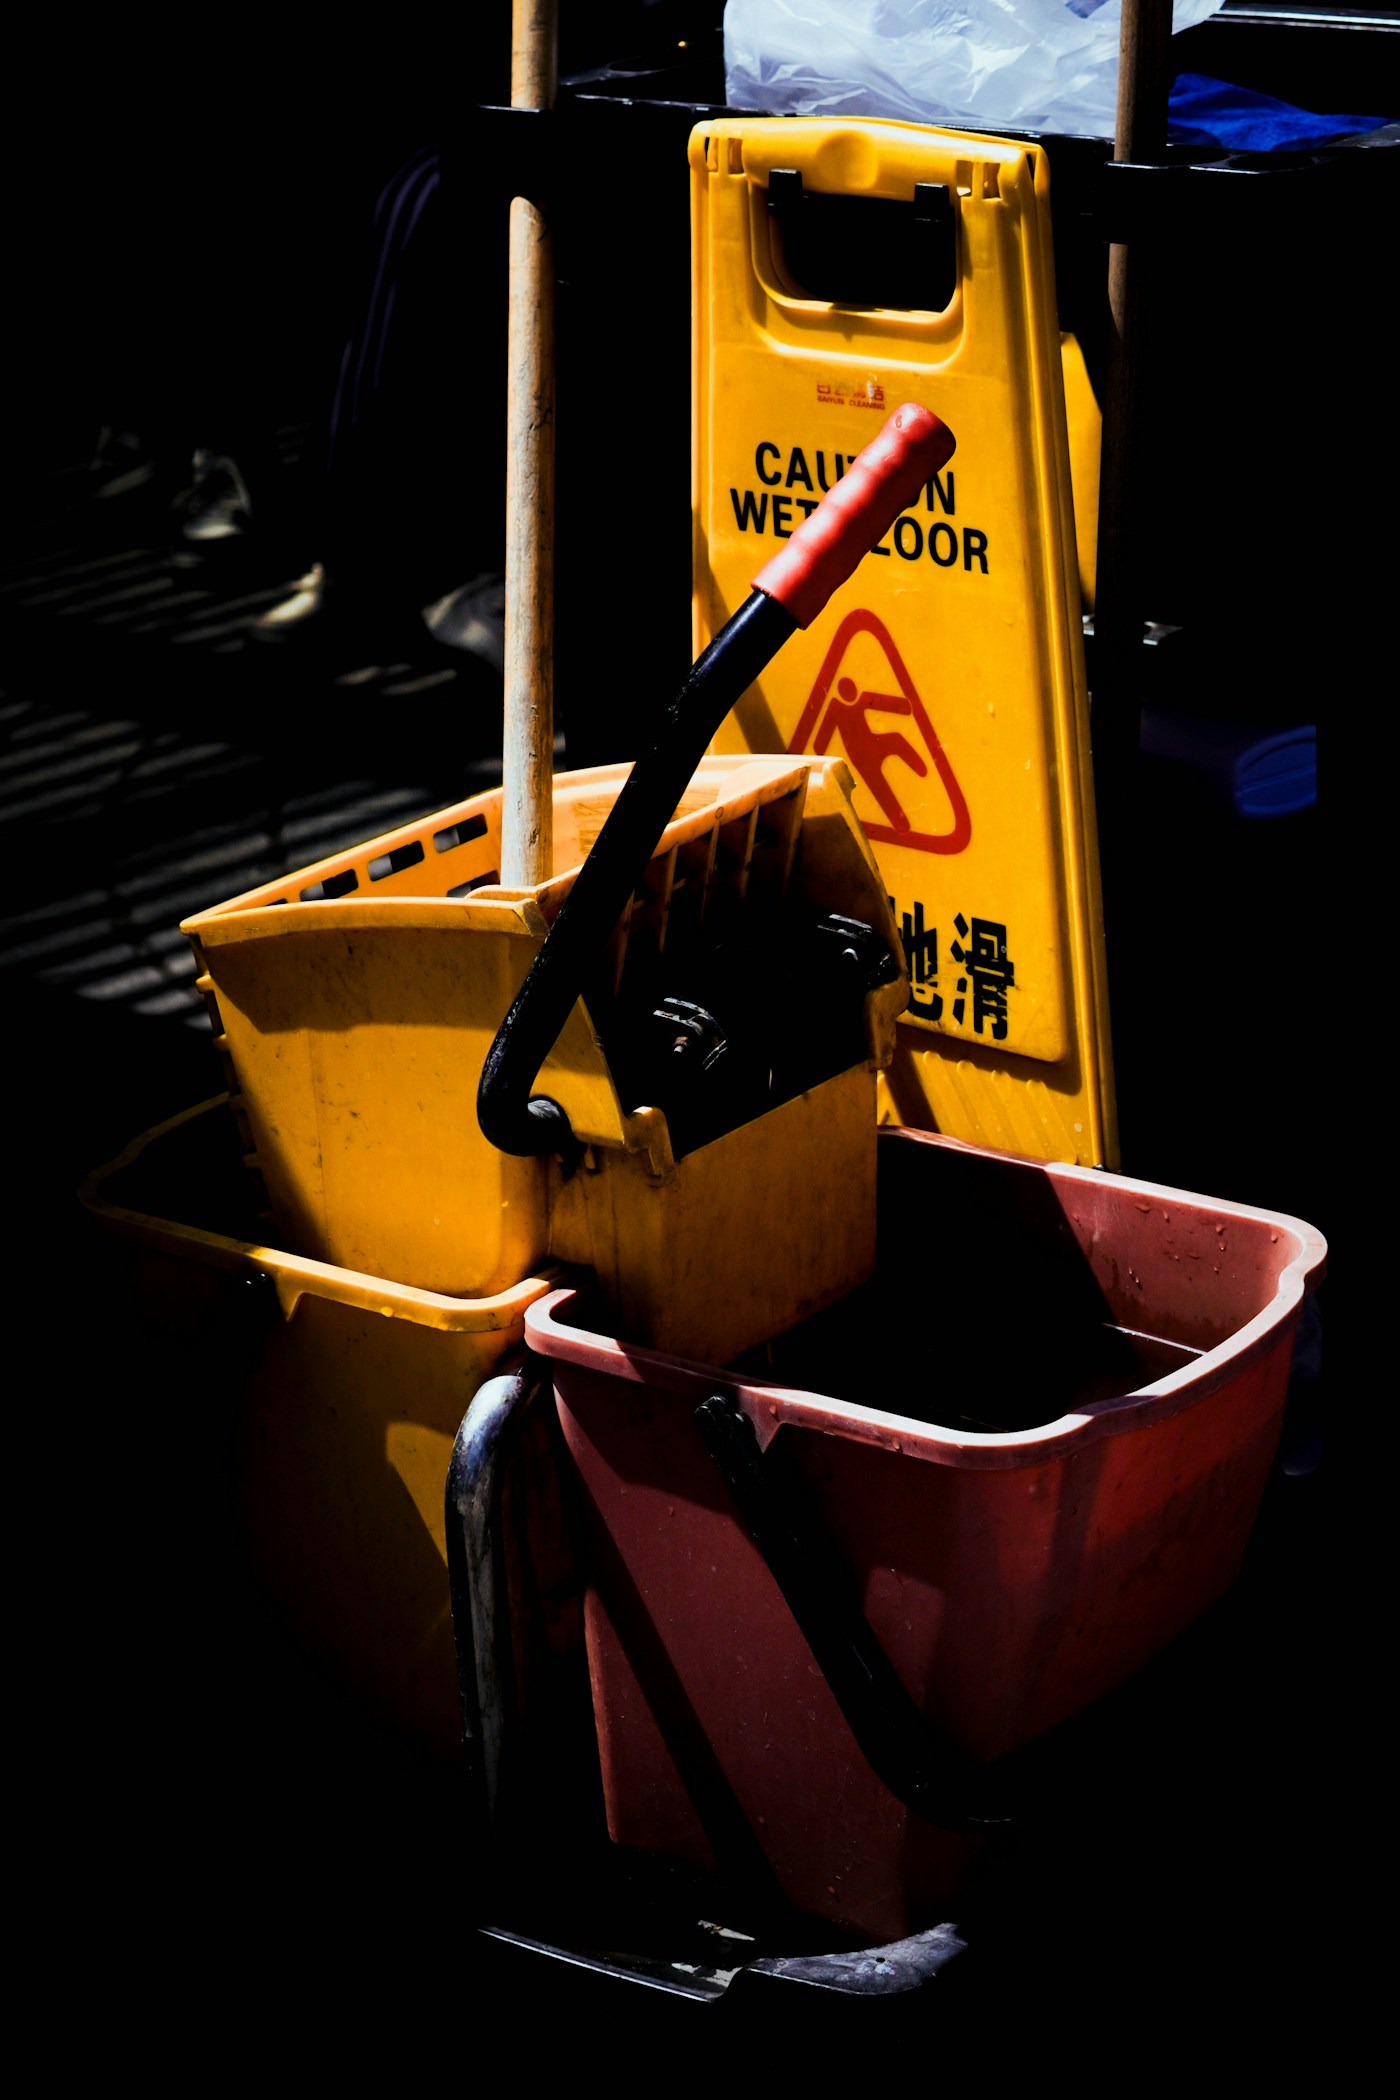
A wall-mounted tool holder with spring grips keeps handles upright and mop heads off the floor, where they dry faster and don’t get a musty smell. Mount it into studs or with anchors rated for the weight, at a height where the heads hang clear of the floor. Measure the longest handle first; most closets have room for a row of four or five on the side wall.
Skip it if you rent and can’t drill. A tall bucket or a narrow freestanding rack in the corner does the same job.
8. Give the vacuum a corner and its parts a hook
Park the vacuum in the same corner every time, and hang its attachments in a small bag or a wall basket next to it so the crevice tool doesn’t vanish. Wrap the cord loosely rather than tightly around the handle. For a cordless vacuum, charge it where the manufacturer’s manual says it can be charged, plugged directly into a wall outlet.
9. Use the back of the door, if it still closes
An over-the-door rack or clear-pocket organizer holds sprays, gloves and brushes in plain view. Before buying, check that the door closes with the hooks over it and that the pockets won’t hit a shelf. Keep the bottom pockets for safe items only, since that’s the height a small child can reach.
Kits that travel
10. Build one caddy per bathroom, plus one for the kitchen
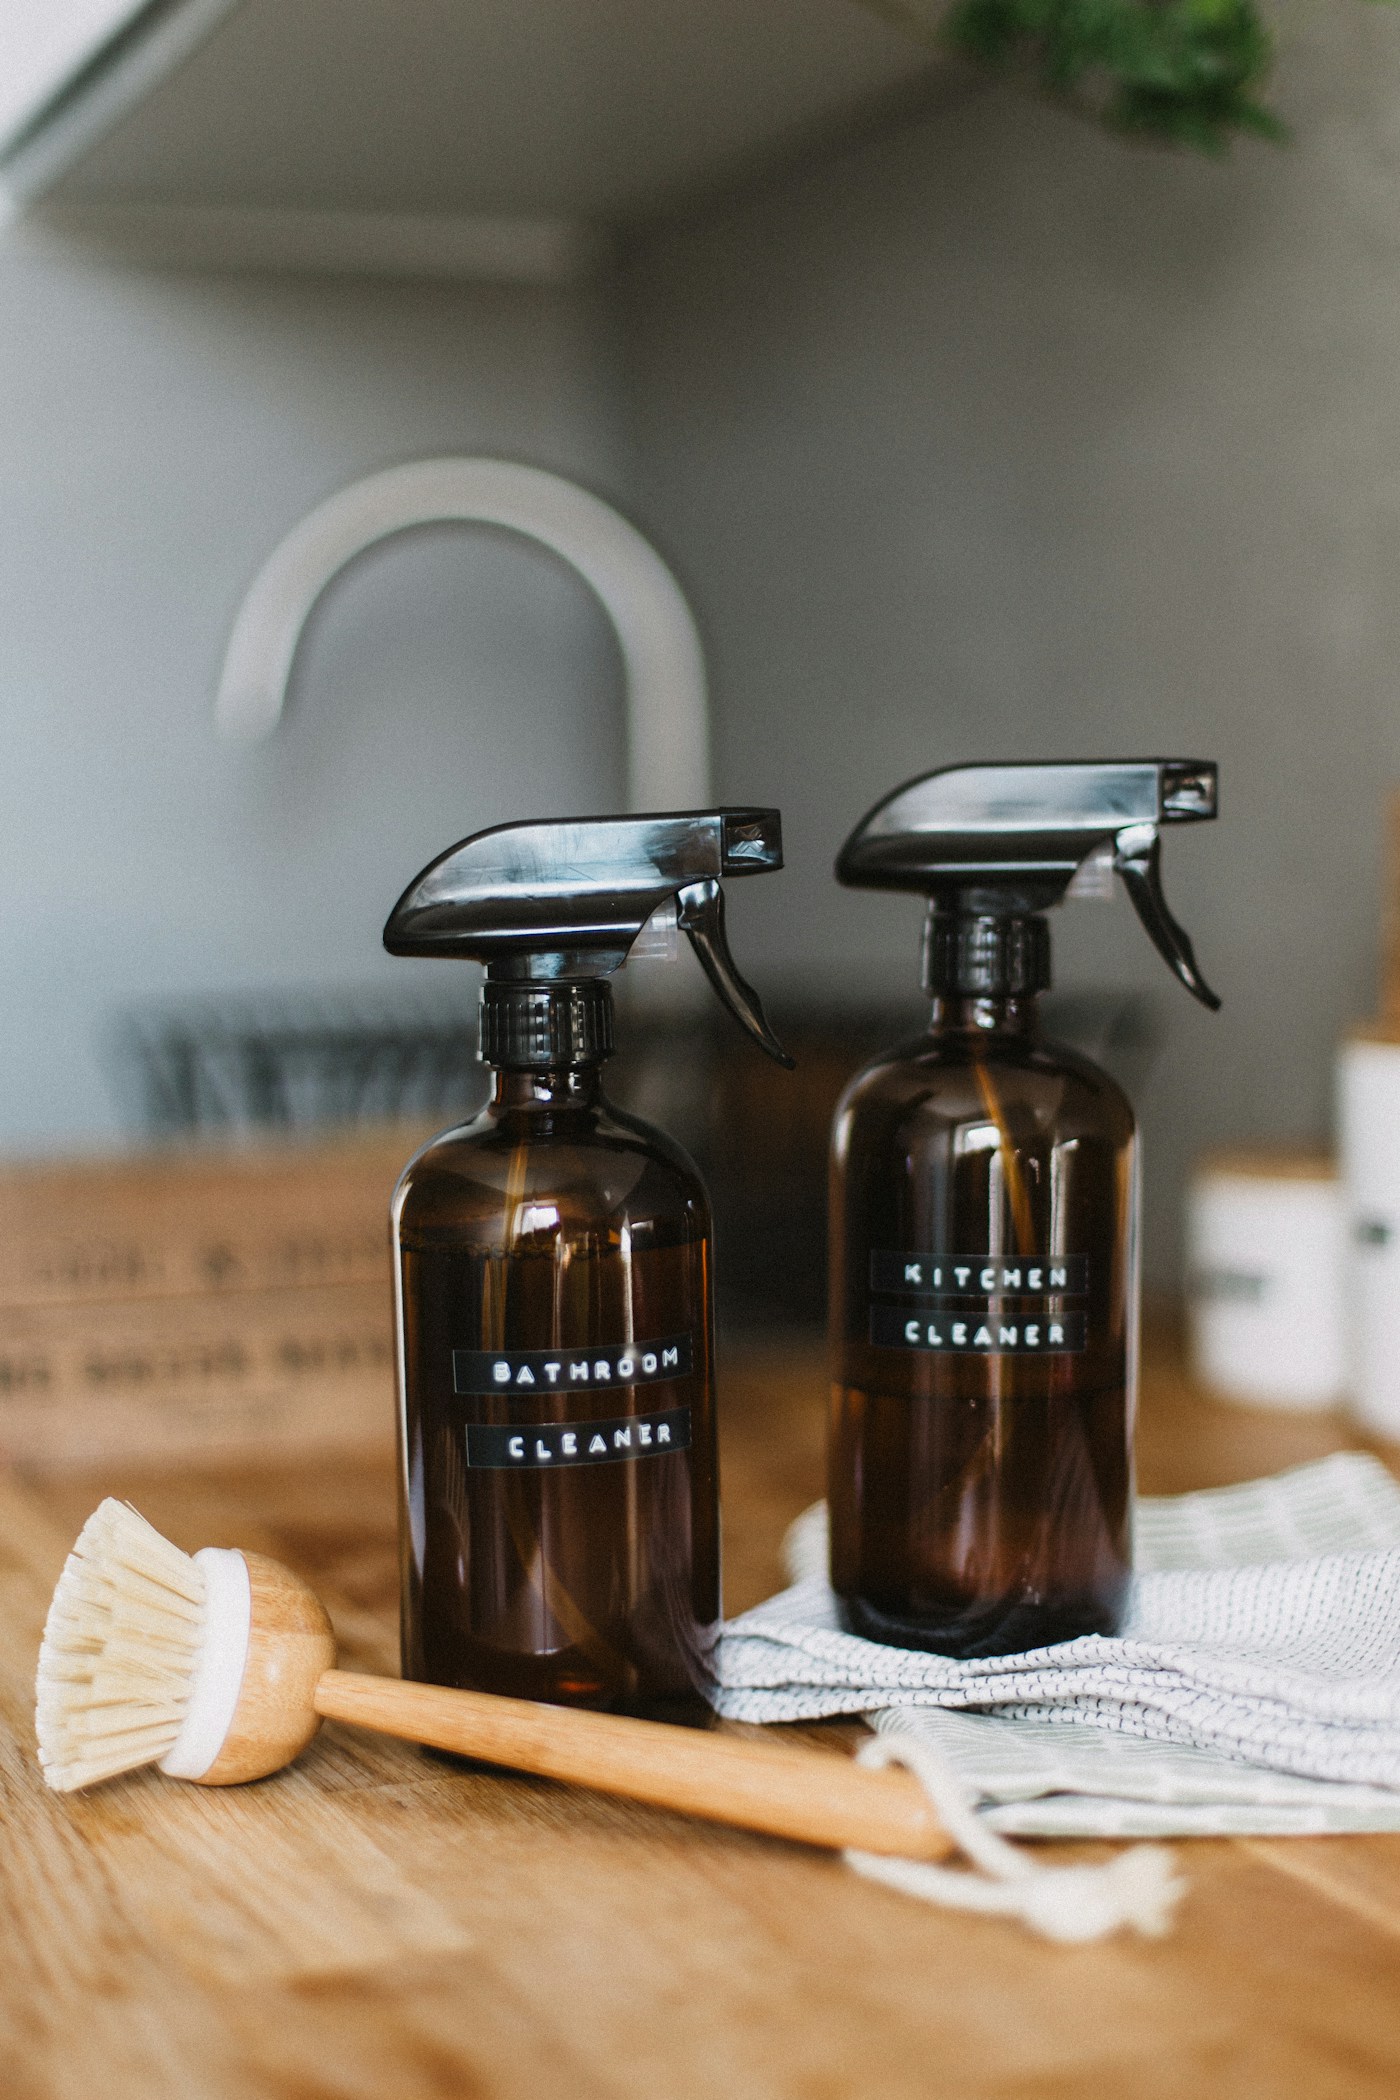
A handled caddy with just what that room uses, such as a spray, a scrub sponge and a cloth, saves a trip to the hub every time; the toilet brush stays in its own holder beside the toilet. In the bathroom, the caddy can live under the sink or on a high shelf in the linen closet. When a bottle runs out, refill or replace it from backstock in the hub. Getting the guest bath ready? Our guest bathroom ideas list what to stock.

11. Under the kitchen sink: hang the sprays, keep the shutoff clear
A tension rod across the cabinet lets spray bottles hang by their triggers, freeing the floor for a lipped tray that catches drips. Leave the shutoff valves reachable; you’ll want them in a hurry if a pipe leaks. Our guide to organizing under the kitchen sink has measurements for working around the pipes. If children are in the house, add a cabinet latch here, or move anything harsh up to the hub.
12. Color-code cloths by room
Pick one color of microfiber or cotton cloth for bathrooms and another for the kitchen, so the cloth that wiped a toilet doesn’t end up on a counter. Roll them in a small bin in each caddy, and keep a laundry bag on a hook in the hub for used ones.
13. Label the shelves, then keep a short refill list
Label the shelf edge or bin front, not the bottle, with what goes there: “Bleach products,” “Glass and surface,” “Refills.” A label maker makes it quick; see our label maker comparison. Tape a short list inside the closet door and add an item the moment you open the last bottle of it.
| Item | Where it lives | Why |
|---|---|---|
| Drain, oven and toilet bowl cleaners, bleach | Hub, top shelf, latched or locked bin | Harshest products, farthest from kids |
| Laundry packets | High shelf, sealed in original tub | CPSC: locked up, out of sight and reach |
| Everyday sprays | Room caddies; refills in hub | Used daily where they’re needed |
| Cloths and sponges | Color-coded in each caddy | No cross-room use |
| Mops, brooms, dusters | Wall holder in hub | Heads off the floor, dry faster |
| Vacuum and attachments | Hub floor corner plus a hook | Parts stay together |
| Backstock | One labeled bin in hub | One place to check before buying |
- Everything gathered and grouped.
- Duplicates moved to one backstock bin.
- Unwanted chemicals set aside for hazardous waste drop-off.
- Everything still in its original container.
- Harsh products and laundry packets up high or locked.
- Bleach and ammonia products on separate shelves.
- Mops and brooms on the wall.
- One caddy per bathroom and one for the kitchen.
- Shelves labeled; refill list on the door.
Storage to compare
Affiliate disclosure: As an Amazon Associate I earn from qualifying purchases. These are Amazon searches for the types of storage in this guide, not recommendations for a specific model. Check dimensions, weight limits and mounting needs before you buy.
Questions
Where should cleaning supplies be stored if I don’t have a utility closet?
Use the highest shelf of any closet, a tall cabinet in the laundry area, or a lockable box on a high shelf. Keep only gentle, daily items under the sinks.
Is it OK to keep cleaning products under the kitchen sink?
For everyday dish soap and a spray, many homes do. If young children live with you or visit, CPSC’s advice is a locked cabinet or box, so either latch that cabinet or move harsh products up to the hub.
Can I store cleaners in the garage?
Check each label for storage temperature first. Garages can freeze in winter and get very hot in summer, which some products don’t tolerate.
Sources: U.S. Consumer Product Safety Commission, Poison Prevention Information Center · CPSC Safety Alert, Liquid Laundry Packets · CDC, How to Safely Clean and Sanitize with Bleach. General guidance; always follow the directions and warnings on each product’s label.
Keep reading
More guides for your space
THE KINDRED JOURNAL
Latest from the journal
- What Holiday Lights Really Cost to Run: LED vs. Incandescent, With the Math for Your Own Display
 Read the watts off each tag, multiply by your hours and your own rate, and the answer is clear: eight incandescent strings cost about $25.70 a season in our worked example and their LED versions about $2.18, big C9 bulbs pay back an LED swap in about three seasons, and working mini lights can wait.
- Ideal Indoor Humidity in Winter: Find Your Number, Check Your Meter, Then Add Only What the Room Needs
 Aim for 30 to 50% and never humidify past 50%, let the windows set the limit on the coldest nights, salt-test your hygrometer before you trust it, seal drafts first because a whole bedroom needs only about 4½ ounces of water, and clean the tank on a schedule: a winter humidity guide with the math worked out.
- Toy Storage Ideas: 13 Ways to Make Room Before the Holiday Toy Wave
 Edit the toys before the gifts arrive, give each kind of play one open bin on an anchored low shelf, keep small parts and spare batteries out of a toddler’s reach, skip latching lids and rotate the extras: thirteen toy storage ideas for the weeks before and after the holidays.
- Best Gift Wrap Organizers: 5 Picks for a Closet Corner, Under the Bed or the Back of a Door
 An upright box that holds up to 32 long rolls, a 41.5-inch under-bed bag for big collections, a water-resistant zip bag, an over-the-door organizer and a slim canvas case for eight rolls: five gift wrap organizers matched to the space you can give them.
- Cord and Cable Storage: 13 Ideas for the Spare Chargers, Cables and Adapters Nobody Can Find
 Match every cable to a device you still own, keep a sensible number of spares by connector type, coil them loosely, label the mystery bricks, hang the extension cords and send old batteries and dead cables to a proper drop-off: thirteen ways to store spare cords so the right one turns up in seconds.
- Window Condensation in Winter: Find Which Side the Water Is On, Then Match Humidity to the Forecast
 Do the wipe test to tell room-side fog from a failed seal, check a hygrometer against the outdoor low, keep humidity at or under 40% above 20°F and 30% below 10°F, run the fans, open the curtains by day and dry wet sills the same morning: a window condensation guide with a worked cold-week example.
- How to Clean a Range Hood Filter Before Holiday Cooking: Know Your Filter Type, Then Put It on the Calendar
 Wash metal mesh and baffle filters in hot soapy water or the dishwasher, replace charcoal filters instead of rinsing them, never run the hood with the filter out, and clean the weekend before Thanksgiving and again before Christmas: a range hood filter guide with a worked holiday cleaning calendar.
- Drying Clothes Indoors in Winter: Where the Rack Goes, How Much Rail You Need and What It Saves
 One load gives off about 2 liters of water as it air-dries, so put the rack where that moisture can leave, keep it 3 feet from the space heater, count inches of rail before you buy, space and turn the heavy things, watch humidity and window condensation, and know what the dryer you’re skipping really costs: indoor drying with the math.
- Hat, Glove and Scarf Storage by the Door: One Bin Per Person, Sized to What They Actually Wear
 Keep a daily set plus one dry spare per person, size an open bin for each from a quick measurement, dry wet mittens before they go in, clip pairs together, hang woven scarves and fold knits, skip long scarves on the playground and wash wool before it’s sealed away: a hat and glove station with a worked bin-size example.