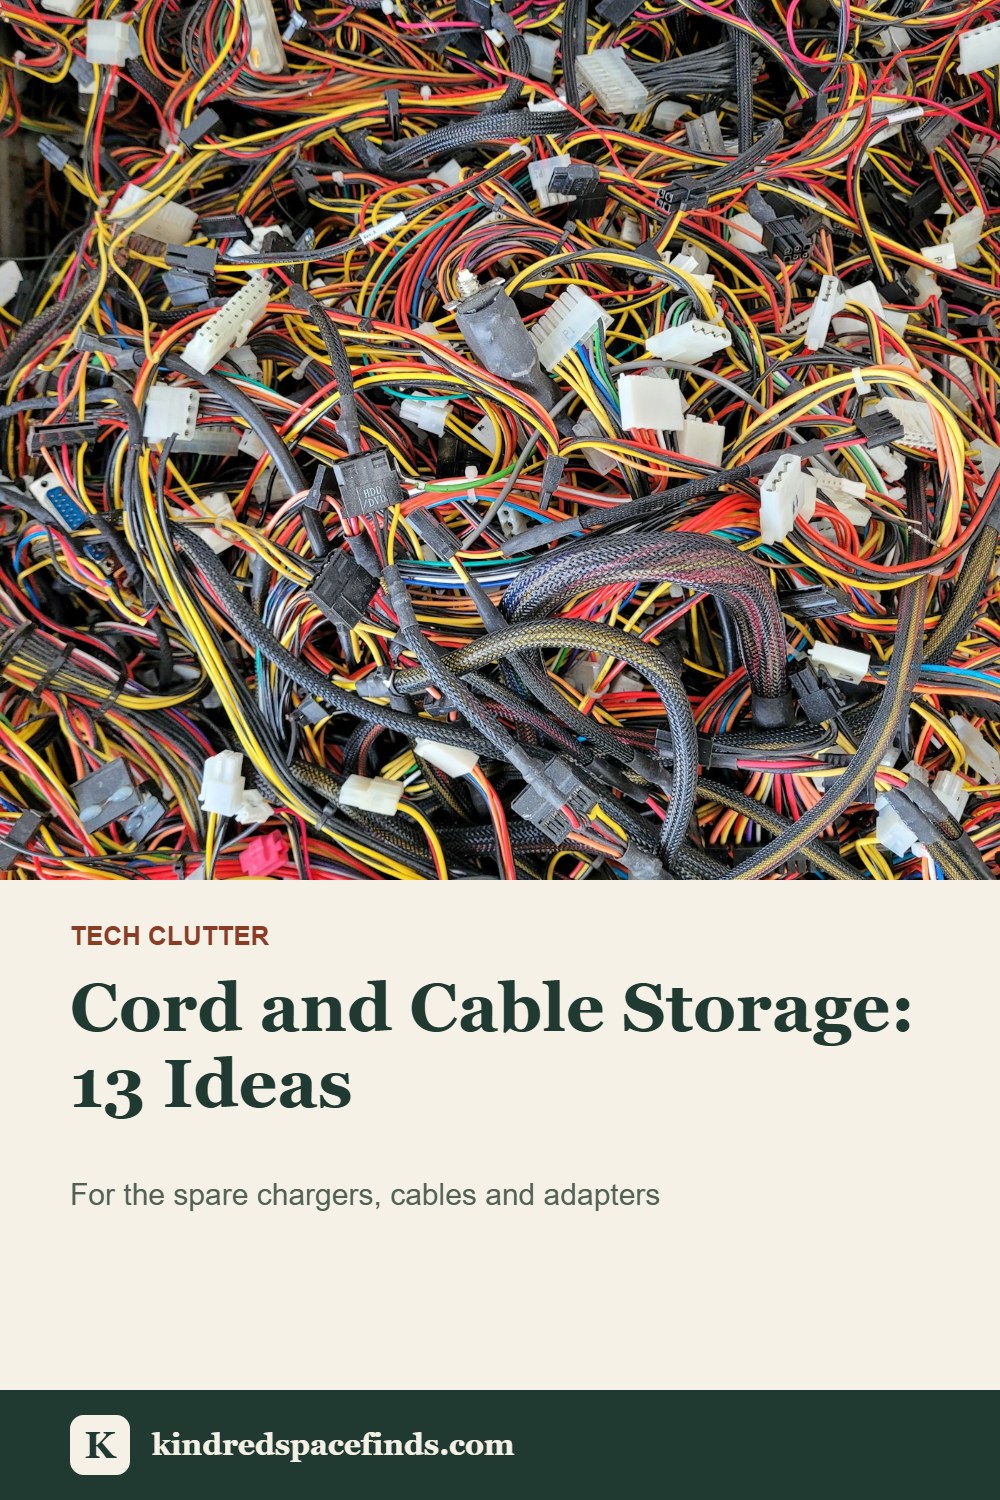
The most common cable-storage mistake isn’t the wrong box. It’s keeping every cord because it might be needed someday, so the one USB-C cable you want is buried under a micro-USB from a retired phone, three power bricks for devices nobody can name and an extension cord from a long-gone apartment. Storage gets easy once the pile is smaller and sorted by what it plugs into. These thirteen ideas cover the sort, the containers and the safe way to let the leftovers go, and with new devices arriving over the holidays, now is a good moment to make room for their cables.
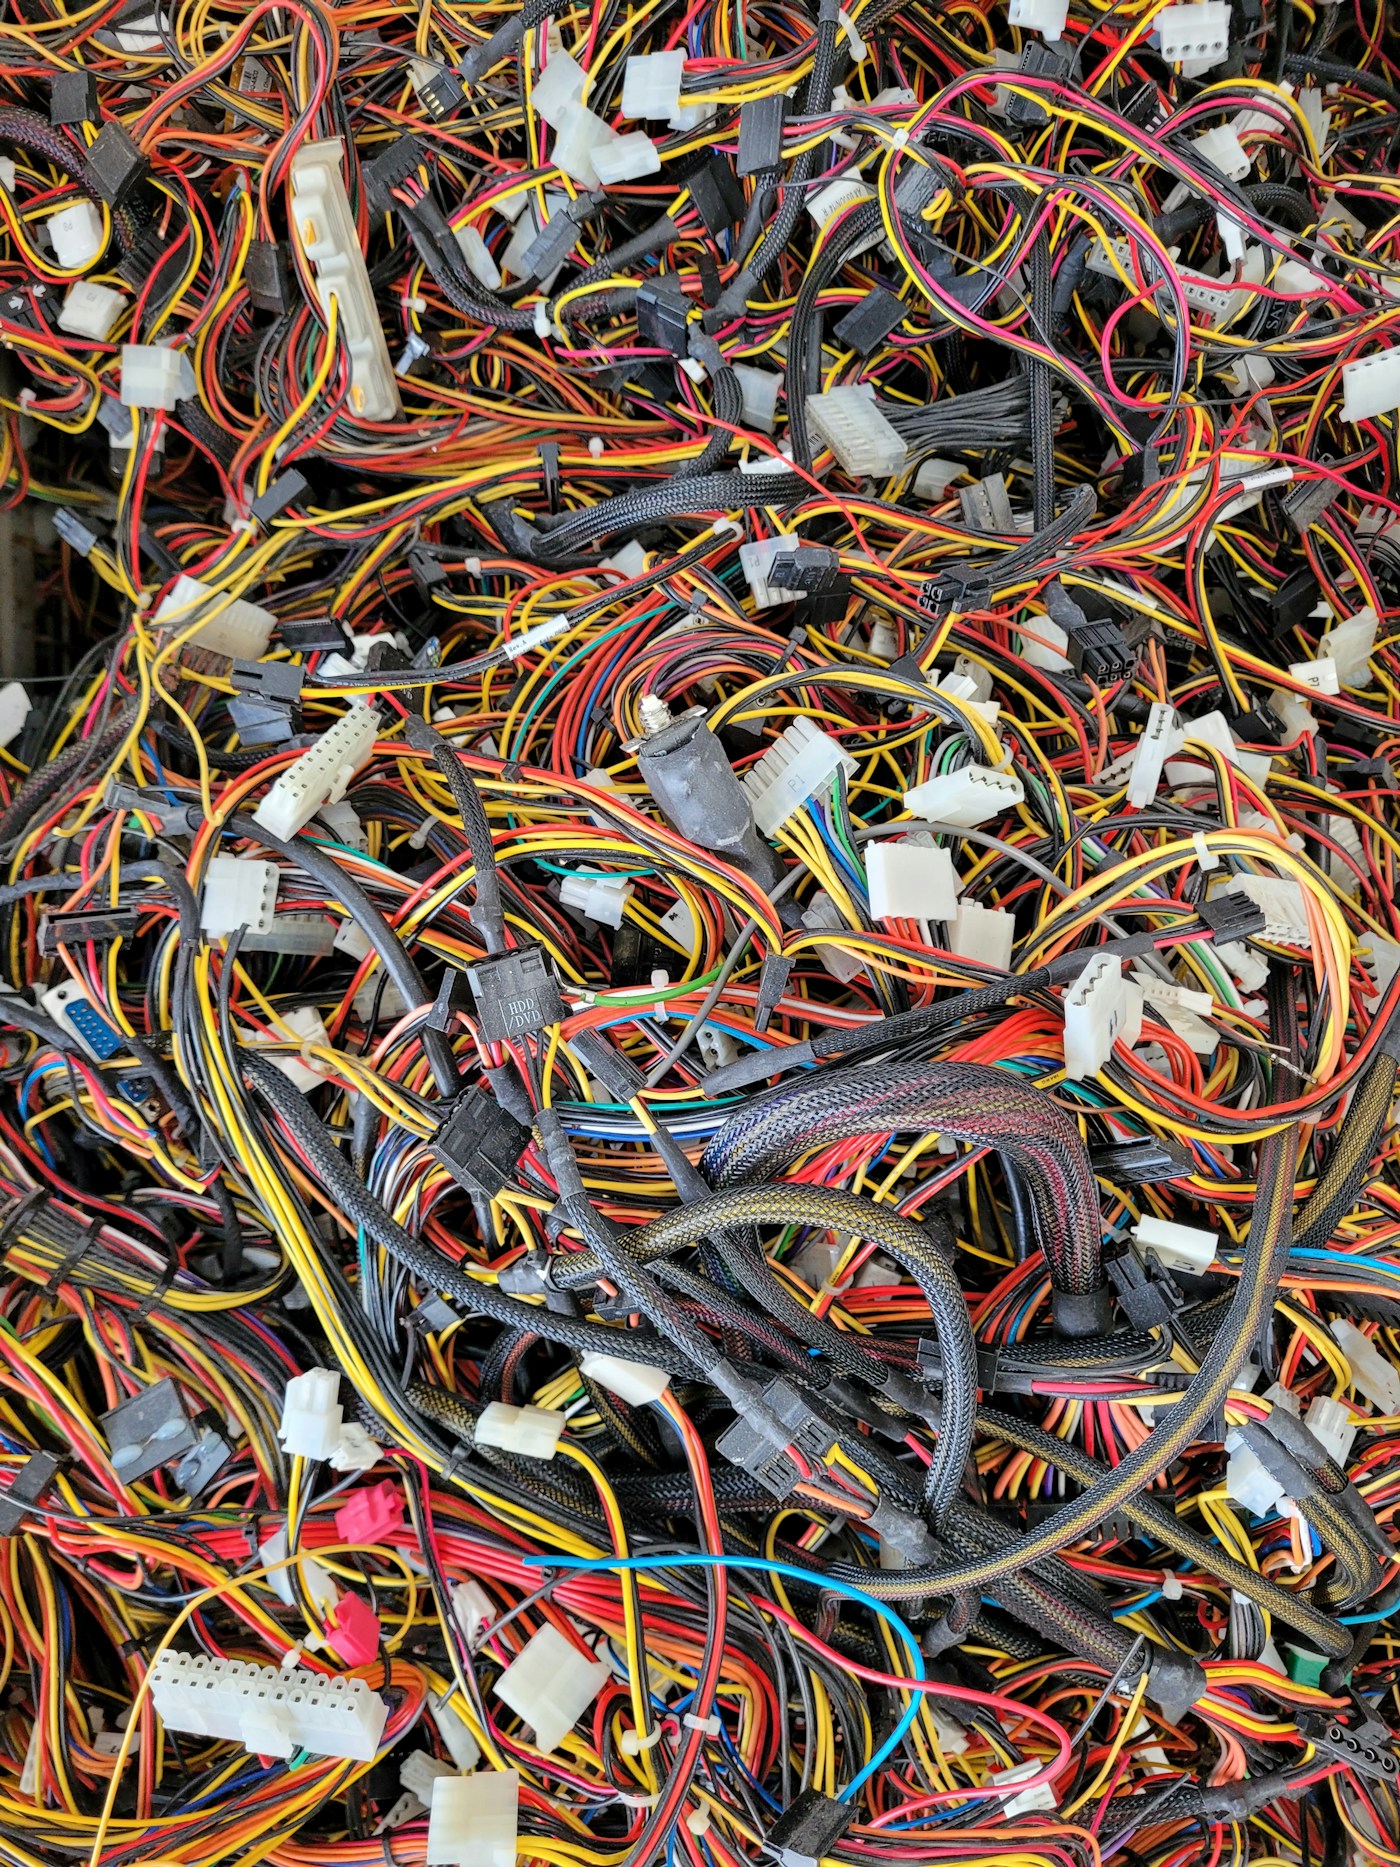
Empty every drawer and bin of cables onto one table. Keep only what matches a device you still own, decide how many spares of each connector type you really need, and retire the rest. Store the keepers in one divided bin by connector type, coiled loosely and labeled, with small adapters in pouches and extension cords hung on a hook. Old power banks and devices with batteries don’t belong in the trash or the curbside bin: the EPA says to tape or bag them and take them to a battery or electronics drop-off.
Shrink the pile first
1. Pull everything into one place
Cables tend to live in four or five spots at once: the junk drawer, the desk, a nightstand, a bin in the closet and the bottom of a backpack. Sorting one spot at a time just moves the problem around. Gather every loose cable, charger and adapter in the house onto one table or a clean floor so you can see how many USB-C cables you actually own before you buy a single organizer.
2. Do the match test
Pick up each cable or brick and name the device it serves. If you can name it and still own the device, it stays in the running. If the device is gone, or you can’t tell what the cable is for after a minute of checking the plug and the printed label, it goes to the retire pile. That one rule usually clears out more than any container ever will.
Try it if you’re keeping cables “just in case.” Skip it if you’ve already done a sort in the last year; jump to the spares count instead.
3. Decide how many spares you need
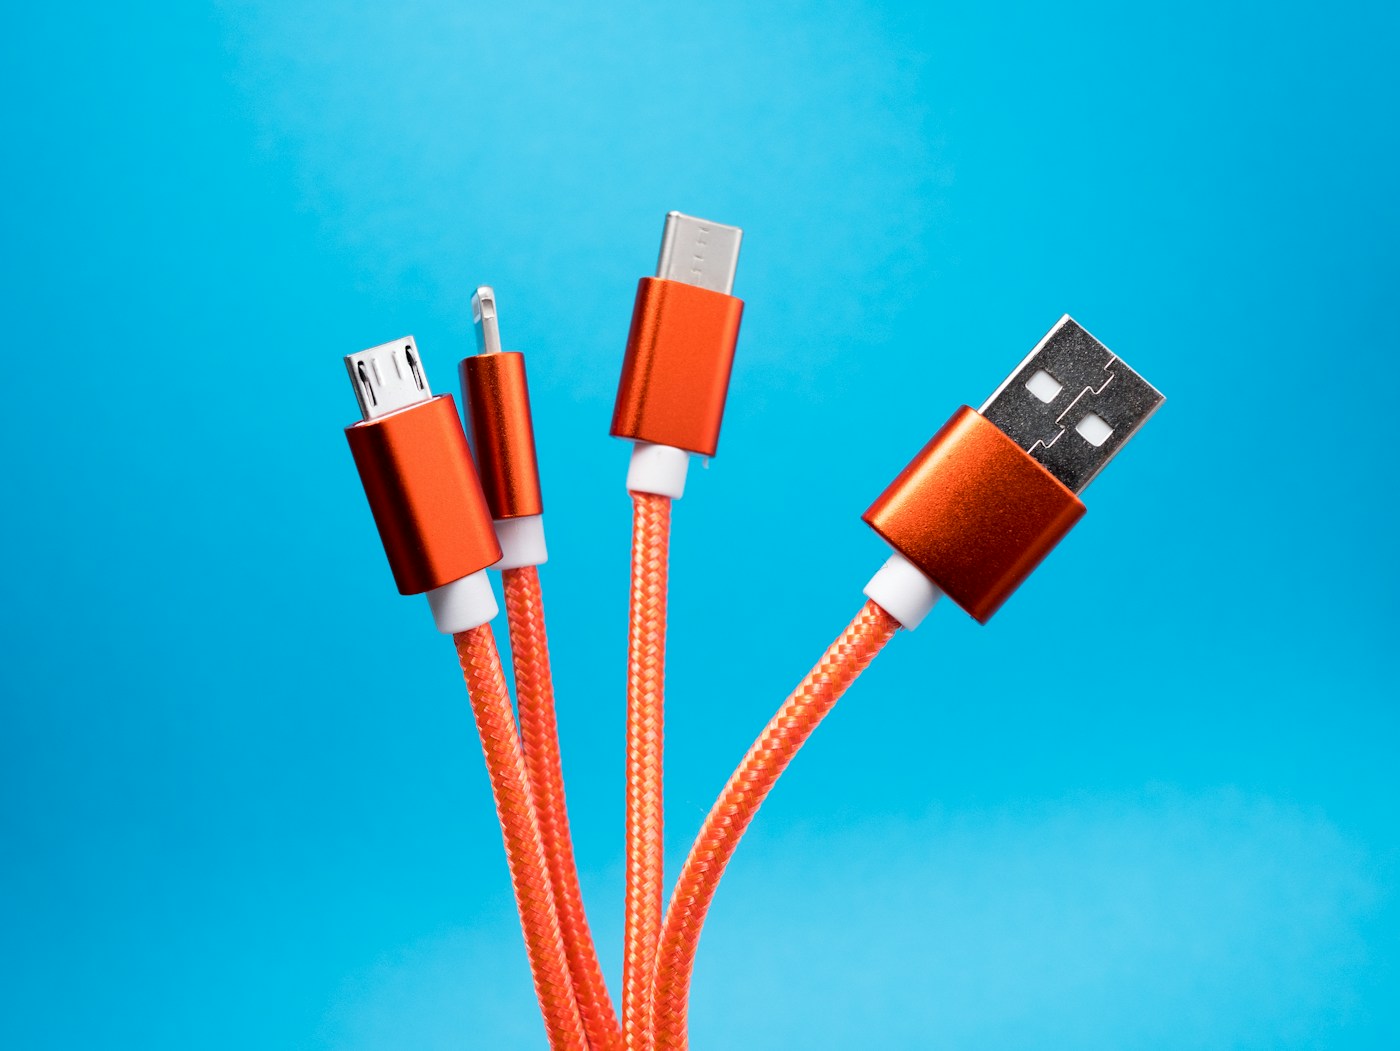
A spare is useful; six spares of the same connector are clutter. A reasonable target is one in-use cable per device plus a small number of spares for each connector type your household actually uses, with an extra for anyone who travels often. Count your connector types (USB-C, Lightning, micro-USB, HDMI, a laptop’s own power cord) and set the number before you start putting things back.
| Item | In the pile | In use | Spares kept | Retired |
|---|---|---|---|---|
| USB-C cables | 11 | 5 | 3 | 3 (frayed or slow) |
| Lightning cables | 6 | 2 | 1 | 3 |
| Micro-USB cables | 7 | 1 (headlamp) | 1 | 5 |
| USB wall chargers | 8 | 4 | 1 | 3 |
| Unlabeled power bricks | 5 | 2 (identified) | 0 | 3 (no matching device) |
| HDMI and display cables | 4 | 2 | 1 | 1 |
| Total | 41 | 16 | 7 | 18 |
In this example, 23 items go back into storage instead of 41, and the 16 in use can live with their devices rather than in the bin. That’s what makes a single small container possible.
4. Retire damaged cables on the spot
While everything is out, check each keeper. The Electrical Safety Foundation International (ESFI) says to inspect cords for damage: cracked or frayed sockets, loose or bare wires and loose connections. A charging cable with a split jacket near the plug, or one that only works at a certain angle, goes in the retire pile, not back in the bin.
Store the keepers
5. One bin, divided by connector type
Sort spares by what they plug into, not by color or length: a section for USB-C, one for Lightning, one for older micro-USB, one for HDMI and display cables and one for wall chargers. A shoebox-sized bin with dividers, or a drawer with a few small boxes, usually holds a household’s spares once the pile has been cut down. Put the most-used connector type in front.
Skip it if you only kept a handful of spares; a single zip pouch per type in a desk drawer is enough.
6. Coil loosely, then strap
Tight wraps and sharp bends near the plug put strain right where cables tend to fail. Coil each cable in loose loops about the size of your palm and close it with a reusable hook-and-loop strap. Straps that stay attached to the cable don’t get lost, and they’re quicker than twist ties when you need the cable in a hurry.
7. Label both ends of anything that isn’t obvious
A USB-C cable explains itself. A barrel-plug power brick doesn’t. Put a small label on the brick naming the device it powers (“router,” “label maker,” “baby monitor”). Plugs on these adapters can look alike while supplying different voltages, so keep each adapter matched to its own device, and check that the output printed on the adapter matches the input the device lists before you use it. Our label maker comparison covers printers that make wrap-around cable labels.
8. Pouches for the tiny adapters
USB-C-to-A adapters, headphone dongles, SIM tools and spare earbud tips are small enough to vanish in a big bin. A clear zip pouch or a pencil case keeps them together and visible. Label the pouch by job (“laptop adapters,” “travel”) so you grab one pouch instead of digging.
Put cables where they’re used
9. The in-use cables live with their devices
The bin is for spares. Cables you use every day belong where you use them: at a family charging station, routed under the desk, or behind the TV. Our under-desk cable plan covers keeping the desk’s cables on one path, and the entertainment center guide does the same for consoles and the streaming box.
10. Pack a travel pouch once
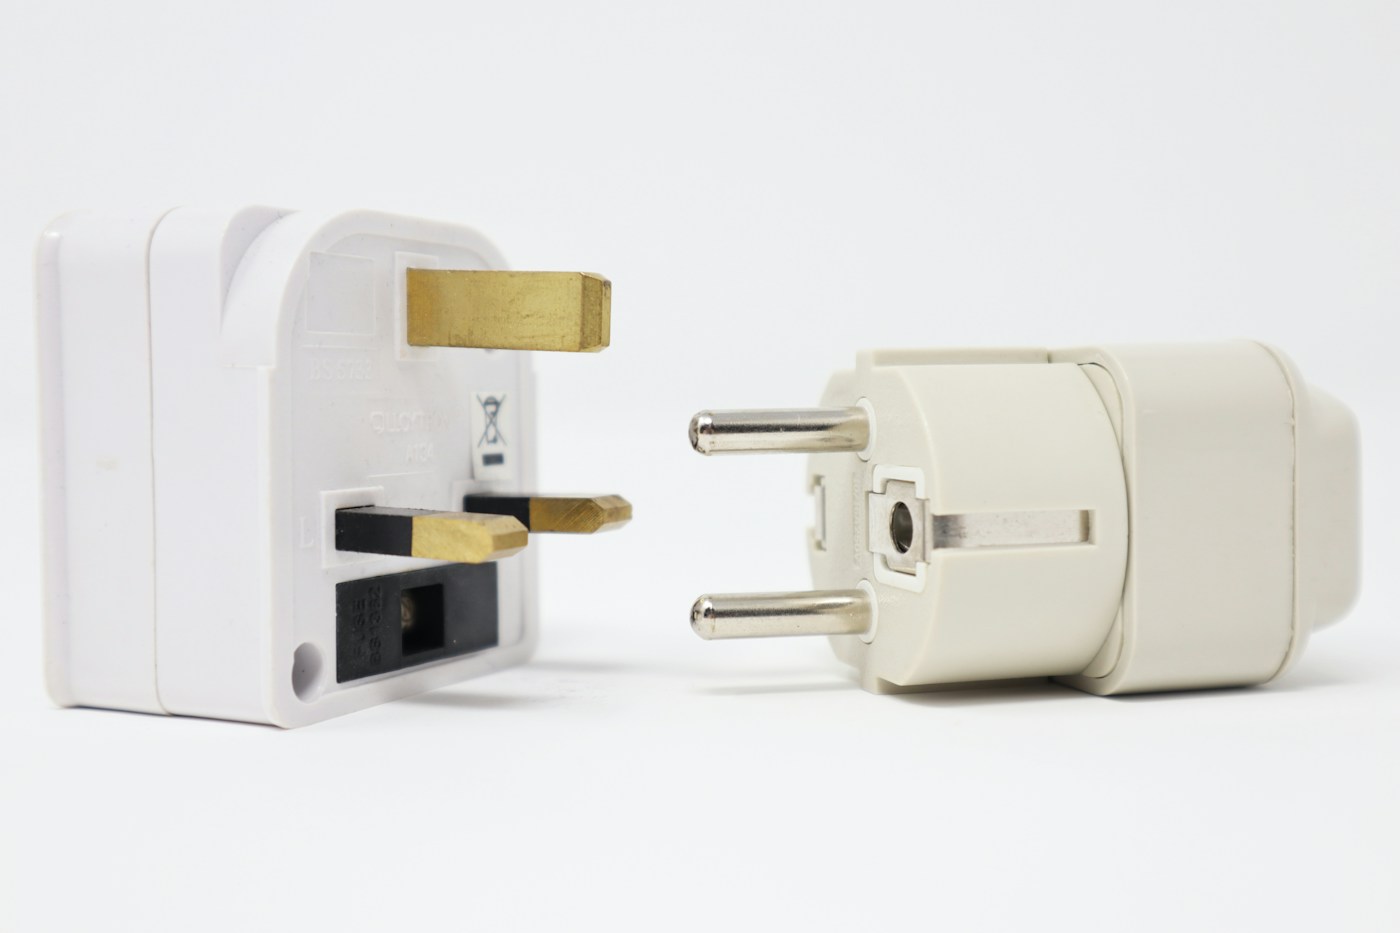
Instead of raiding the house before every trip, keep one pouch packed with a wall charger, one cable per connector type your family travels with and a short extension or outlet adapter if you need it. It stays in the suitcase or by the door. When you get home, the pouch goes back packed.
11. Give the spare bin a home near the action
A spare bin in the back of the garage won’t get used. Keep it in the home office, a hall closet or a drawer near the charging station, within reach of where people notice they need a cable. If the office is short on room, our small home office storage guide shows how to fit supplies by reach distance, and desk organization in four zones covers what belongs on the desk itself.
12. Hang extension cords on their own hook
Extension cords are bulky and shouldn’t share a bin with phone cables. Coil each one, strap it and hang it on a wall hook in the garage or utility closet, with indoor and outdoor cords kept apart. ESFI’s guidance treats extension cords as temporary: use outdoor-rated cords outdoors, don’t plug one extension cord into another, never cut off the ground pin, and don’t nail or staple cords to walls or baseboards. A tag with the length and “indoor” or “outdoor” saves unrolling three to find the right one. For holiday cords, see how to store Christmas lights.
Let the leftovers go safely
13. Recycle cables, and handle batteries separately
The retire pile has two kinds of things, and they go to different places. Old power banks, dead earbuds, phones and anything else with a lithium-ion battery should not go in household garbage or curbside recycling, the EPA says; tape the battery terminals with non-conductive tape or put each one in its own plastic bag, and take them to a battery collection site (often at electronics retailers) or a household hazardous waste drop-off. Set any swollen or damaged battery apart and check with the maker or your local program before moving it. Plain cables and chargers can go to an electronics donation or recycling program; the EPA recommends certified electronics recyclers, and it’s worth confirming a drop-off accepts cables before you go. Working cables you simply don’t need can go to a friend, a school or a donation program that takes electronics. Our phantom power guide is a good next step once the drawer is clear: the chargers left plugged in with nothing attached are still worth checking.
Affiliate disclosure: As an Amazon Associate I earn from qualifying purchases. The links below are Amazon searches, not specific products we’ve tested or recommend over others.
- Cable organizer box with dividers (Amazon search) ↗
- Reusable hook-and-loop cable straps (Amazon search) ↗
- Wrap-around cable labels (Amazon search) ↗
- Travel electronics pouch (Amazon search) ↗
- Extension cord hanging straps (Amazon search) ↗
Measure the drawer or shelf first, and buy containers after the sort, not before.
- Every cable, charger and adapter gathered in one place.
- Match test done: each keeper tied to a device you still own.
- Damaged cords (frayed, cracked, loose plugs) retired.
- Spare count set for each connector type.
- Spares in one bin, divided by connector type.
- Cables coiled loosely and strapped.
- Mystery bricks labeled with the device they power.
- Small adapters in labeled pouches.
- Extension cords hung separately, indoor and outdoor apart.
- Batteries taped or bagged and taken to a drop-off, not the trash.
Can I store cables in the garage?
Extension cords and outdoor gear usually live there fine on a wall hook. Spare phone and laptop cables are better kept indoors near where they’re used, both so they actually get used and so they stay dry and dust-free. Our garage wall storage plan covers where hooks go.
Is a cable organizer a good holiday gift?
It can be, especially paired with a set of cable straps and labels for someone who’s always hunting for a charger. Our gifts for organized people list has more ideas.
Sources: U.S. EPA, Used Lithium-Ion Batteries · U.S. EPA, Electronics Donation and Recycling · ESFI, Use Extension Cords Properly · ESFI, Extension Cord Safety. General guidance; follow each device maker’s instructions and your local recycling program’s rules.
Keep reading
More guides for your space
THE KINDRED JOURNAL
Latest from the journal
- Window Insulation Film: Does It Work? Sort Your Windows First, Then Do the Math
 Shrink film adds about R-1 and stops sash drafts, so it roughly halves heat loss through single-pane glass but barely helps a tight low-e window: sort your windows with the paper test, work out one window’s savings, keep the tape on trim and plan the way out of bedrooms.
- What Holiday Lights Really Cost to Run: LED vs. Incandescent, With the Math for Your Own Display
 Read the watts off each tag, multiply by your hours and your own rate, and the answer is clear: eight incandescent strings cost about $25.70 a season in our worked example and their LED versions about $2.18, big C9 bulbs pay back an LED swap in about three seasons, and working mini lights can wait.
- Ideal Indoor Humidity in Winter: Find Your Number, Check Your Meter, Then Add Only What the Room Needs
 Aim for 30 to 50% and never humidify past 50%, let the windows set the limit on the coldest nights, salt-test your hygrometer before you trust it, seal drafts first because a whole bedroom needs only about 4½ ounces of water, and clean the tank on a schedule: a winter humidity guide with the math worked out.
- Toy Storage Ideas: 13 Ways to Make Room Before the Holiday Toy Wave
 Edit the toys before the gifts arrive, give each kind of play one open bin on an anchored low shelf, keep small parts and spare batteries out of a toddler’s reach, skip latching lids and rotate the extras: thirteen toy storage ideas for the weeks before and after the holidays.
- Best Gift Wrap Organizers: 5 Picks for a Closet Corner, Under the Bed or the Back of a Door
 An upright box that holds up to 32 long rolls, a 41.5-inch under-bed bag for big collections, a water-resistant zip bag, an over-the-door organizer and a slim canvas case for eight rolls: five gift wrap organizers matched to the space you can give them.
- Cord and Cable Storage: 13 Ideas for the Spare Chargers, Cables and Adapters Nobody Can Find
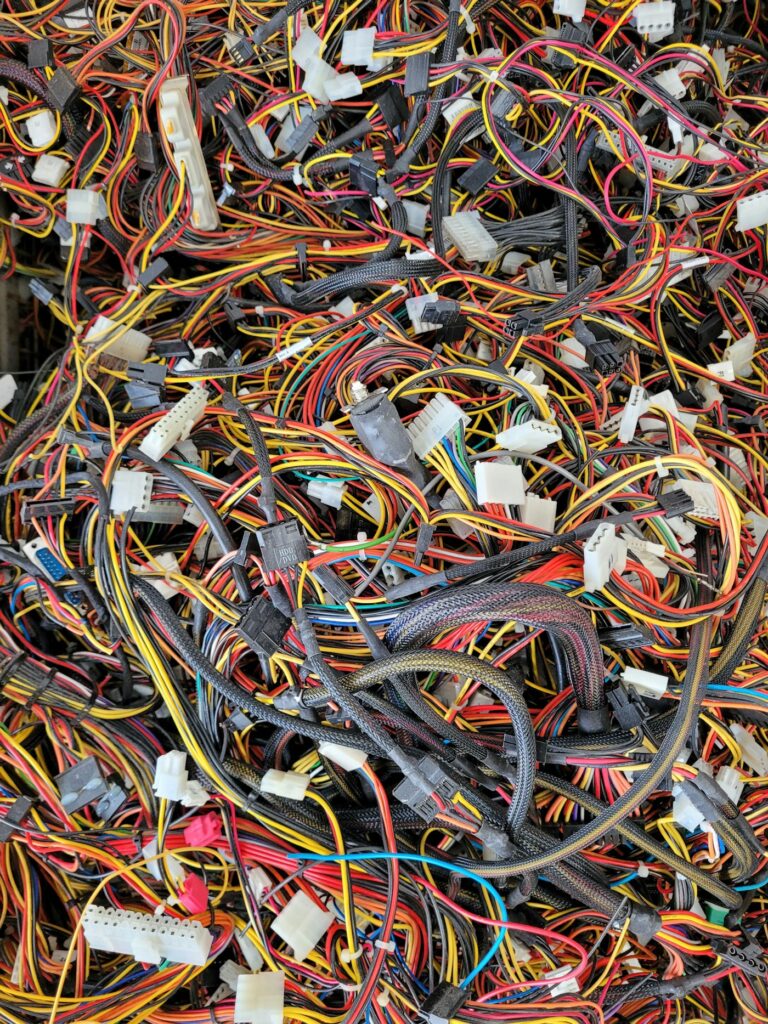 Match every cable to a device you still own, keep a sensible number of spares by connector type, coil them loosely, label the mystery bricks, hang the extension cords and send old batteries and dead cables to a proper drop-off: thirteen ways to store spare cords so the right one turns up in seconds.
- Window Condensation in Winter: Find Which Side the Water Is On, Then Match Humidity to the Forecast
 Do the wipe test to tell room-side fog from a failed seal, check a hygrometer against the outdoor low, keep humidity at or under 40% above 20°F and 30% below 10°F, run the fans, open the curtains by day and dry wet sills the same morning: a window condensation guide with a worked cold-week example.
- How to Clean a Range Hood Filter Before Holiday Cooking: Know Your Filter Type, Then Put It on the Calendar
 Wash metal mesh and baffle filters in hot soapy water or the dishwasher, replace charcoal filters instead of rinsing them, never run the hood with the filter out, and clean the weekend before Thanksgiving and again before Christmas: a range hood filter guide with a worked holiday cleaning calendar.
- Drying Clothes Indoors in Winter: Where the Rack Goes, How Much Rail You Need and What It Saves
 One load gives off about 2 liters of water as it air-dries, so put the rack where that moisture can leave, keep it 3 feet from the space heater, count inches of rail before you buy, space and turn the heavy things, watch humidity and window condensation, and know what the dryer you’re skipping really costs: indoor drying with the math.