Quick answer: wrap each strand around a notched piece of cardboard or a reel the day it comes down, label it with its length and whether it’s rated for outdoor use, and keep all of them in one latching tote. That’s the whole system. The rest of this guide covers the two parts people skip: checking strands before they go up, so damaged sets get tossed instead of hung, and sizing the wrap so a strand actually fits.
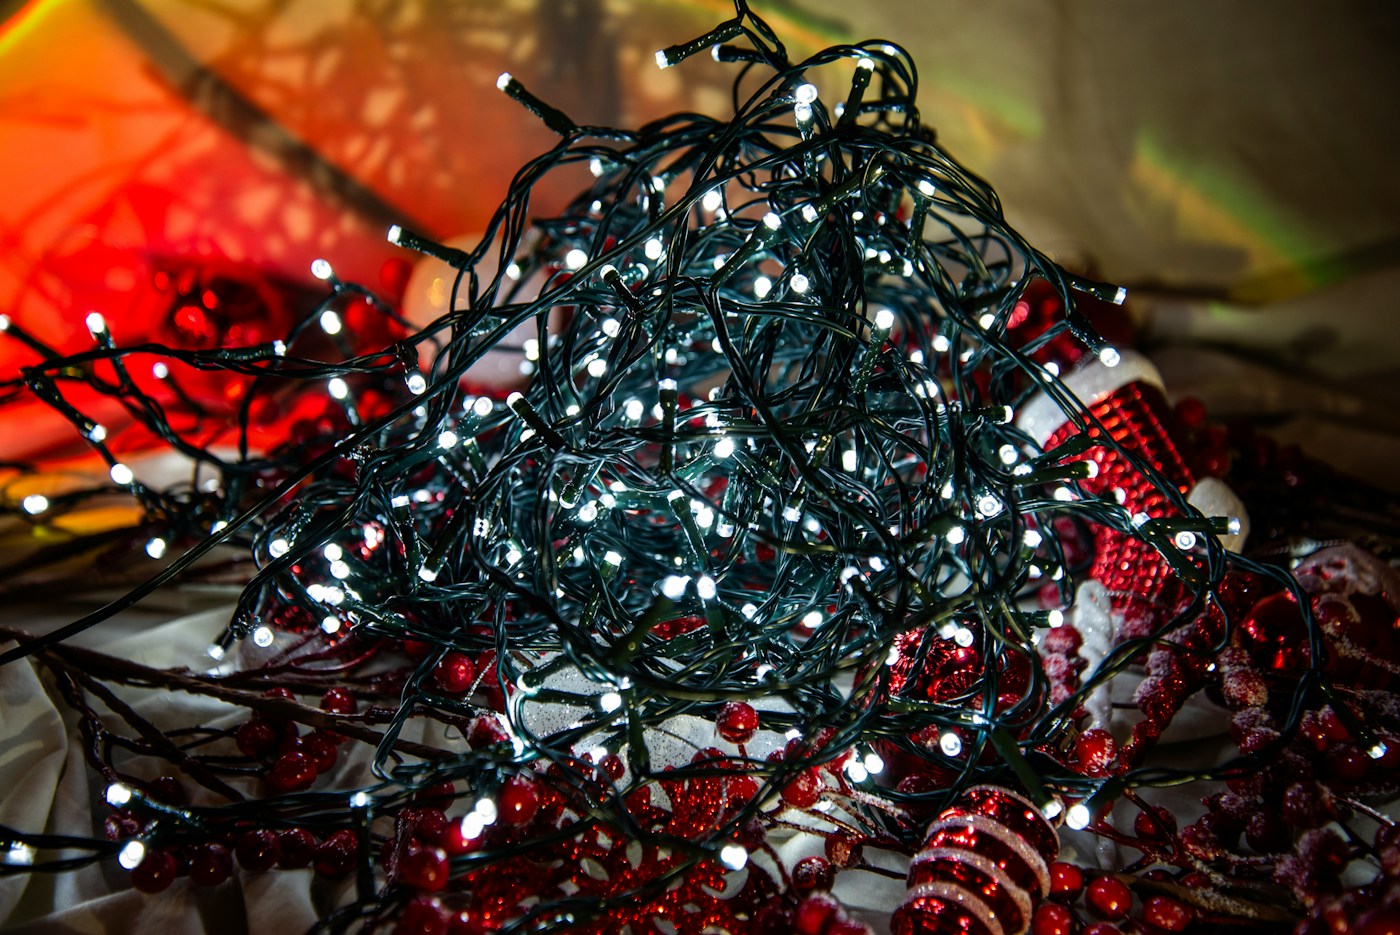
Inspect every strand unplugged, then test it. Toss anything with cracked sockets or bare wire. Untangle from the plug end. Wrap on a card, reel or hanger. Label length, indoor or outdoor, color and where it goes. Store in one tote where it won’t be crushed or get wet.
Step 1: Inspect before you test (and before you hang)
Lay each strand out on a table or clean floor with it unplugged. The U.S. Consumer Product Safety Commission advises checking every set of lights, new or old, for broken or cracked sockets and frayed or bare wires, and throwing away damaged sets. Look closely at the plug and where the wire enters each socket, since that’s where wear shows up.
Also check the tag near the plug:
- A testing-lab mark. CPSC recommends lights tested for safety by a recognized testing laboratory. Look for a mark from one such as UL, ETL or CSA on the tag or package.
- Indoor or outdoor. CPSC says to check that lights are labeled for outdoor use before using them outside. Indoor-only sets stay indoors.
- Maximum connections. Many sets print how many strands can be connected end to end. Stay within it.
Then plug it in. If a section is dark, many plug-in sets have replacement fuses in a small compartment in the plug, and some come with spare bulbs. Unplug before opening the fuse door or replacing a bulb.
Step 2: Untangle from the plug end
Find the plug, then work along the strand, loosening knots rather than pulling on them. Pulling on the wire is what stresses sockets and connections. A second person feeding slack helps with long strands. If a strand is badly knotted and also old or damaged, that’s a good sign to replace it rather than spend an hour.
Step 3: Choose a wrapping method
Any method works if you use it every year. The choice comes down to how many strands you have and how much room you have to store them.
| Method | Best for | Trade-off |
|---|---|---|
| Notched cardboard card | Any strand; free | Flat cards stack well but can bend if the box gets crushed |
| Plastic reel or spool | Long outdoor strands | Takes more room; costs a little |
| Clothes hanger | A few strands hung in a closet | Needs rod space |
| Bucket or coffee can, coiled | Short strands, quick takedown | Easy to fill fast; still needs care to avoid knots |
| Original box | Pre-lit pieces or new sets | Rarely fits once the lights are off the form |
How to wrap a card
- Cut a rectangle from a sturdy shipping box.
- Cut a small slit in one short end and tuck the plug into it.
- Wrap the strand around the card’s length, keeping it snug but not tight, so bulbs sit side by side rather than stacked.
- Tuck the end plug into a slit at the other end.
- Write the label on the card itself.
Step 4: Label everything
Next year’s decorating goes faster when each card says exactly what it is. Write or print:
- Length (from the tag or package)
- Indoor or outdoor
- Color and bulb type, such as warm white mini or multicolor C9
- Where it went: tree, porch railing, front window
- The year you tested it
A label maker makes this quick for a big batch; our label maker comparison covers handheld and Bluetooth options. A permanent marker on the card works just as well.
Step 5: Store them in one tote, somewhere dry
Put the wrapped cards on edge in a single latching tote, like files in a drawer, with extension cords, timers and spare fuses in a zip bag on top. Standing the cards on edge means you can pull one without unpacking the rest. Our ornament and decoration storage comparison includes a latching tote sized for lights and garland.
Store the tote where it won’t be crushed under heavy boxes or sit in water: a closet shelf, a sturdy garage shelf, or overhead garage storage that clears the door track. Our garage ceiling storage guide covers what to check before putting bins overhead.
Safety notes for this season
- Extension cords: CPSC advises using cords rated for the intended use, and its holiday tips say to use no more than three standard-size sets of lights per single extension cord. Follow the connection limit printed on your lights too.
- Outdoor outlets: CPSC recommends plugging outdoor lights into circuits protected by ground fault circuit interrupters (GFCIs).
- Fasten outdoor strands securely to the house, railing or tree so wind doesn’t damage them.
- Turn them off when you go to bed or leave the house; CPSC notes lights could short and start a fire. A plug-in timer handles this automatically.
- Taking them down: unplug first, unclip rather than pull, and wrap each strand right away so it never makes it into a loose pile.
- Each strand inspected unplugged for cracked sockets and bare wire.
- Testing-lab mark and indoor/outdoor rating checked.
- Damaged strands thrown away, not stored.
- Strands untangled from the plug end.
- Wrapped on cards or reels, plugs tucked in.
- Labeled: length, indoor/outdoor, color, location, year tested.
- Stored on edge in one tote, dry and uncrushed.
Helpful light storage supplies
Affiliate disclosure: As an Amazon Associate I earn from qualifying purchases. These links open Amazon search results for each type of item, not recommendations for a specific model we’ve tested.
Questions
What’s the best way to store Christmas lights so they don’t tangle?
Wrap each strand around something rigid, such as a notched cardboard card or a reel, with both plugs tucked in, and store the wrapped strands on edge in a tote so they can’t shift into a pile.
Should I keep a strand that only partly lights?
Check the fuse in the plug and any loose bulbs first, with the strand unplugged. If the wires or sockets are damaged, CPSC’s advice is to throw the set away.
Can indoor lights be used outside?
No. CPSC advises checking that lights are labeled for outdoor use before installing them outside, and plugging outdoor lights into GFCI-protected circuits.
Sources: U.S. Consumer Product Safety Commission, Holiday Decoration Safety Tips. General guidance; follow the instructions on your lights. See our editorial policy.
Keep reading
More guides for your space
THE KINDRED JOURNAL
Latest from the journal
- Ideal Indoor Humidity in Winter: Find Your Number, Check Your Meter, Then Add Only What the Room Needs
 Aim for 30 to 50% and never humidify past 50%, let the windows set the limit on the coldest nights, salt-test your hygrometer before you trust it, seal drafts first because a whole bedroom needs only about 4½ ounces of water, and clean the tank on a schedule: a winter humidity guide with the math worked out.
- Toy Storage Ideas: 13 Ways to Make Room Before the Holiday Toy Wave
 Edit the toys before the gifts arrive, give each kind of play one open bin on an anchored low shelf, keep small parts and spare batteries out of a toddler’s reach, skip latching lids and rotate the extras: thirteen toy storage ideas for the weeks before and after the holidays.
- Best Gift Wrap Organizers: 5 Picks for a Closet Corner, Under the Bed or the Back of a Door
 An upright box that holds up to 32 long rolls, a 41.5-inch under-bed bag for big collections, a water-resistant zip bag, an over-the-door organizer and a slim canvas case for eight rolls: five gift wrap organizers matched to the space you can give them.
- Cord and Cable Storage: 13 Ideas for the Spare Chargers, Cables and Adapters Nobody Can Find
 Match every cable to a device you still own, keep a sensible number of spares by connector type, coil them loosely, label the mystery bricks, hang the extension cords and send old batteries and dead cables to a proper drop-off: thirteen ways to store spare cords so the right one turns up in seconds.
- Window Condensation in Winter: Find Which Side the Water Is On, Then Match Humidity to the Forecast
 Do the wipe test to tell room-side fog from a failed seal, check a hygrometer against the outdoor low, keep humidity at or under 40% above 20°F and 30% below 10°F, run the fans, open the curtains by day and dry wet sills the same morning: a window condensation guide with a worked cold-week example.
- How to Clean a Range Hood Filter Before Holiday Cooking: Know Your Filter Type, Then Put It on the Calendar
 Wash metal mesh and baffle filters in hot soapy water or the dishwasher, replace charcoal filters instead of rinsing them, never run the hood with the filter out, and clean the weekend before Thanksgiving and again before Christmas: a range hood filter guide with a worked holiday cleaning calendar.
- Drying Clothes Indoors in Winter: Where the Rack Goes, How Much Rail You Need and What It Saves
 One load gives off about 2 liters of water as it air-dries, so put the rack where that moisture can leave, keep it 3 feet from the space heater, count inches of rail before you buy, space and turn the heavy things, watch humidity and window condensation, and know what the dryer you’re skipping really costs: indoor drying with the math.
- Hat, Glove and Scarf Storage by the Door: One Bin Per Person, Sized to What They Actually Wear
 Keep a daily set plus one dry spare per person, size an open bin for each from a quick measurement, dry wet mittens before they go in, clip pairs together, hang woven scarves and fold knits, skip long scarves on the playground and wash wool before it’s sealed away: a hat and glove station with a worked bin-size example.
- Guest Room That Doubles as Storage: Pick the Bed by Floor Space, Keep the Window Clear
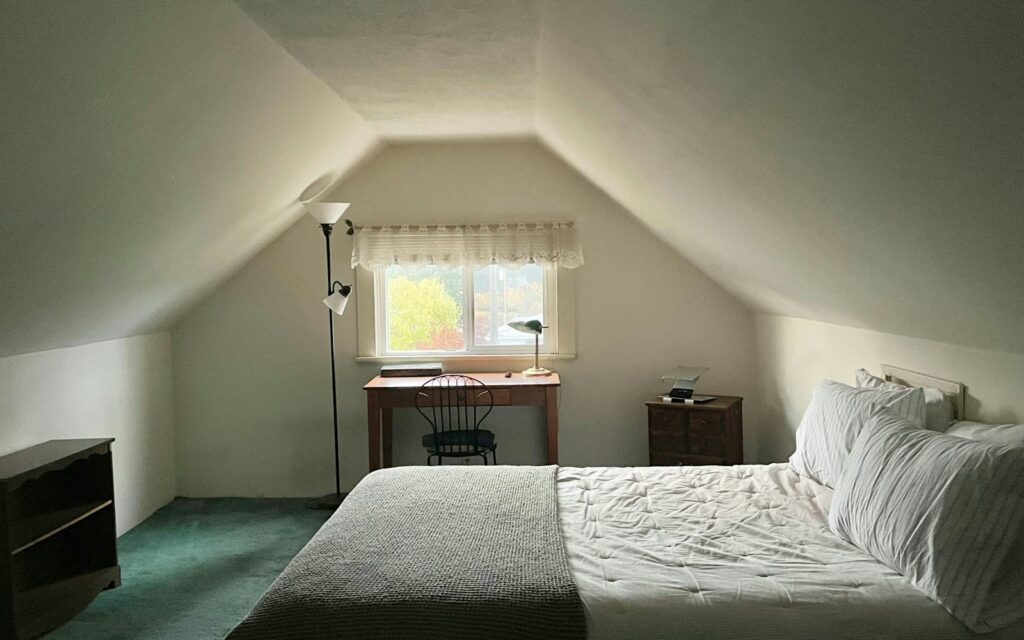 Count the nights the room really hosts, compare bed footprints before comfort, put storage on one wall behind a curtain, keep the window and door clear, leave guests half the closet and one drawer, and pack a single guest bin: a storage room that turns into a guest room in fifteen minutes, with a worked 10 by 11 foot example.