Here’s a fact that changes how you organize makeup: in the U.S., cosmetics aren’t required to carry an expiration date at all. That means the tube of mascara at the bottom of the drawer has no built-in reminder that it’s past its prime, and the only system that tells you is the one you set up. The fourteen ideas below start with an honest edit, then give each product a home based on how often you reach for it, so the stuff you use every morning is the easiest to grab and the rest stops crowding it out.
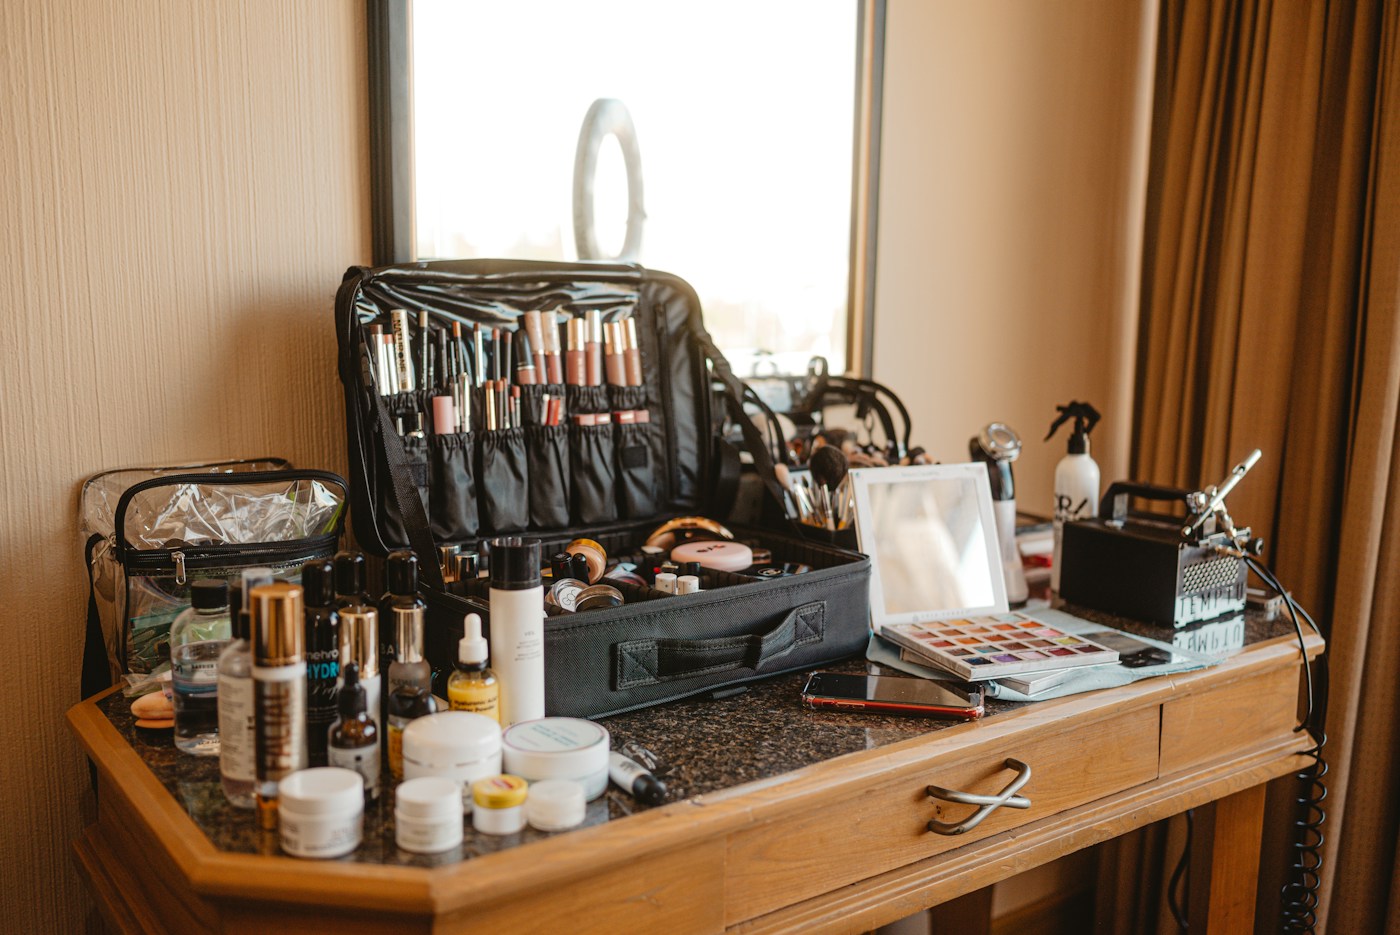
Toss anything dried out or past its useful life, split what’s left into a daily kit, an occasional drawer and a small backstock box, and store palettes upright like books. If your bathroom gets steamy, move everything except the daily kit somewhere drier. Ideas 1, 3 and 9 cost nothing and do most of the work.
Edit before you organize
1. Start with the products that age fastest
The FDA notes that manufacturers usually recommend throwing mascara away two to four months after you buy it, and that eye-area products tend to have shorter shelf lives than other cosmetics. Pull every mascara and liquid liner first. If a mascara has gone dry, the FDA’s advice is simple: throw it away rather than adding water or saliva, which introduces bacteria.
Then go through the rest and remove anything that has changed color, texture or smell, anything you’ve kept “just in case” for a year, and shades that never suited you. Be honest about duplicates: three nearly identical nude lipsticks can become one.
2. Write the open date on the product
Since there’s no required expiration date, add your own. A fine-tip permanent marker or a small label on the base of a mascara, foundation or cream product gives you the month you opened it. Many products also print a small open-jar symbol with a number like “6M” or “12M,” which is the maker’s suggested use period after opening.
Try it if you can never remember when you bought something. A label maker makes this faster for a big batch; our label maker comparison covers handheld and Bluetooth options.
3. Sort by routine, not by product type
Before buying a single organizer, make three piles on a towel: what you use every day, what you use for evenings or weekends, and backups or rarely used items. This split decides where things live. Most people find the daily pile is surprisingly small, often under ten items, and that pile is the one that deserves the best spot.
Give the daily kit a home
4. Keep the daily kit in one lift-out bin
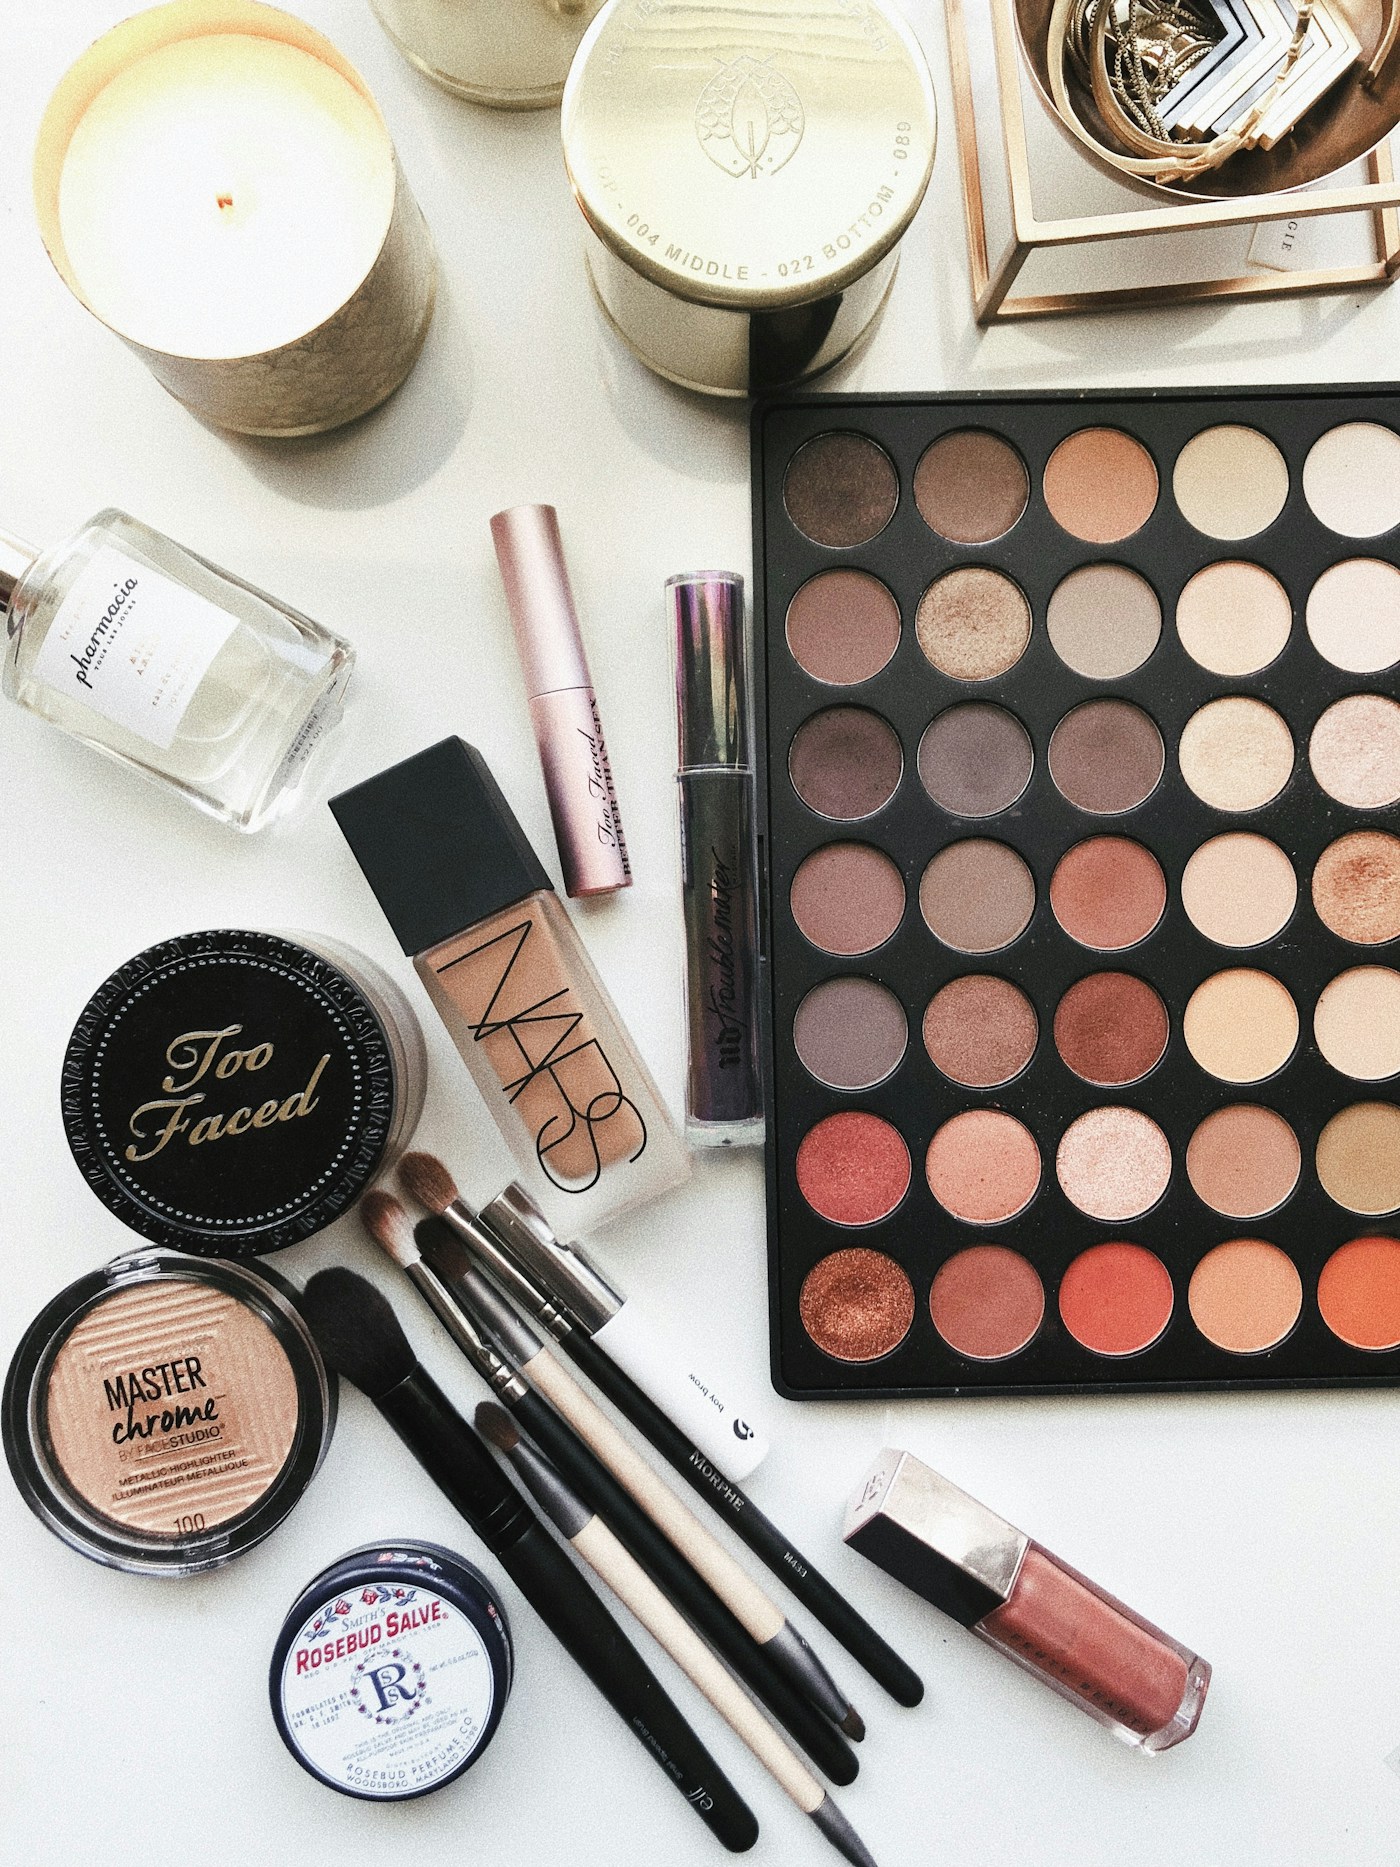
A single small bin or tray holding foundation, concealer, one palette, mascara, a brow product and one lip color can come out of the drawer, sit beside the sink while you work, and go back in one motion. That keeps the counter clear the rest of the day. A bin roughly the size of a paperback book is often enough, but measure the drawer or shelf where it will live and leave a little room to lift it out.
5. Stand brushes up in a cup, but only once they’re dry
Brushes stored upright keep their shape and are easy to grab. Put them in a cup or jar with some weight to it so it doesn’t tip, and sort by use: face brushes in one, eye brushes in another. After washing, let brushes dry fully before returning them to a closed drawer or cup; a damp brush packed away in a closed space dries slowly.
Skip it if your counter is already crowded. A brush roll or a divided drawer tray works too.
6. Keep the splash zone empty
Powder compacts and palettes don’t mix with faucet splashes. Whatever stays on the counter goes in the dry corners, away from the sink. Our bathroom counter guide shows how to find your dry zone with a quick faucet test.
Organize the drawer
7. Measure the drawer’s inside height first
Lipsticks and pencils fit drawers as shallow as 2 to 3 inches; foundation bottles and setting sprays often need more. Measure the inside height from the drawer floor to the bottom of the counter or the drawer above, then choose trays that leave a finger’s width of clearance. Our bathroom drawer organizer guide explains why depth matters more than width.
8. Give each category its own small tray
Modular trays in two or three sizes let you build a grid: one for lips, one for eyes, one for face, one for tools like tweezers and a sharpener. Clear or white trays make it easier to see what’s inside. Lay lipsticks on their side with the shade end facing you, or stand them in a lipstick insert with the bottom labels up.
9. File palettes vertically, like books
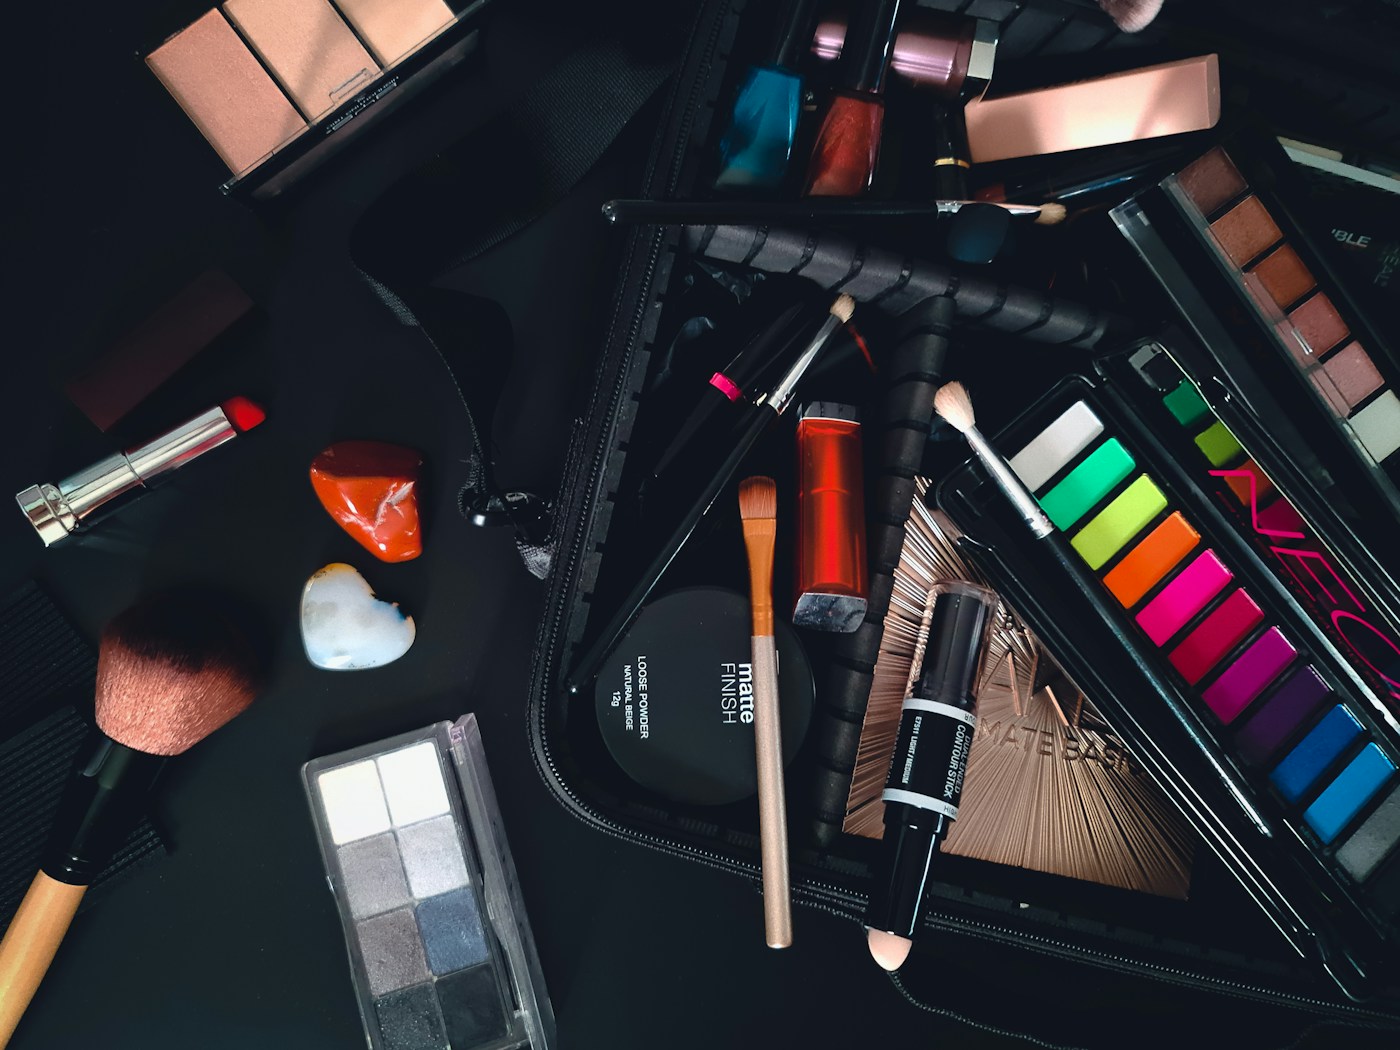
Stacked palettes mean the one you want is always at the bottom. Standing them on edge in a narrow bin, a file sorter or even a small plate rack lets you see every spine and pull one out without moving the rest. Put the most-used palette at the front.
Try it if you own more than three palettes.
Find better places for the rest
10. Move the occasional stash out of a steamy bathroom
The FDA notes that moisture, such as in a bathroom, can make it easier for bacteria and fungi to grow in cosmetics, and that heat, sunlight and temperature changes can affect color, texture and smell. If your bathroom fogs up during showers, keep only the daily kit there. The rest can live in a dresser drawer, a lidded box on a closet shelf, or a small vanity in the bedroom.
11. Keep products off windowsills and out of the car
A sunny windowsill or a car glovebox is the worst place for makeup. The FDA specifically warns against leaving cosmetics somewhere hot, such as a hot car. A purse kit should come inside with you rather than living in the car through summer.
12. One backstock box, with a “use first” rule
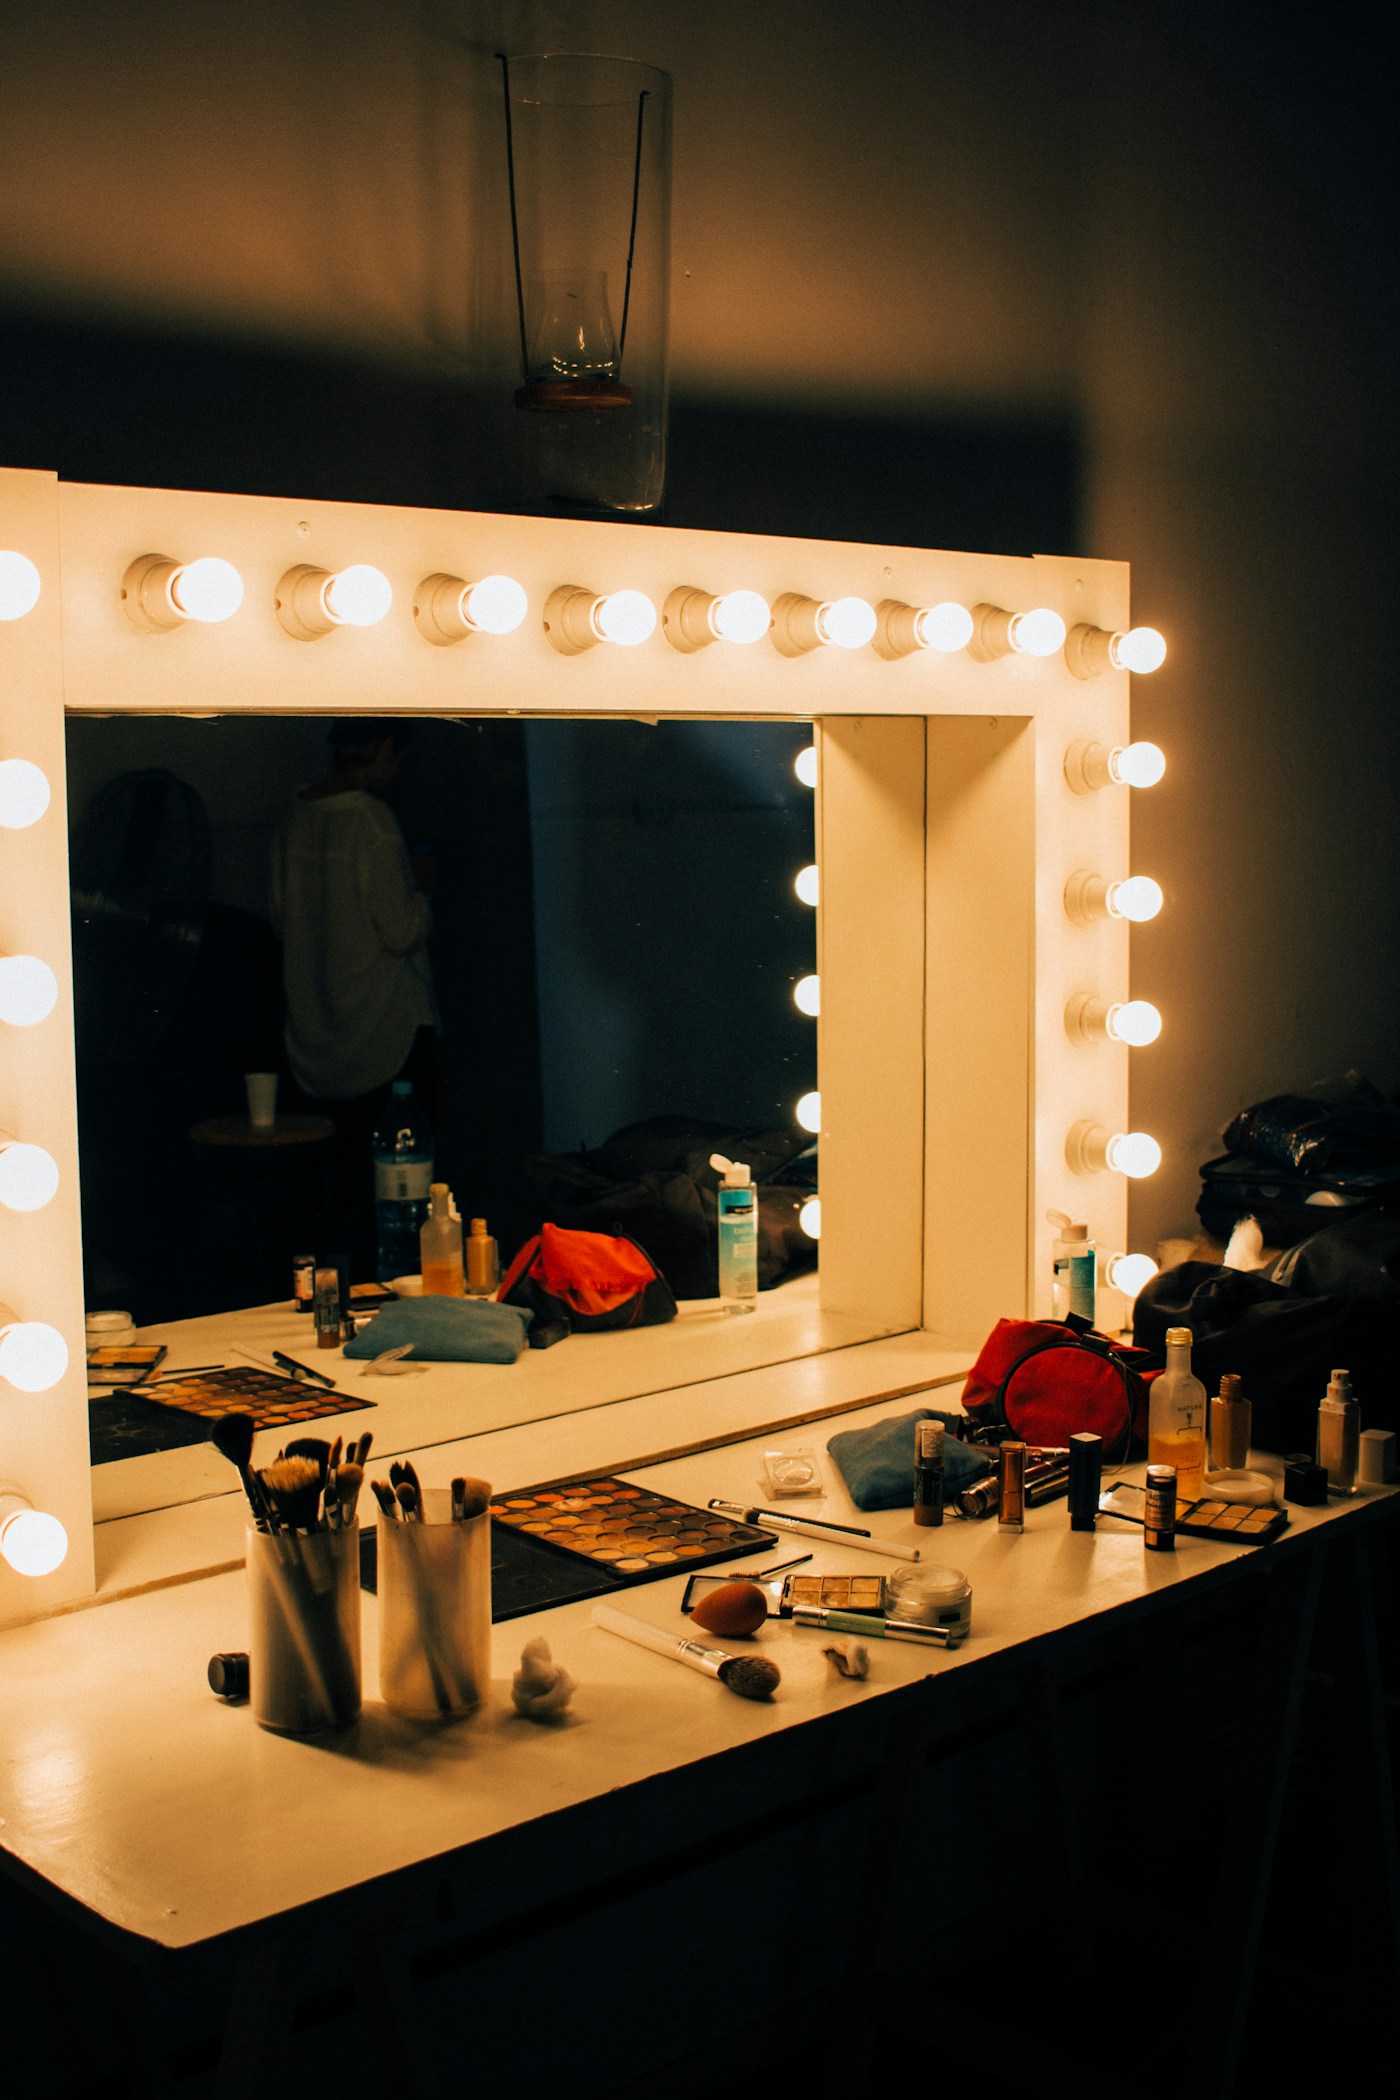
Unopened backups, samples and minis go in one lidded box. Before buying a new product, check the box. Samples are easy to forget, so set a simple rule: when the box is full, use from it before buying more.
13. Pack a travel kit before holiday trips
With holiday travel coming up, a ready-to-go kit saves a frantic morning. Keep a small pouch stocked with minis, and if you fly carry-on only, put liquids, gels and aerosols in containers of 3.4 ounces (100 milliliters) or less in one quart-size bag, which is TSA’s 3-1-1 rule. Liquid foundation and setting spray count; check TSA’s list if you’re unsure about a specific item.
14. Give each person their own kit and do a monthly reset
In a shared bathroom, separate kits avoid mix-ups, and the FDA’s advice is not to share makeup because you may be sharing an infection. Our shared bathroom ideas cover color-coded bins for families. Then, once a month, spend five minutes putting strays back, checking open dates and wiping the trays.
Where each item goes
| How often you use it | Where it goes | Examples |
|---|---|---|
| Every day | One lift-out bin near the mirror | Foundation, concealer, mascara, one lip color |
| Weekly or for evenings | Divided drawer trays or a dry dresser drawer | Extra lip colors, liners, highlighter |
| Palettes | Standing on edge in a narrow bin | Eyeshadow and face palettes |
| Backups and samples | One lidded box, away from steam and sun | Unopened products, minis |
| Travel | A pre-packed pouch | Minis, a quart-size bag for liquids |
- Dried or changed products tossed.
- Mascaras checked first; open dates written on.
- Products split into daily, occasional and backstock.
- Daily kit in one bin, out of the splash zone.
- Drawer measured before buying trays.
- Palettes standing upright.
- Occasional items stored away from steam, sun and heat.
- A monthly five-minute check on the calendar.
Helpful makeup organizers
Affiliate disclosure: As an Amazon Associate I earn from qualifying purchases. These links open Amazon search results for each type of item, not recommendations for a specific model we’ve tested. Measure your drawer or shelf before ordering.
Questions
Is it bad to store makeup in the bathroom?
Not necessarily, but the FDA notes that bathroom moisture can make it easier for bacteria and fungi to grow. A well-ventilated bathroom is fine for a daily kit; if yours stays steamy, keep the bulk of your makeup in a drier room.
How do I know when makeup has expired if there’s no date?
U.S. law doesn’t require cosmetics to carry expiration dates. Write the open date on each product, follow any period-after-opening symbol on the package, replace mascara within the two to four months manufacturers usually recommend, and toss anything that has dried out or changed in color, texture or smell.
What’s the best way to store a lot of lipsticks?
In a shallow drawer, either lying in a row with the shade end facing you or standing in an insert with the base labels up. Both let you see every shade at once instead of digging.
Sources: U.S. Food and Drug Administration, Shelf Life and Expiration Dating of Cosmetics · Transportation Security Administration, 3-1-1 Liquids Rule. General guidance; follow any directions on your products. See our editorial policy.
Keep reading
More guides for your space
THE KINDRED JOURNAL
Latest from the journal
- What Holiday Lights Really Cost to Run: LED vs. Incandescent, With the Math for Your Own Display
 Read the watts off each tag, multiply by your hours and your own rate, and the answer is clear: eight incandescent strings cost about $25.70 a season in our worked example and their LED versions about $2.18, big C9 bulbs pay back an LED swap in about three seasons, and working mini lights can wait.
- Ideal Indoor Humidity in Winter: Find Your Number, Check Your Meter, Then Add Only What the Room Needs
 Aim for 30 to 50% and never humidify past 50%, let the windows set the limit on the coldest nights, salt-test your hygrometer before you trust it, seal drafts first because a whole bedroom needs only about 4½ ounces of water, and clean the tank on a schedule: a winter humidity guide with the math worked out.
- Toy Storage Ideas: 13 Ways to Make Room Before the Holiday Toy Wave
 Edit the toys before the gifts arrive, give each kind of play one open bin on an anchored low shelf, keep small parts and spare batteries out of a toddler’s reach, skip latching lids and rotate the extras: thirteen toy storage ideas for the weeks before and after the holidays.
- Best Gift Wrap Organizers: 5 Picks for a Closet Corner, Under the Bed or the Back of a Door
 An upright box that holds up to 32 long rolls, a 41.5-inch under-bed bag for big collections, a water-resistant zip bag, an over-the-door organizer and a slim canvas case for eight rolls: five gift wrap organizers matched to the space you can give them.
- Cord and Cable Storage: 13 Ideas for the Spare Chargers, Cables and Adapters Nobody Can Find
 Match every cable to a device you still own, keep a sensible number of spares by connector type, coil them loosely, label the mystery bricks, hang the extension cords and send old batteries and dead cables to a proper drop-off: thirteen ways to store spare cords so the right one turns up in seconds.
- Window Condensation in Winter: Find Which Side the Water Is On, Then Match Humidity to the Forecast
 Do the wipe test to tell room-side fog from a failed seal, check a hygrometer against the outdoor low, keep humidity at or under 40% above 20°F and 30% below 10°F, run the fans, open the curtains by day and dry wet sills the same morning: a window condensation guide with a worked cold-week example.
- How to Clean a Range Hood Filter Before Holiday Cooking: Know Your Filter Type, Then Put It on the Calendar
 Wash metal mesh and baffle filters in hot soapy water or the dishwasher, replace charcoal filters instead of rinsing them, never run the hood with the filter out, and clean the weekend before Thanksgiving and again before Christmas: a range hood filter guide with a worked holiday cleaning calendar.
- Drying Clothes Indoors in Winter: Where the Rack Goes, How Much Rail You Need and What It Saves
 One load gives off about 2 liters of water as it air-dries, so put the rack where that moisture can leave, keep it 3 feet from the space heater, count inches of rail before you buy, space and turn the heavy things, watch humidity and window condensation, and know what the dryer you’re skipping really costs: indoor drying with the math.
- Hat, Glove and Scarf Storage by the Door: One Bin Per Person, Sized to What They Actually Wear
 Keep a daily set plus one dry spare per person, size an open bin for each from a quick measurement, dry wet mittens before they go in, clip pairs together, hang woven scarves and fold knits, skip long scarves on the playground and wash wool before it’s sealed away: a hat and glove station with a worked bin-size example.