The most common bathroom counter mistake is buying an organizer before deciding what belongs on the counter at all. A big three-tier caddy can hold everything, and then it sits in the only dry, flat spot you had, with a ring of water and toothpaste around its base. The ideas below start the other way around: decide what earns counter space, protect the area you actually use, and send everything else somewhere better.
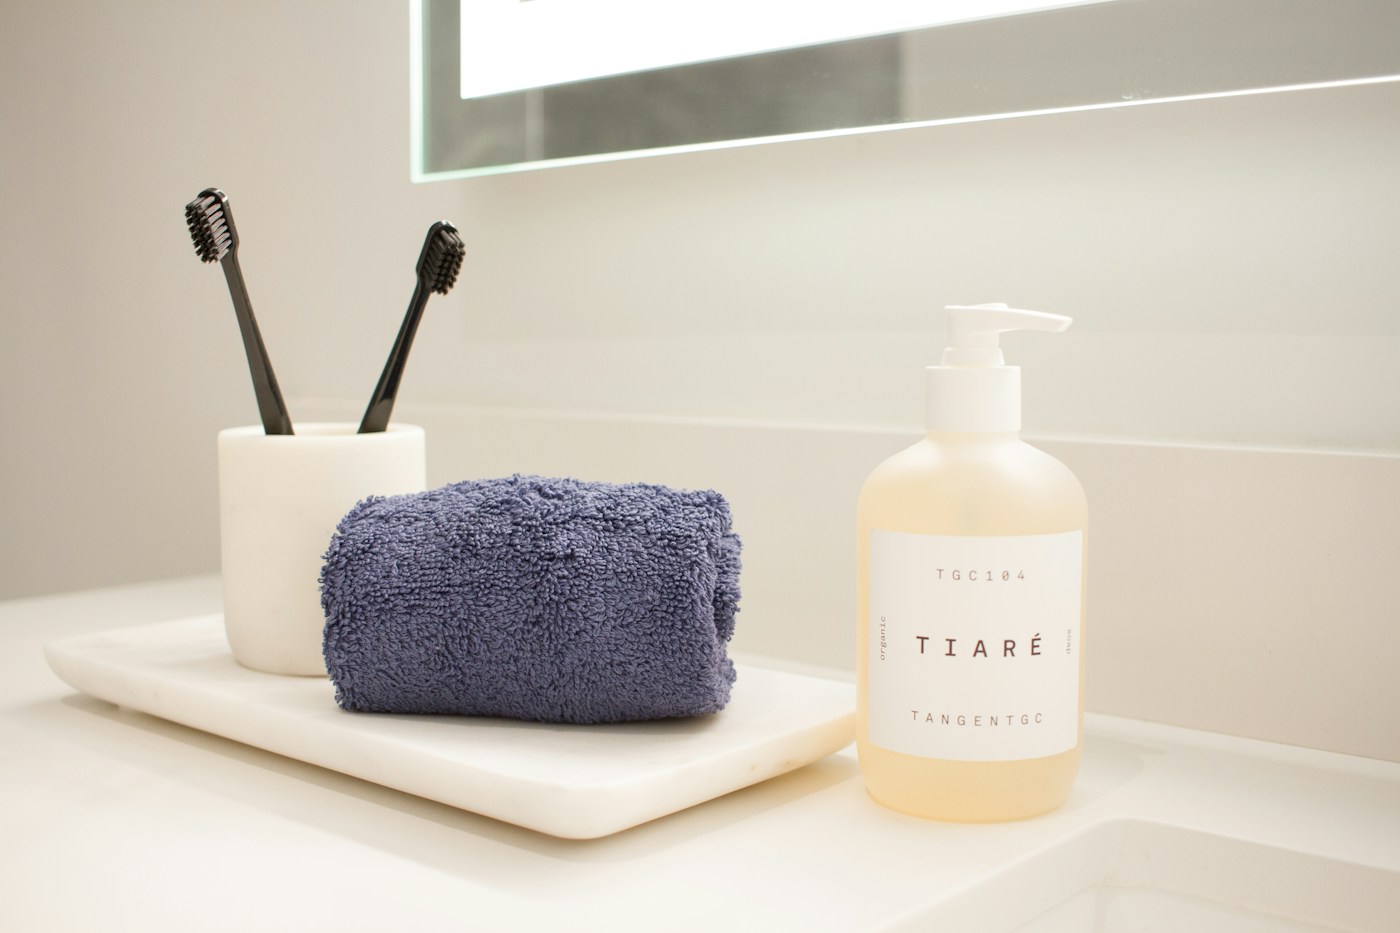
Ideas 1 and 2 are free and take ten minutes: clear the counter, then put back only what you use every day. Ideas 3 and 5 are the two small purchases that make the biggest difference. Everything after that is about giving the rest a better home.
Decide what stays
1. Use the “every single day” test
Clear the whole counter onto a towel. Put back only what someone uses daily: hand soap, toothbrushes and toothpaste, and maybe one moisturizer or a contact lens case. Everything else, including the cologne you wear on weekends and the hair serum you use twice a week, goes into a “find it a home” pile for ideas 8 through 12.
Most counters get crowded with things used weekly, not daily. Moving those a few inches into a drawer or cabinet costs a second each time and gives you back the counter.
2. Measure your dry zone before buying anything
Turn the faucet on at normal pressure, wash your hands the way you usually do, and look at where the water lands. That splash area around the faucet should stay empty. What’s left, usually the corners and the strip along the backsplash, is your real storage space.
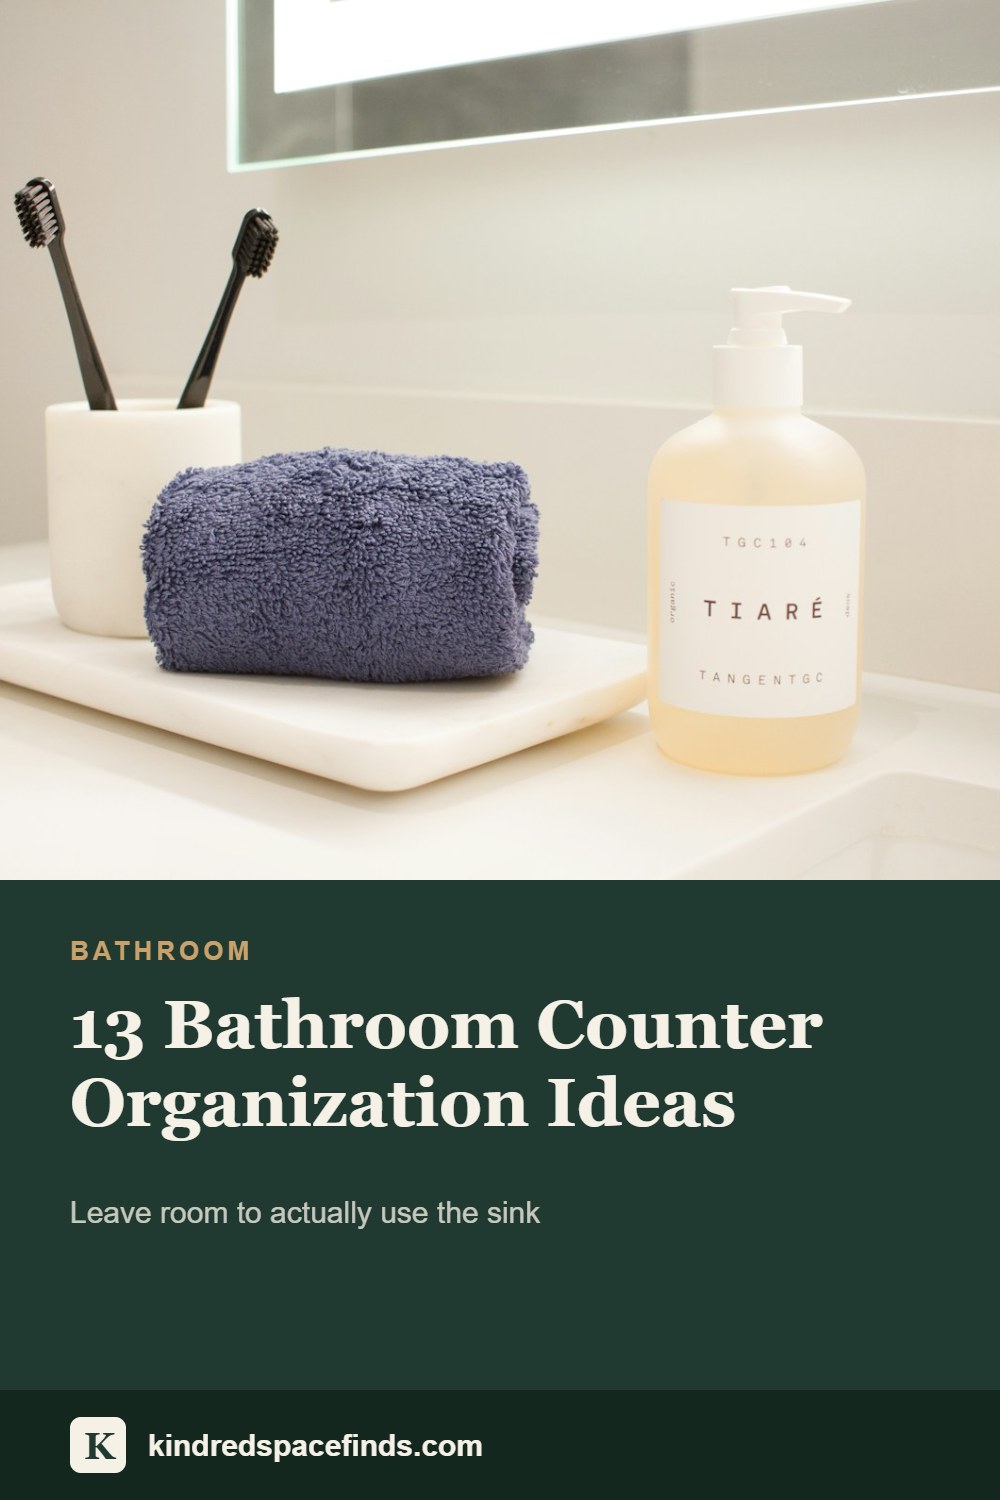
3. Corral the daily items on one tray
A tray turns six small things into one object. You lift it, wipe the counter, put it back. Choose one with a raised rim and a material that handles water: glazed ceramic, stone, sealed wood, acrylic or metal with a rust-resistant finish. A small cork or silicone pad under it helps if the tray traps water.
Try it if you clean the counter with one hand while holding things up with the other.
Give the daily items better homes
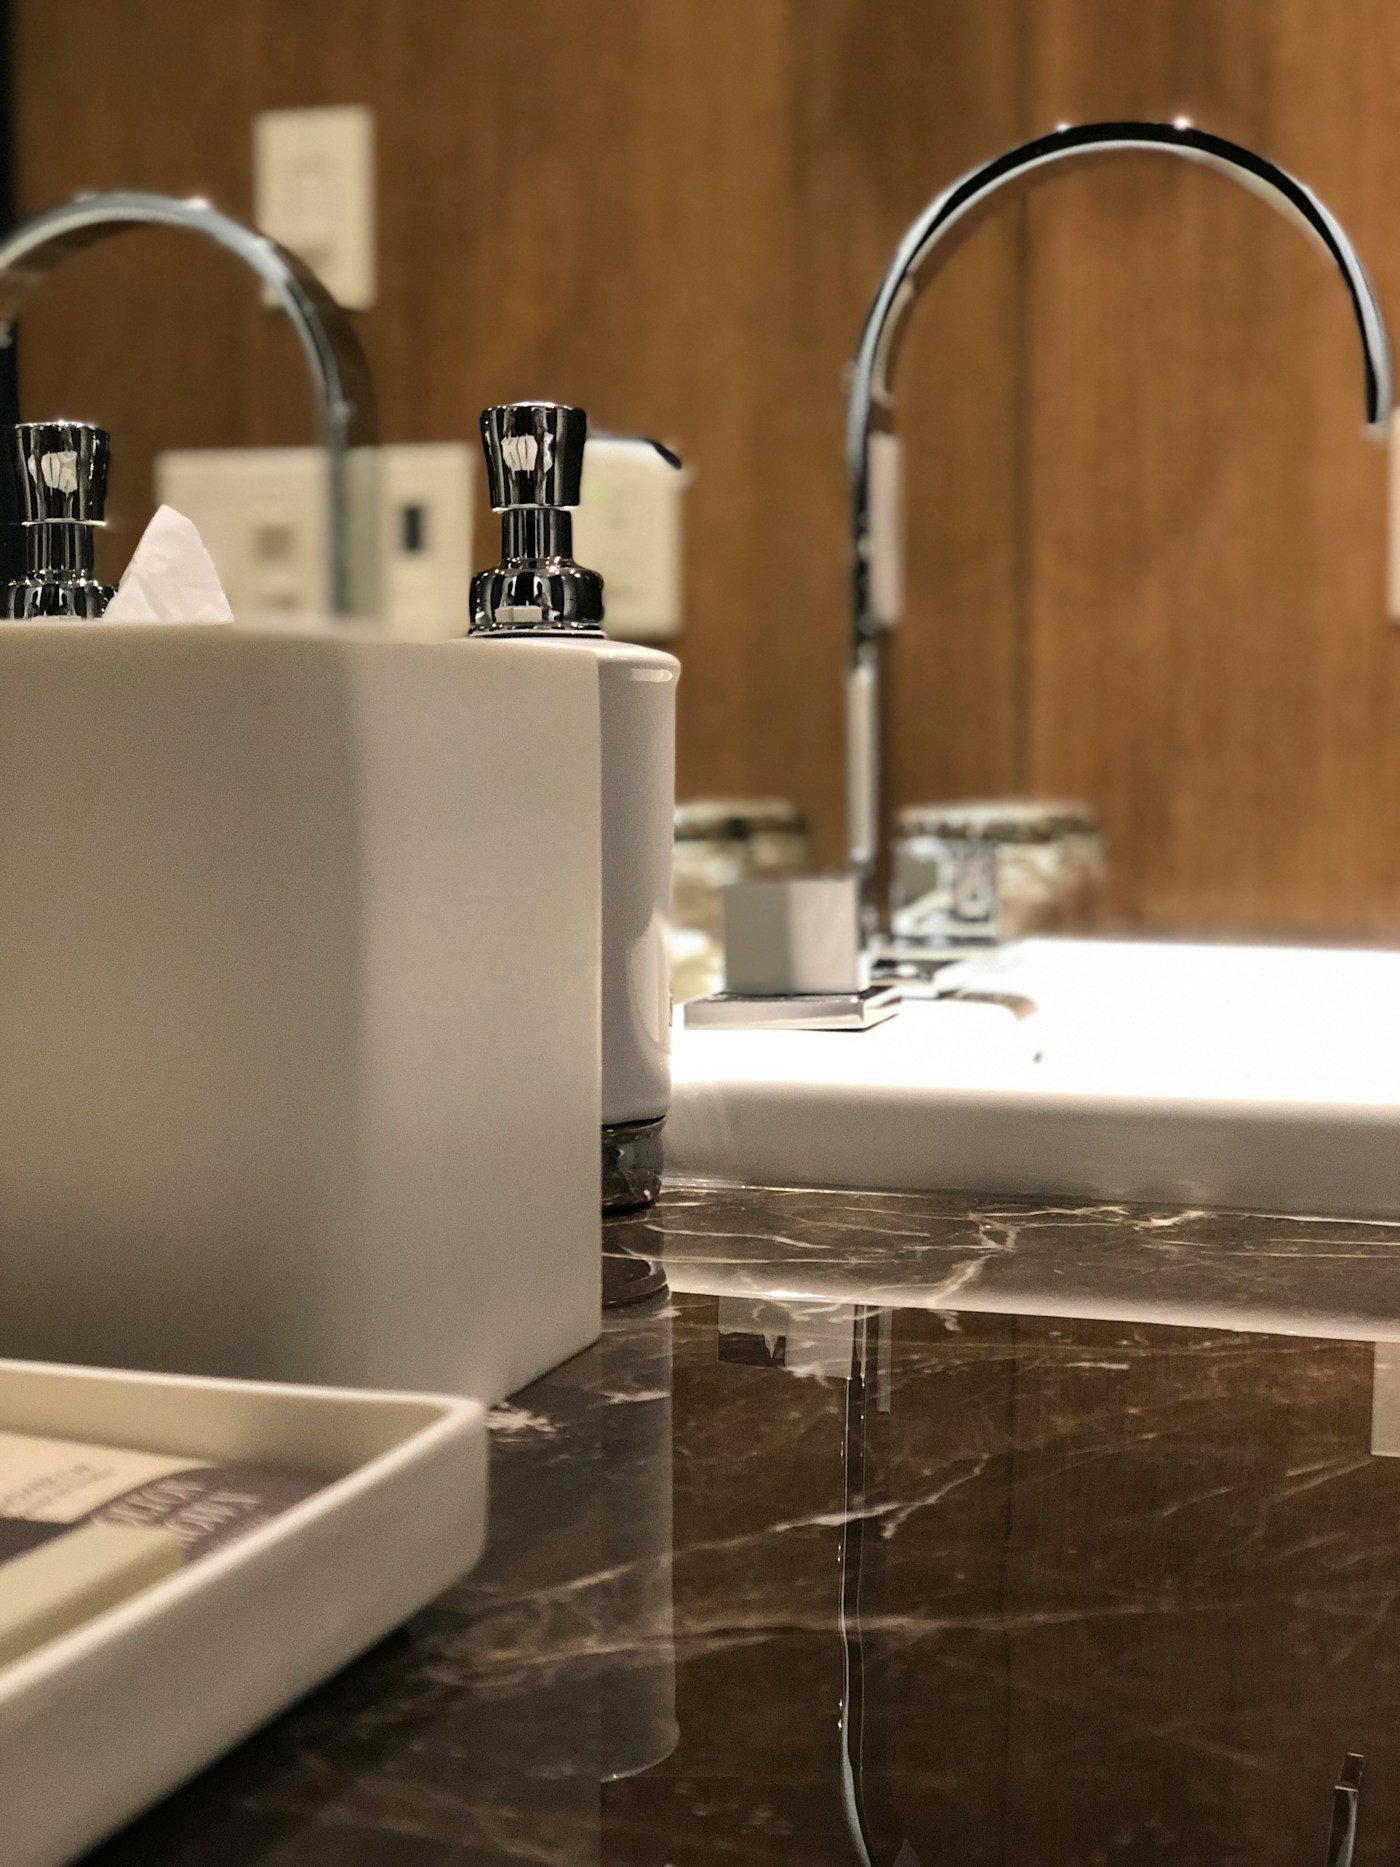
4. One soap pump, one spot
Two half-used soaps, a bar on a dish and a travel bottle all take space. Pick one pump dispenser, refill it from a larger bottle stored under the sink, and give it a permanent place nearest the faucet, inside the tray or right beside it.
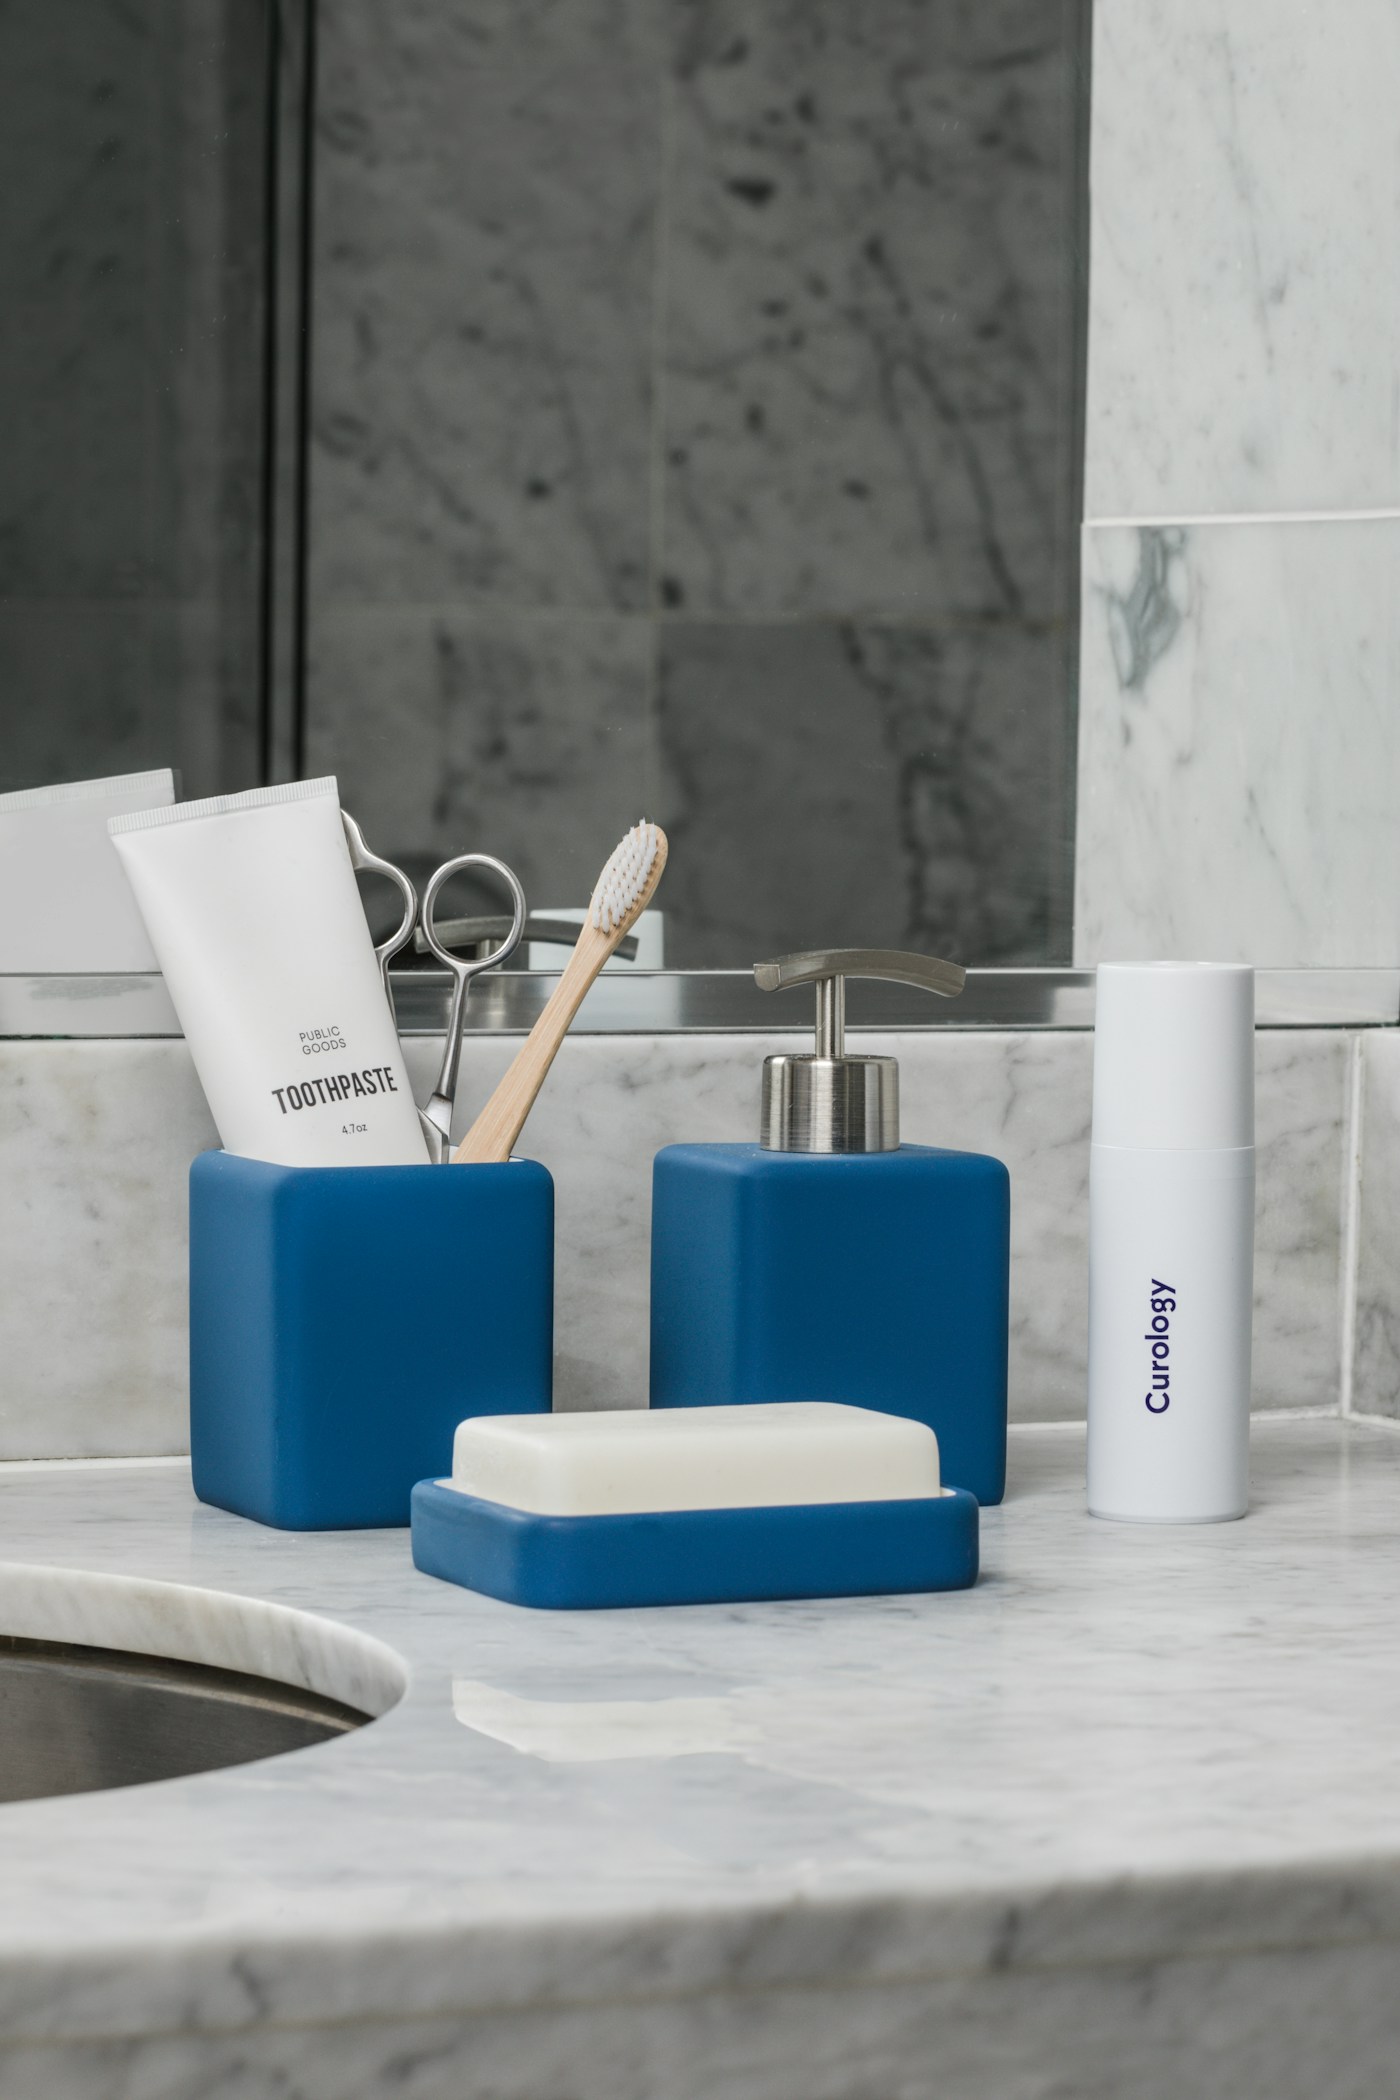
5. Store toothbrushes upright and apart
The American Dental Association advises storing a toothbrush upright so it can air dry, not routinely covering it or keeping it in a closed container, and keeping brushes in a shared holder separated from each other. A holder with individual slots does this better than one cup with four brushes leaning together. A wall-mounted or adhesive holder takes it off the counter entirely.
Skip it if you use an electric toothbrush on a charging base; the base already gives it a fixed spot. Put the charger at the back, away from the splash zone.
6. Go up in the corner, not across
If a corner has 6 or 7 inches of free space, a small two-tier stand or a turntable uses height instead of width. A turntable works especially well for skincare bottles: spin it rather than knocking over the front row to reach the back. Measure the clearance under the mirror or medicine cabinet before choosing height.
7. Use the backsplash or the wall
A narrow shelf above the backsplash, or an adhesive ledge on the tile, holds a few small bottles where water from the faucet rarely reaches. Renters can use adhesive versions rated for the weight you’ll put on them, applied to clean, dry tile and given the curing time the maker lists. Our no-drill bathroom storage guide has more renter options.
Move everything else off the counter
8. Get hair tools off the counter and unplugged
Hair dryers, straighteners and curling irons are the biggest counter hogs, and the riskiest. The CPSC’s home electrical safety checklist advises unplugging small appliances such as hair dryers and curling irons when not in use, because even a switched-off appliance that’s plugged in can cause a shock if it falls into water. It also says to make sure the bathroom’s GFCI outlets work and to test them monthly.
Let hot tools cool fully, then move them to a holder on the inside of a cabinet door or a bin under the sink. Make sure the door holder is made for hot tools or only goes in once the tool has cooled, and check that the cabinet door still closes.
9. Let the medicine cabinet handle the small daily things
Floss, razors, tweezers and a backup toothpaste fit on shallow mirror-cabinet shelves. Put what you use every morning at eye level. Our medicine cabinet guide covers what shouldn’t be stored in a humid bathroom in the first place.
10. Use the top drawer for weekly items
Things you use a few times a week, such as a hair serum, a face mask or nail clippers, belong in the top vanity drawer, sorted into shallow trays. Measure the drawer’s inside height first; our bathroom drawer organizer guide explains why depth matters more than width.
11. Put backups under the sink, not on the counter
Spare soap, extra toothpaste and refill bottles go under the sink in one labeled bin. Keep the shutoff valves and the drain trap easy to reach. Our under-sink measuring guide shows how to plan around the pipes.
12. No drawers? Add one shelf above the toilet
A pedestal sink or a floating vanity with no drawers needs storage somewhere else. A wall shelf or an over-the-toilet unit can hold a lidded basket of weekly items. Check the clearance above your tank first; our over-the-toilet storage comparison lists the clearances to look for.
Keep it that way
13. Split a shared counter, then do a two-minute reset
If two people share one vanity, give each person one side and one tray. What doesn’t fit on your tray goes to your drawer or your bin. Our shared bathroom ideas cover color codes and caddies for larger households.
Then make the reset part of the routine: once a day, put stray items back, wipe under the tray and toss empty bottles. Two minutes a day keeps the counter from sliding back to where it started.
Where each item goes
| How often you use it | Where it goes | Examples |
|---|---|---|
| Several times a day | On the counter, in the dry zone | Hand soap, toothbrushes |
| Every morning or night | Tray, or the medicine cabinet at eye level | Moisturizer, floss, contact lens case |
| A few times a week | Top drawer, in trays | Serums, masks, nail tools |
| Hot tools | Cabinet door holder or a bin, unplugged and cooled | Hair dryer, straightener |
| Backups and refills | Under the sink, one labeled bin | Spare toothpaste, soap refills |
- Everything cleared and the counter wiped.
- Only daily-use items put back.
- Splash zone around the faucet left empty.
- Daily items grouped on one tray.
- Toothbrushes upright and separated.
- Hot tools unplugged, cooled and stored off the counter.
- Weekly items in a drawer, backups under the sink.
- A two-minute daily reset added to the routine.
Helpful counter organizers
Affiliate disclosure: As an Amazon Associate I earn from qualifying purchases. These links open Amazon search results for each type of item, not recommendations for a specific model we’ve tested. Measure your dry zone before ordering.
Questions
What should never be stored on a bathroom counter?
Plugged-in hot tools, and anything that’s damaged by humidity or should be out of children’s reach. Medicines usually belong somewhere cooler and drier; the medicine cabinet guide linked above explains why.
Should toothbrushes be covered on the counter?
The ADA advises against routinely covering toothbrushes or storing them in closed containers, because a moist, enclosed space encourages bacteria. Store them upright to air dry and keep shared brushes apart.
How do I stop water rings under organizers?
Keep organizers out of the splash zone, choose trays with raised feet or put a thin cork or silicone pad underneath, and lift the tray to wipe under it during your daily reset.
Sources: American Dental Association, MouthHealthy: Toothbrushes · U.S. Consumer Product Safety Commission, Home Electrical Safety Checklist. General guidance; measure your own vanity. See our editorial policy.
Related: Best hair tool organizers for hot tools and cords
Keep reading
More guides for your space
THE KINDRED JOURNAL
Latest from the journal
- What Holiday Lights Really Cost to Run: LED vs. Incandescent, With the Math for Your Own Display
 Read the watts off each tag, multiply by your hours and your own rate, and the answer is clear: eight incandescent strings cost about $25.70 a season in our worked example and their LED versions about $2.18, big C9 bulbs pay back an LED swap in about three seasons, and working mini lights can wait.
- Ideal Indoor Humidity in Winter: Find Your Number, Check Your Meter, Then Add Only What the Room Needs
 Aim for 30 to 50% and never humidify past 50%, let the windows set the limit on the coldest nights, salt-test your hygrometer before you trust it, seal drafts first because a whole bedroom needs only about 4½ ounces of water, and clean the tank on a schedule: a winter humidity guide with the math worked out.
- Toy Storage Ideas: 13 Ways to Make Room Before the Holiday Toy Wave
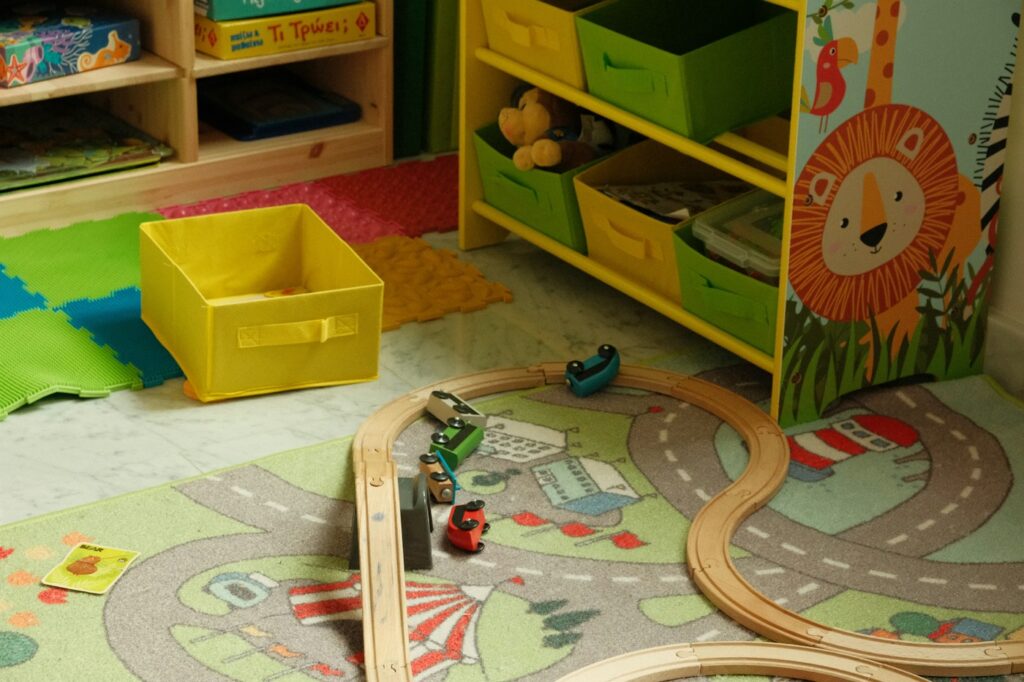 Edit the toys before the gifts arrive, give each kind of play one open bin on an anchored low shelf, keep small parts and spare batteries out of a toddler’s reach, skip latching lids and rotate the extras: thirteen toy storage ideas for the weeks before and after the holidays.
- Best Gift Wrap Organizers: 5 Picks for a Closet Corner, Under the Bed or the Back of a Door
 An upright box that holds up to 32 long rolls, a 41.5-inch under-bed bag for big collections, a water-resistant zip bag, an over-the-door organizer and a slim canvas case for eight rolls: five gift wrap organizers matched to the space you can give them.
- Cord and Cable Storage: 13 Ideas for the Spare Chargers, Cables and Adapters Nobody Can Find
 Match every cable to a device you still own, keep a sensible number of spares by connector type, coil them loosely, label the mystery bricks, hang the extension cords and send old batteries and dead cables to a proper drop-off: thirteen ways to store spare cords so the right one turns up in seconds.
- Window Condensation in Winter: Find Which Side the Water Is On, Then Match Humidity to the Forecast
 Do the wipe test to tell room-side fog from a failed seal, check a hygrometer against the outdoor low, keep humidity at or under 40% above 20°F and 30% below 10°F, run the fans, open the curtains by day and dry wet sills the same morning: a window condensation guide with a worked cold-week example.
- How to Clean a Range Hood Filter Before Holiday Cooking: Know Your Filter Type, Then Put It on the Calendar
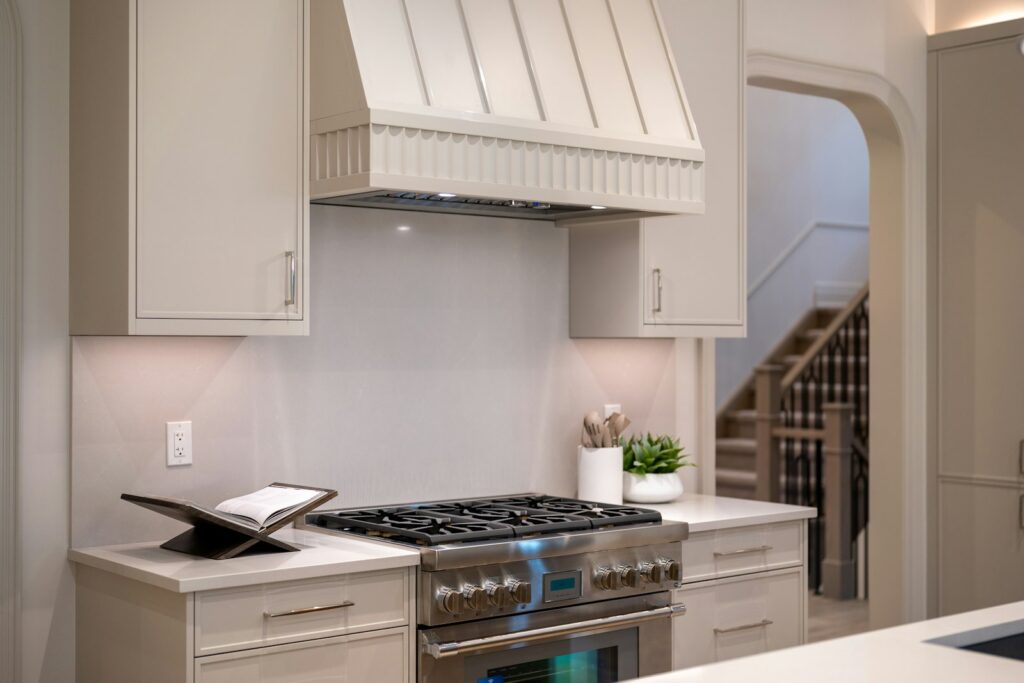 Wash metal mesh and baffle filters in hot soapy water or the dishwasher, replace charcoal filters instead of rinsing them, never run the hood with the filter out, and clean the weekend before Thanksgiving and again before Christmas: a range hood filter guide with a worked holiday cleaning calendar.
- Drying Clothes Indoors in Winter: Where the Rack Goes, How Much Rail You Need and What It Saves
 One load gives off about 2 liters of water as it air-dries, so put the rack where that moisture can leave, keep it 3 feet from the space heater, count inches of rail before you buy, space and turn the heavy things, watch humidity and window condensation, and know what the dryer you’re skipping really costs: indoor drying with the math.
- Hat, Glove and Scarf Storage by the Door: One Bin Per Person, Sized to What They Actually Wear
 Keep a daily set plus one dry spare per person, size an open bin for each from a quick measurement, dry wet mittens before they go in, clip pairs together, hang woven scarves and fold knits, skip long scarves on the playground and wash wool before it’s sealed away: a hat and glove station with a worked bin-size example.