You need the 10-inch skillet. It’s under the saucepan, which is under the sauté pan, which is wedged beneath the stockpot, and the lids are sliding around somewhere behind all of it. Getting it out means unstacking half the cabinet on the floor and putting it all back afterward. In a small kitchen this happens every night, and it isn’t a willpower problem. Stacked cookware just doesn’t work when you only have one or two cabinets to give it. Here are fourteen ways to fix that, from free to a weekend project.
If you only do two things: get the lids out of the pan stack (idea 3) and stand your skillets on their edge (idea 4). Together they usually solve most of the digging, and neither needs tools.
Start with what you own
1. Count the pans you actually cook with
Pull every pot, pan and lid out and put them on the counter. Then think back over the last month and set aside the ones you used. For many households that’s three to five pieces: a skillet, a saucepan, a larger pot and maybe a sheet-pan-sized roaster. Those earn the easiest spot. Everything else is backup, and backup can live higher, lower or farther away.
Try it if your cookware came as a big boxed set. Sets often include sizes that sit unused.
2. Match lids to pots and let the strays go
While everything’s out, pair each lid with its pot. Lids with no pot, and pots you never cover, are the first things to donate. Some lids fit two pans of the same diameter, so you may need fewer than you think.
Inside the cabinets
3. Move the lids to the cabinet door
Lids are what make a pan stack unstable. A slim lid rack screwed or stuck to the inside of a cabinet door holds them upright and out of the way. Before you buy one, close the door slowly with the rack held in place and check that it clears the shelf edge and anything stored at the front.
Skip it if your shelves come almost to the door. A lid rack that hits the shelf will keep the door from closing. Use idea 5 instead.
4. File skillets on their edge
An adjustable pan organizer, the kind with movable dividers, lets skillets and sheet pans stand on their edge like files. You pull out the one you want without lifting anything else. Set it so the handles face you, and put the heaviest pans at the bottom tier or on the cabinet floor.
Try it if you own several skillets in different sizes. Skip it if most of what you have is deep pots, which don’t file well.
5. Give the lids their own divider instead
No room on the door? A narrow divider rack in the back corner of the cabinet, or a deep drawer with upright pegs, holds lids on their edge. Group them by size so you can see the right one at a glance.
6. Put pull-outs in the base cabinet
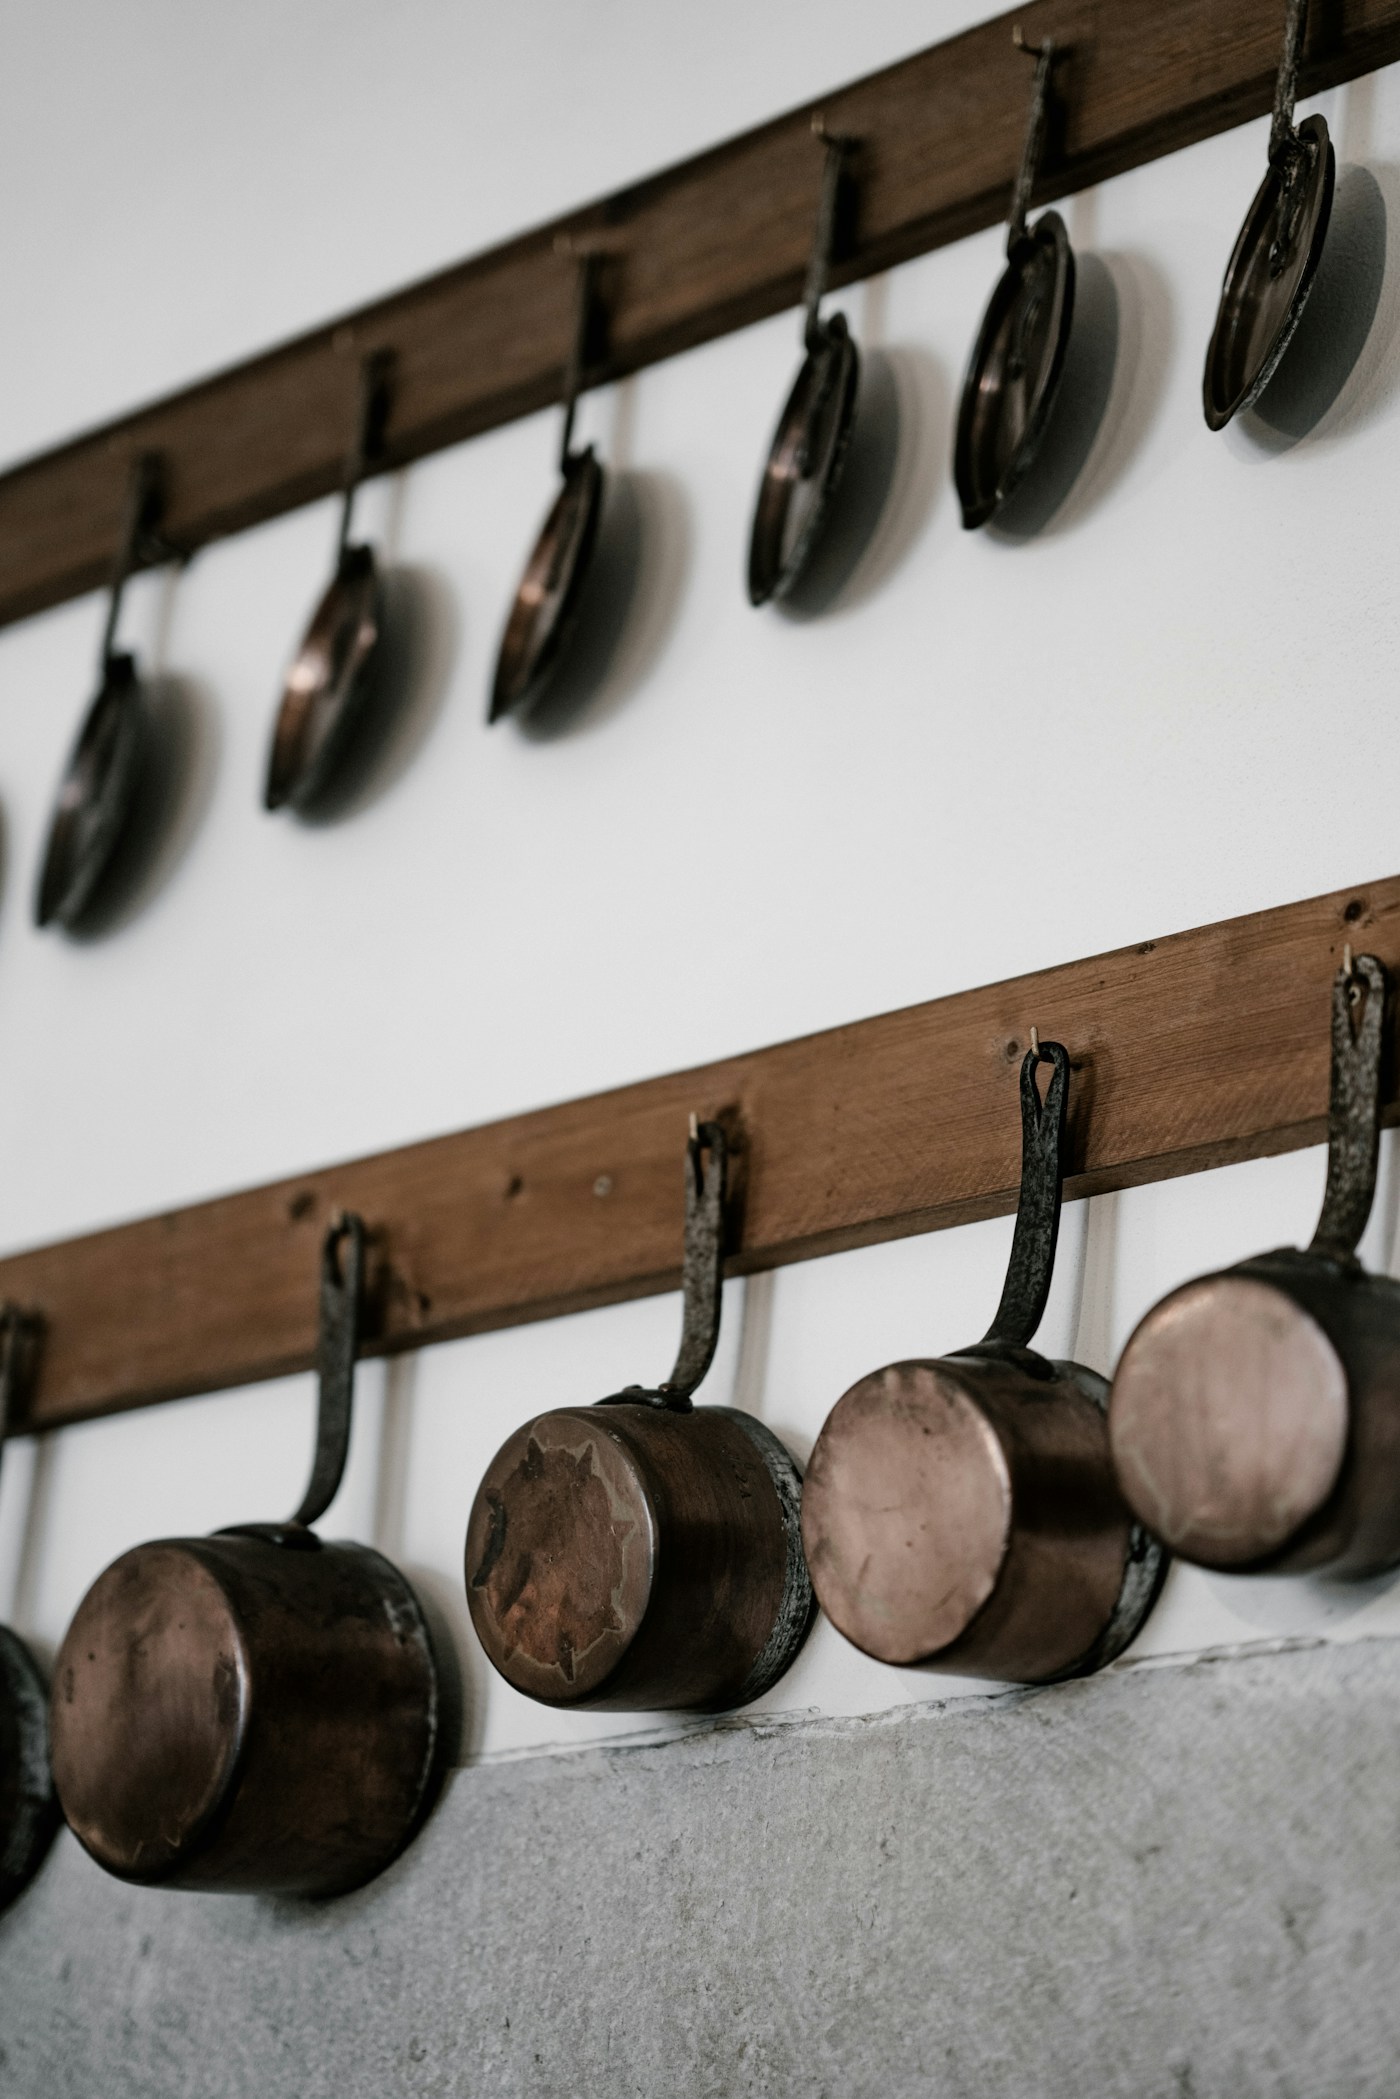
Pots in the back of a base cabinet might as well be in another room. A slide-out shelf or a two-tier pull-out brings them to you. These need a specific opening width and a clear path past the hinges, so measure first. Our pull-out cabinet organizer comparison covers what to check.
7. Use deep drawers for the heavy pieces
If you have deep drawers, they’re often a better home for pots than a cabinet. You look down into them and lift straight up, with no reaching into the back. A pegboard-style insert or a spring-loaded divider keeps pots from sliding. For the rest of the drawers, see our kitchen drawer plan.
8. Nest, but protect the nonstick
Nesting still saves the most space for pots of graded sizes. Put a felt or fabric pan protector between nonstick or enameled pieces so the one above doesn’t scuff the coating. A folded dish towel does the same job for free.
9. Send the rarely used pieces to the corner
The roasting pan you use twice a year and the stockpot that only comes out for soup season are perfect for a blind corner cabinet or the top shelf of a pantry. Keep the prime spots for daily pans. If you have a blind corner, our blind corner guide shows how to reach the back.
10. Fill the big pot
A stockpot is a big empty box most of the time. Store the steamer insert, a pasta strainer or the smaller pot inside it. Just keep what’s inside light enough that you can still lift the pot down safely.
On the walls and ceiling
11. Hang a rail with S-hooks
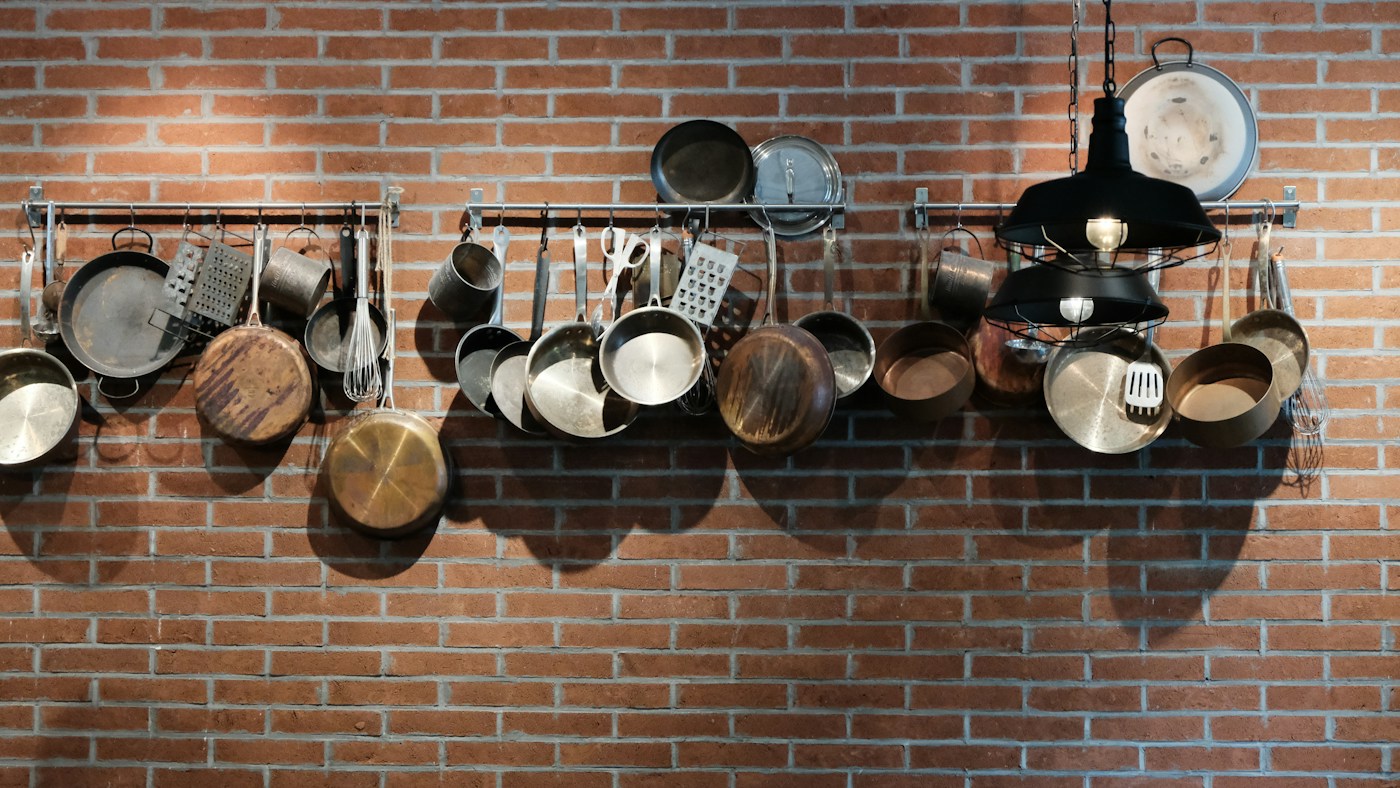
A wall rail with S-hooks turns one empty stretch of wall, often over the stove or beside a window, into storage for the pans you use every day. Hooks hold pans by the handle hole. Screw the rail into wall studs, not just drywall, because cast iron and full sets of pans get heavy.
Try it if you own and like the look. Skip it if you rent and can’t drill. A freestanding rack or the back of a pantry door (check door thickness first) is the renter version.
12. Try a pegboard wall
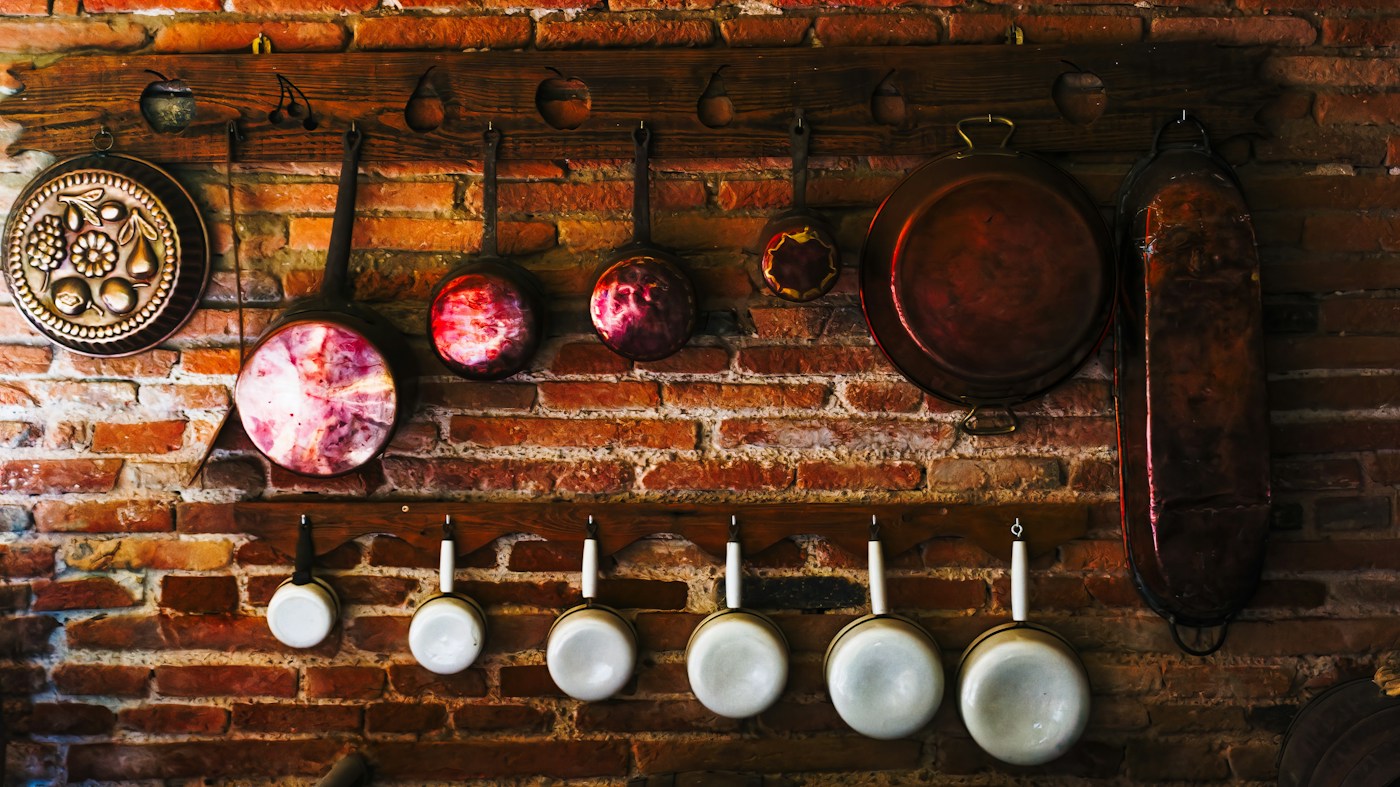
A painted pegboard panel holds pans, lids and utensils on hooks you can move around as your cookware changes. Trace each pan’s outline lightly on the board so everyone knows where it goes back. Like a rail, it needs to be fastened into studs with spacers behind it so the hooks can seat.
13. Consider a ceiling rack, carefully
A hanging pot rack over an island looks great and uses space nothing else can. It is also the most demanding option. It must be anchored into ceiling joists following the maker’s instructions, and the pans need to hang high enough that nobody walks into them. In a kitchen with a standard 8-foot ceiling, the clearance gets tight fast, so hold a pan at the planned height and walk under it before you commit.
Skip it if you can’t locate joists where you want the rack, or if tall family members already duck under things.
14. Add a cart or baker’s rack
If cabinets and walls are both full, a rolling cart or a baker’s rack with a lower shelf holds pots and gives you extra counter space on top. Put the heaviest pieces on the bottom. Tall racks should be anchored to the wall; the CPSC’s Anchor It campaign explains why tip-overs are a real hazard, especially with young children.
Which idea fits your kitchen
| Your situation | Start with |
|---|---|
| Renting, no drilling | 1, 2, 4, 5, 8, 10, 14 (anchor tall racks per your lease) |
| Lots of skillets | 4, 11 |
| Lids everywhere | 2, 3, 5 |
| Deep base cabinets | 6, 9 |
| Deep drawers | 7, 8 |
| No cabinet space at all | 11, 12, 13, 14 |
Shopping ideas for cookware storage
Affiliate disclosure: As an Amazon Associate I earn from qualifying purchases. These links open Amazon search results for a type of organizer, not a specific product we’ve tested. Measure your cabinet or wall before buying.
Common questions
Is it better to hang pans or keep them in cabinets?
Hanging is faster to grab and kinder to coatings, but the pans collect dust and kitchen grease if you rarely use them. A good split: hang the two or three you use daily, keep the rest inside.
How should I store cast iron?
Make sure it’s completely dry before you put it away. If you stack it, a paper towel or pan protector between pieces helps keep the surface from getting scratched. Cast iron is heavy, so a low shelf, a sturdy rail or a deep drawer is safer than a high cabinet.
What about the oven drawer?
Check your range’s manual first. On some ranges the bottom drawer is a storage drawer; on others it’s a warming or broiler drawer that gets hot, so pans stored there can be a problem.
Tip-over guidance: CPSC Anchor It. These ideas are general guidance from listed product types and common kitchen layouts, not a hands-on product test. See our editorial policy.
Keep reading
More guides for your space
THE KINDRED JOURNAL
Latest from the journal
- Ideal Indoor Humidity in Winter: Find Your Number, Check Your Meter, Then Add Only What the Room Needs
 Aim for 30 to 50% and never humidify past 50%, let the windows set the limit on the coldest nights, salt-test your hygrometer before you trust it, seal drafts first because a whole bedroom needs only about 4½ ounces of water, and clean the tank on a schedule: a winter humidity guide with the math worked out.
- Toy Storage Ideas: 13 Ways to Make Room Before the Holiday Toy Wave
 Edit the toys before the gifts arrive, give each kind of play one open bin on an anchored low shelf, keep small parts and spare batteries out of a toddler’s reach, skip latching lids and rotate the extras: thirteen toy storage ideas for the weeks before and after the holidays.
- Best Gift Wrap Organizers: 5 Picks for a Closet Corner, Under the Bed or the Back of a Door
 An upright box that holds up to 32 long rolls, a 41.5-inch under-bed bag for big collections, a water-resistant zip bag, an over-the-door organizer and a slim canvas case for eight rolls: five gift wrap organizers matched to the space you can give them.
- Cord and Cable Storage: 13 Ideas for the Spare Chargers, Cables and Adapters Nobody Can Find
 Match every cable to a device you still own, keep a sensible number of spares by connector type, coil them loosely, label the mystery bricks, hang the extension cords and send old batteries and dead cables to a proper drop-off: thirteen ways to store spare cords so the right one turns up in seconds.
- Window Condensation in Winter: Find Which Side the Water Is On, Then Match Humidity to the Forecast
 Do the wipe test to tell room-side fog from a failed seal, check a hygrometer against the outdoor low, keep humidity at or under 40% above 20°F and 30% below 10°F, run the fans, open the curtains by day and dry wet sills the same morning: a window condensation guide with a worked cold-week example.
- How to Clean a Range Hood Filter Before Holiday Cooking: Know Your Filter Type, Then Put It on the Calendar
 Wash metal mesh and baffle filters in hot soapy water or the dishwasher, replace charcoal filters instead of rinsing them, never run the hood with the filter out, and clean the weekend before Thanksgiving and again before Christmas: a range hood filter guide with a worked holiday cleaning calendar.
- Drying Clothes Indoors in Winter: Where the Rack Goes, How Much Rail You Need and What It Saves
 One load gives off about 2 liters of water as it air-dries, so put the rack where that moisture can leave, keep it 3 feet from the space heater, count inches of rail before you buy, space and turn the heavy things, watch humidity and window condensation, and know what the dryer you’re skipping really costs: indoor drying with the math.
- Hat, Glove and Scarf Storage by the Door: One Bin Per Person, Sized to What They Actually Wear
 Keep a daily set plus one dry spare per person, size an open bin for each from a quick measurement, dry wet mittens before they go in, clip pairs together, hang woven scarves and fold knits, skip long scarves on the playground and wash wool before it’s sealed away: a hat and glove station with a worked bin-size example.
- Guest Room That Doubles as Storage: Pick the Bed by Floor Space, Keep the Window Clear
 Count the nights the room really hosts, compare bed footprints before comfort, put storage on one wall behind a curtain, keep the window and door clear, leave guests half the closet and one drawer, and pack a single guest bin: a storage room that turns into a guest room in fifteen minutes, with a worked 10 by 11 foot example.