Quick answer: a junk drawer stays useful when it holds only the small things you reach for in a hurry (scissors, tape, a pen, a spare key), each in a bin that’s sized for it, with the everyday items at the front. Everything else gets a home somewhere else. You don’t need to get rid of the junk drawer. Most homes need one. It just needs a job description and a layout that fits the actual drawer.
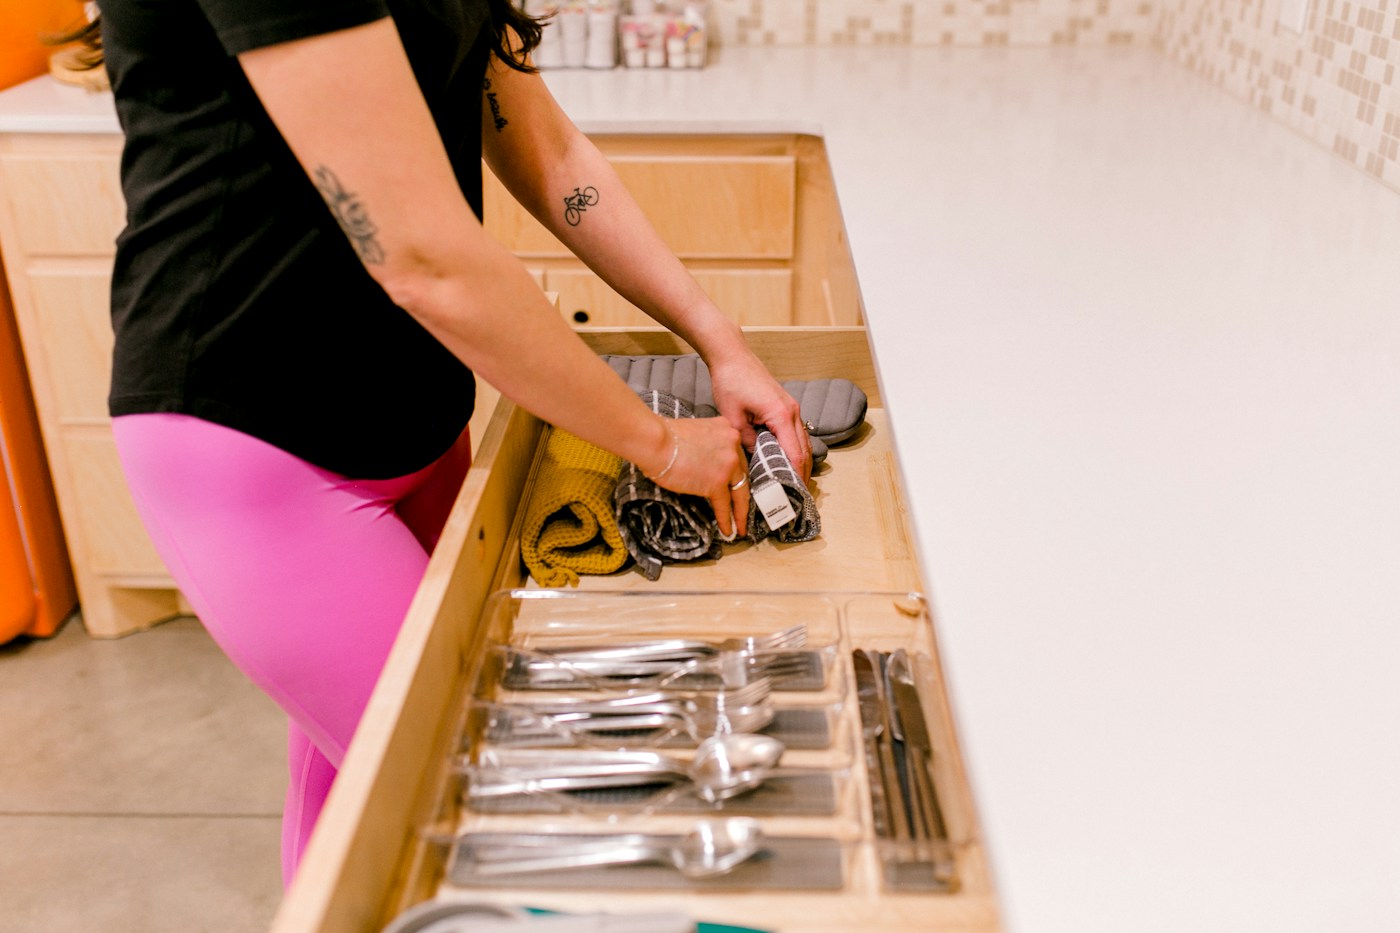
1. Empty it and sort into five piles. 2. Keep only the grab-it-now items. 3. Measure the inside of the drawer. 4. Lay out bins on paper, then on the counter. 5. Front = daily, back = occasional. 6. Five-minute reset once a month.
Step 1: Write the drawer’s job description
A junk drawer goes bad when it becomes the place for anything without a home. Turn that around: it’s the place for small, frequently needed things that are used all over the house. If an item is only used in one room, it belongs in that room.
| Keep in the drawer | Give a home elsewhere | Toss, recycle or return |
|---|---|---|
| Scissors, clear tape, a marker, two or three pens | Takeout menus and paperwork (to your mail or filing spot) | Dried-out pens, broken rubber bands |
| Small tape measure, a multi-bit screwdriver | Bigger tools (to the toolbox) | Mystery screws with no matching furniture |
| Spare batteries in common sizes, still in their packaging | Chargers you use daily (to where you charge) | Used batteries (see the battery section below) |
| Rubber bands, binder clips, twist ties | Medicine and vitamins (to a cool, dry, high spot) | Cords for devices you no longer own |
| Labeled spare keys, a small flashlight | Coupons and gift cards (to your wallet or a gift card envelope) | Expired coupons, duplicate keys nobody can identify |
Step 2: Empty it and sort into five piles
Take everything out and wipe the drawer. Then sort as you go:
- Stays: items from the left column above.
- Goes elsewhere: put these in a bag or box and deliver them to their rooms right after you finish.
- Trash: dried-up pens, scraps, packaging.
- Recycle or drop off: old cords and used batteries.
- Mystery: unidentified keys and parts. Put them in a zip bag with today’s date. If nobody claims them in six months, they go.
Count what stays. If it’s more than about two handfuls of each type, keep the best ones and move the extras to a backup bin in a closet. Five pairs of scissors don’t make the drawer more useful.
Step 3: Measure the inside of the drawer
Organizers that don’t fit are the main reason a sorted drawer drifts back into chaos: bins slide, things fall into the gaps, and the gaps fill with clutter. Measure three things on the inside:
- Width, side to side.
- Depth, front to back. Measure the bottom, not the top edge, because the drawer front can be thick.
- Height, from the bottom to the lowest point of the cabinet frame above it. That’s the true clearance, not the drawer’s side height.
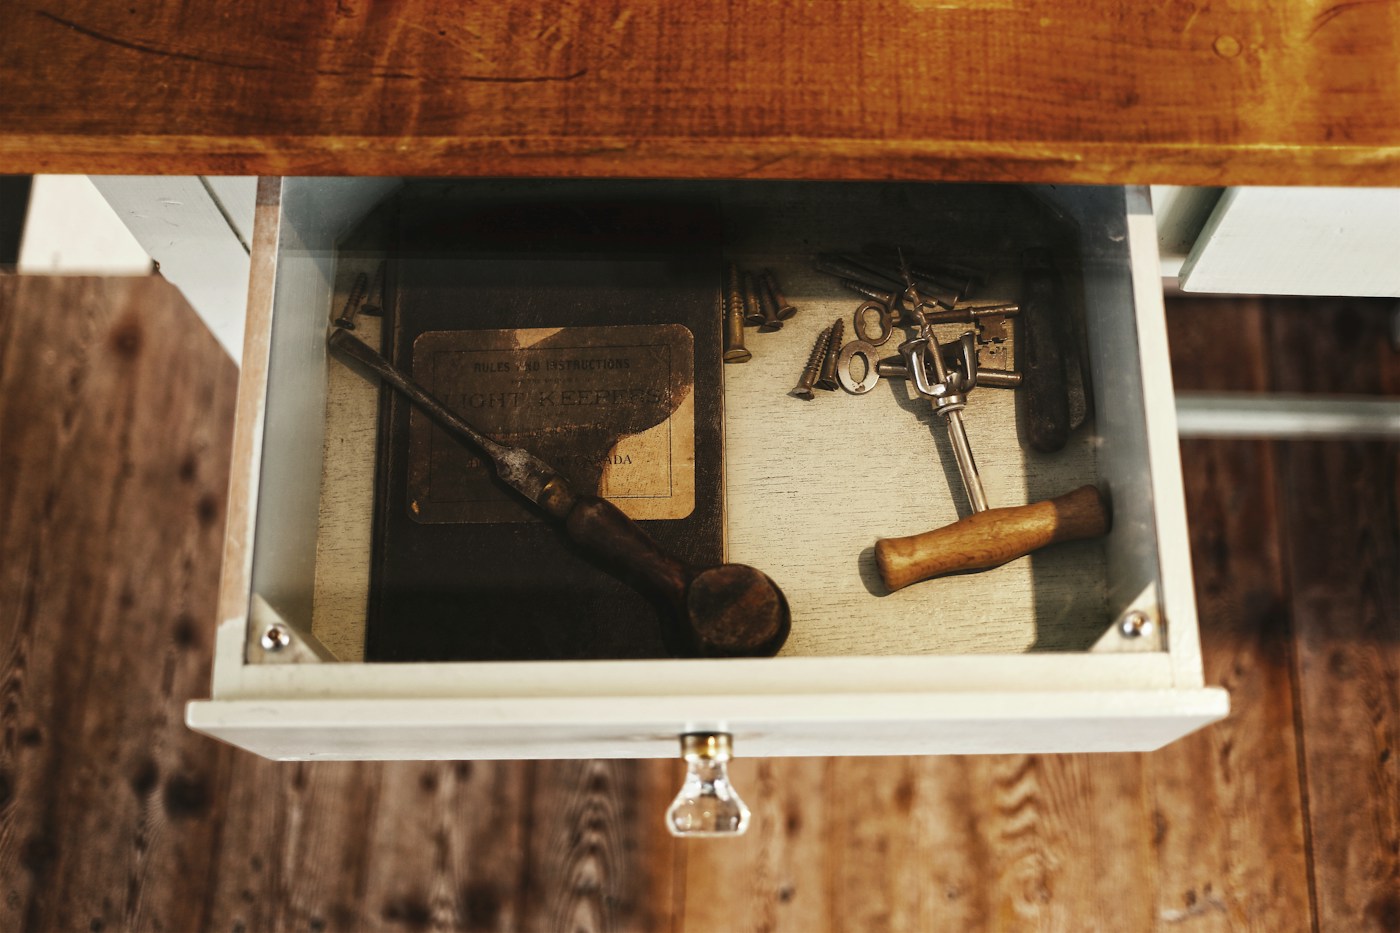
Step 4: Plan the bins (worked example)
Modular drawer bins are commonly sold in 3-inch steps: 3×3, 3×6, 3×9, 6×6, 6×9 inches and so on. That makes planning simple arithmetic. Here’s an example drawer. Yours will differ, so measure yours.
Example drawer: 14½ inches wide, 18 inches deep, 3½ inches of clearance.
- Width: two 6-inch columns use 12 inches, leaving a 2½-inch strip.
- Depth: each column needs bins that add up to 18 inches: 9 + 9 on the left, 6 + 6 + 6 on the right.
- Height: bins about 2 inches tall leave room for your fingers and for a roll of tape lying flat. Anything that stands taller than 3½ inches will catch on the cabinet frame.
| Position | Left column (6 in wide) | Right column (6 in wide) |
|---|---|---|
| Front | 6×9 bin: scissors, tape, marker, pens (daily) | Two 3×6 bins: rubber bands and clips / labeled spare keys |
| Middle | 6×6 bin: spare batteries in their packaging, sorted by size | |
| Back | 6×9 bin: tape measure, screwdriver, small flashlight (occasional) | 6×6 bin: cable ties, a few picture hooks, the mystery bag |
The leftover 2½-inch strip along the side holds long, thin things: a ruler, a few pencils or a long-reach tape. Line the drawer bottom with non-slip liner so the bins stay where you put them.
Before you buy anything, cut paper rectangles to the bin sizes and lay them in the drawer. It takes five minutes and catches mistakes, such as a bin that blocks the drawer stop at the back.
Step 5: Put the hurry items up front
The front third of the drawer is where your hand lands when you open it partway, which is how most people open a junk drawer. Scissors, tape and a pen go there. Things you need once a month go to the back. If you have kids, the front is also where the pens and tape they’re allowed to take should go, so they don’t dig.
Step 6: Handle batteries safely
Batteries are the one thing in a junk drawer that can cause real harm, so they get their own rules.
- Button and coin batteries are a swallowing hazard for young children. The CPSC advises keeping them away from children; if you have little ones, store them up high or in a latched container rather than in a drawer kids can open.
- Used button cells: the CPSC recommends putting non-conductive tape over the terminals as soon as you remove one, then taking it to a battery collection site.
- Keep terminals from touching metal like keys, paper clips or other batteries. The EPA recommends taping the terminals of used lithium-ion and button-cell batteries or bagging them separately; keeping spares in their original packaging does the same job.
- Don’t toss lithium or button batteries in the trash. The EPA says button-cell, coin and single-use lithium batteries shouldn’t go in household trash or curbside recycling. Check with your local solid waste authority for drop-off options.
- If a button battery is swallowed, get medical care immediately. The CPSC lists the National Battery Ingestion Hotline (800-498-8666) and Poison Help (800-222-1222).
Other things that are better kept out of a drawer children can reach: box cutters and craft blades, lighters and matches, and any medicine.
Step 7: Keep it useful with a monthly reset
- Once a month, open the drawer and take out anything that isn’t in a bin.
- Return each item to its bin or its real home.
- Test a pen or two and toss the dead ones.
- Check the mystery bag’s date.
- If a bin overflows every month, it’s too small or the category is too big. Resize it or move the extras.
A small label on the front edge of each bin helps everyone in the house put things back. A label maker is handy for this, though masking tape and a marker work fine.
Common mistakes
- Buying a one-piece tray. Fixed trays rarely match the drawer, leaving gaps that fill with clutter. Modular bins can be rearranged.
- Keeping chargers for every device. Keep one or two you actually use; label them with a piece of tape.
- Letting paper in. Paper buries everything. Menus, receipts and warranties go to your filing spot.
- Putting the junk drawer in prime kitchen space. If you can, choose a drawer away from the stove and prep area. Our kitchen drawer plan shows how to give each drawer a job.
Shopping ideas for a junk drawer
Affiliate disclosure: As an Amazon Associate I earn from qualifying purchases. These links open Amazon search results for a type of item, not a specific product we’ve tested. Check your drawer’s inside measurements first.
Common questions
Should I get rid of my junk drawer?
Usually not. Small, shared items need a home somewhere, and one well-run drawer beats having them scattered across the house. The goal is a drawer with a job, not no drawer.
What if I have two or three junk drawers?
Give each a different job: one for household supplies like tape and batteries, one in the office or hallway for chargers and cords. The cable management guide helps with the cord side.
Where should the junk drawer be?
Close to where the household gathers and drops things, often the end of a kitchen run or a hall console, but away from the stove and the main prep counter so it doesn’t take space cooking needs.
Sources: CPSC Button Cell and Coin Battery Information Center; EPA: Used Household Batteries. This is general guidance, not a hands-on product test. See our editorial policy.
Related: Family command center ideas

Keep reading
More guides for your space
THE KINDRED JOURNAL
Latest from the journal
- Window Insulation Film: Does It Work? Sort Your Windows First, Then Do the Math
 Shrink film adds about R-1 and stops sash drafts, so it roughly halves heat loss through single-pane glass but barely helps a tight low-e window: sort your windows with the paper test, work out one window’s savings, keep the tape on trim and plan the way out of bedrooms.
- What Holiday Lights Really Cost to Run: LED vs. Incandescent, With the Math for Your Own Display
 Read the watts off each tag, multiply by your hours and your own rate, and the answer is clear: eight incandescent strings cost about $25.70 a season in our worked example and their LED versions about $2.18, big C9 bulbs pay back an LED swap in about three seasons, and working mini lights can wait.
- Ideal Indoor Humidity in Winter: Find Your Number, Check Your Meter, Then Add Only What the Room Needs
 Aim for 30 to 50% and never humidify past 50%, let the windows set the limit on the coldest nights, salt-test your hygrometer before you trust it, seal drafts first because a whole bedroom needs only about 4½ ounces of water, and clean the tank on a schedule: a winter humidity guide with the math worked out.
- Toy Storage Ideas: 13 Ways to Make Room Before the Holiday Toy Wave
 Edit the toys before the gifts arrive, give each kind of play one open bin on an anchored low shelf, keep small parts and spare batteries out of a toddler’s reach, skip latching lids and rotate the extras: thirteen toy storage ideas for the weeks before and after the holidays.
- Best Gift Wrap Organizers: 5 Picks for a Closet Corner, Under the Bed or the Back of a Door
 An upright box that holds up to 32 long rolls, a 41.5-inch under-bed bag for big collections, a water-resistant zip bag, an over-the-door organizer and a slim canvas case for eight rolls: five gift wrap organizers matched to the space you can give them.
- Cord and Cable Storage: 13 Ideas for the Spare Chargers, Cables and Adapters Nobody Can Find
 Match every cable to a device you still own, keep a sensible number of spares by connector type, coil them loosely, label the mystery bricks, hang the extension cords and send old batteries and dead cables to a proper drop-off: thirteen ways to store spare cords so the right one turns up in seconds.
- Window Condensation in Winter: Find Which Side the Water Is On, Then Match Humidity to the Forecast
 Do the wipe test to tell room-side fog from a failed seal, check a hygrometer against the outdoor low, keep humidity at or under 40% above 20°F and 30% below 10°F, run the fans, open the curtains by day and dry wet sills the same morning: a window condensation guide with a worked cold-week example.
- How to Clean a Range Hood Filter Before Holiday Cooking: Know Your Filter Type, Then Put It on the Calendar
 Wash metal mesh and baffle filters in hot soapy water or the dishwasher, replace charcoal filters instead of rinsing them, never run the hood with the filter out, and clean the weekend before Thanksgiving and again before Christmas: a range hood filter guide with a worked holiday cleaning calendar.
- Drying Clothes Indoors in Winter: Where the Rack Goes, How Much Rail You Need and What It Saves
 One load gives off about 2 liters of water as it air-dries, so put the rack where that moisture can leave, keep it 3 feet from the space heater, count inches of rail before you buy, space and turn the heavy things, watch humidity and window condensation, and know what the dryer you’re skipping really costs: indoor drying with the math.