If you’ve ever opened a car door straight into a pedal, you already know the problem: bikes are long, oddly shaped, often muddy, and they never quite stand where you leave them. The right setup depends less on the product and more on three things you can check in ten minutes: how often each bike gets ridden, what it weighs, and how much floor and wall space you can give up beside the car.
Keep bikes ridden weekly on the floor or on a wall hook you can reach without a ladder. Put rarely ridden bikes higher, on a ceiling lift or upper hooks. Fasten every wall or ceiling mount into framing, not drywall alone, and check that the hook’s rating covers the bike’s weight. Heavy bikes, including most e-bikes, usually belong on the floor.
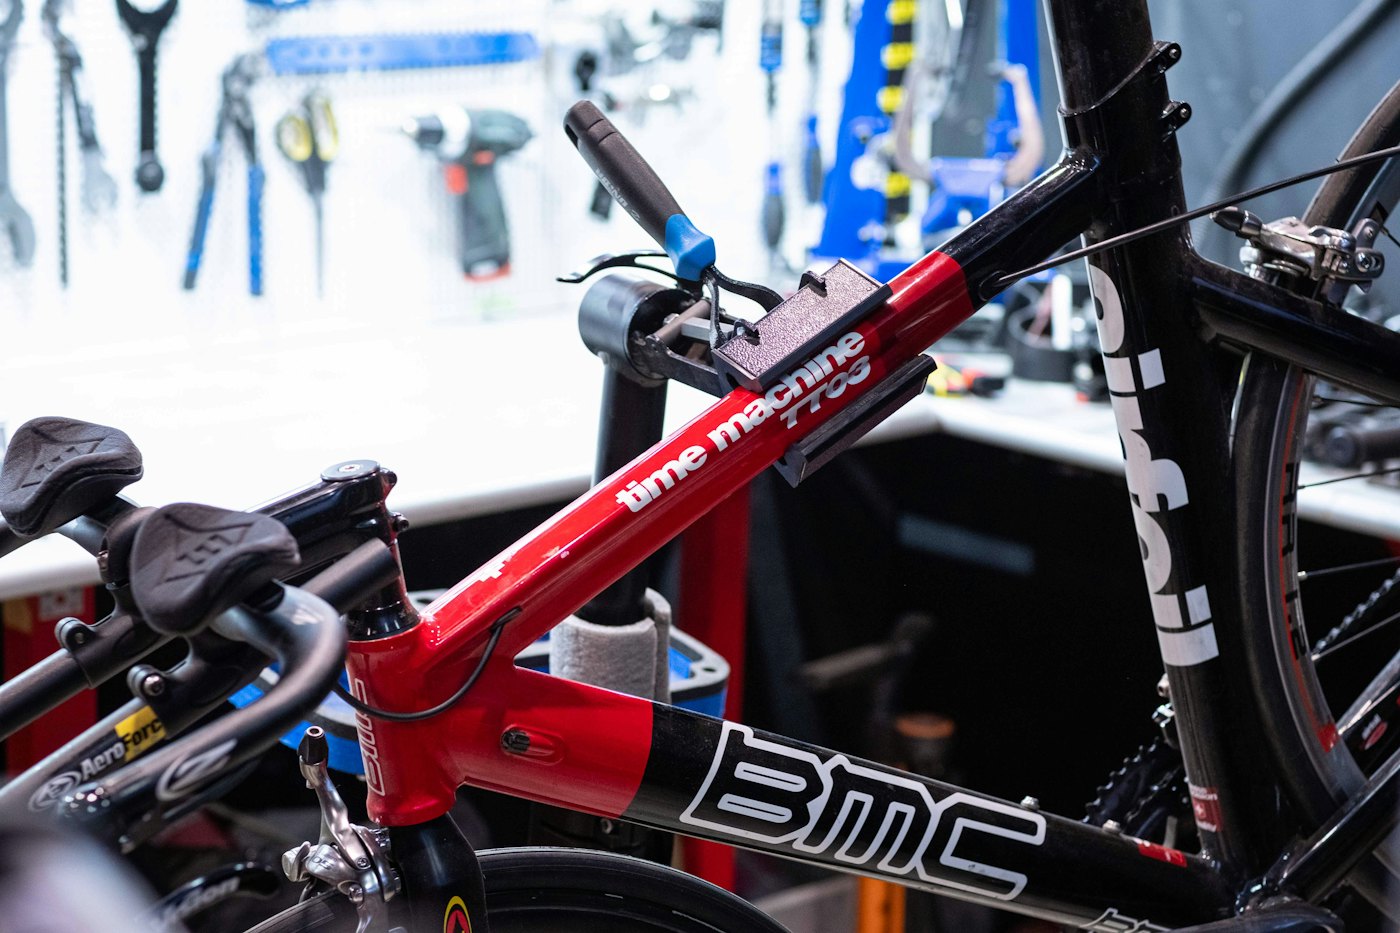
1. Sort the bikes by how often they’re ridden
Every bike doesn’t need the same kind of storage. Start by putting each one in a group:
- Weekly riders: the commuter bike, the kids’ bikes in summer. These need the easiest access, ideally rolled straight in and out.
- Occasional riders: a weekend road or mountain bike. A wall hook or vertical rack works if lifting it is comfortable.
- Seasonal or rarely used: a bike that comes out a few times a year, an outgrown kids’ bike you’re saving. These can go higher, out of the main traffic path.
Then note any bike that’s heavy or hard to lift. E-bikes, cargo bikes, and many cruisers are much heavier than a typical road bike, and lifting them onto a hook can be both hard on your back and beyond what a hook is rated for. Check your bike’s weight in its manual or on the maker’s site, or weigh yourself holding it on a bathroom scale and subtract your own weight.
2. Measure the bike and the space
- Each bike’s overall length, wheel to wheel, and its height at the handlebars.
- Handlebar width, since bars are often the widest point when a bike hangs vertically.
- The clear depth beside the parked car with its doors fully open. That’s the space a bike can stick out from the wall.
- Ceiling height and the garage door’s travel path, if you’re considering overhead storage.
- Where the studs or ceiling framing are, using a stud finder.
- Outlets, the electrical panel, the water heater, and the door into the house, which should stay clear.
Write the numbers down per bike. A plan that works on paper for two bikes often fails on the third because its handlebars are wider.
3. Choose a format for each bike
| Format | Best for | Space it uses | Check first |
|---|---|---|---|
| Floor stand or wheel slot | Weekly riders, heavy bikes, renters | Floor space about the bike’s full length | Tire width the slot accepts; stability with your bike |
| Vertical wall hook (hung by front wheel) | Light to mid-weight bikes ridden often | Narrow strip of wall; sticks out roughly the bike’s length | Hook rating; whether hanging by the wheel suits your bike, such as disc brakes or fenders; drip mat under the wheel |
| Horizontal wall rack (hung by frame) | Bikes you want flat against the wall | Wall length about the bike’s length; sticks out about handlebar width | Frame shape fits the arms; rating; height you can lift to |
| Freestanding multi-bike rack | Several bikes without drilling | A block of floor space | Number and size of bikes it takes; stability |
| Ceiling hoist or lift | Rarely ridden bikes | Ceiling only, clear of the car and door | Rated load, locking mechanism, framing, clearance to lower it |
Mixing formats is normal: a floor stand for the daily bike, hooks for the rest.
4. Your bike type changes the answer
The same hook that suits a light road bike can be the wrong choice for a mountain bike or an e-bike. Use this as a starting point, then check your bike’s manual and the storage product’s listed tire and frame fit.
| Bike type | What to watch | Usually works well |
|---|---|---|
| Road or gravel | Narrow drop bars and often light weight, but thin tires can slip out of wide wheel slots | Vertical hooks, horizontal racks, a ceiling lift for spare bikes |
| Mountain | Wide flat bars, wider tires, more weight and mud | Staggered vertical hooks with extra spacing; floor stands that list wide tires |
| Kids’ bikes | Small and light, sometimes with training wheels; kids should be able to put them away themselves | Floor space or a low hook at the child’s height |
| Step-through or cruiser with fenders | Frame shape may not sit on horizontal rack arms; fenders can get in the way of wheel hooks | Floor stands, or a horizontal rack used with a top-tube adapter bar |
| E-bike | Much heavier, and the battery needs safe charging | A floor stand or kickstand rated for the weight; skip hooks unless the mount is rated for it |
| Cargo, long-tail, or fat-tire | Long, heavy, or very wide tires that rarely fit standard hooks or slots | A dedicated floor spot, measured for length |
5. Plan the wall
When hanging bikes vertically side by side, stagger the hooks at two heights so neighboring handlebars don’t collide. That lets you hang bikes closer together than their bar width alone would allow. Leave enough room under each hanging wheel to lift the bike on and off, and put the bikes that drip or shed mud over an easy-to-clean spot or a mat.
Keep bike storage out of the path between the car and the house door. A pedal at shin height in a walkway is how people get hurt.
6. Give helmets and gear a home next to each bike
Bikes go back in their spot more reliably when the things that go with them have a place too. A helmet left on the car hood or a pump buried in a bin is often where garage clutter starts.
- One hook or small shelf per rider beside their bike for a helmet, gloves, and lights. Set kids’ hooks low enough that they can reach them without help.
- Shared tools on the wall: a floor pump, tire levers, and a multi-tool on a short pegboard or rail section near the bikes. Our garage wall plan compares rails and pegboard.
- Locks: hang them on the bike or a hook beside it, and keep spare keys in the house, not on the same hook.
- Seasonal gear: rain covers, a car bike rack, and winter gloves go in a labeled bin higher up, or on an overhead rack if you have one.
- Lights and small batteries: charge them indoors where you charge other small electronics, rather than leaving them plugged in on a cluttered garage bench.
Worked example: three bikes beside one car
Imagine a wall with 30 inches of clear depth before the open car door would reach it. Bike A is a commuter ridden daily. Bike B is a road bike about 68 inches long, ridden on weekends. Bike C is a kids’ bike about 50 inches long.
Hung vertically by the front wheel, Bike B would stick out about 68 inches, far more than the 30 inches available. So vertical hooks don’t work here. A horizontal rack sticks out roughly the handlebar width; if B’s bars measure about 17 inches, that fits inside 30 with room to spare. Bike C is light enough to hang horizontally on a second rack below B, if the two are spaced so C’s bars clear B’s wheels.
Bike A stays on the floor in a wheel stand at the end of the wall, where it rolls straight out. Total purchase: one floor stand and two horizontal racks, fastened into studs. Measure your own bikes, since lengths and bar widths vary a lot.
7. Mounting, security, and safety
- Fasten hooks, racks, and lifts into studs or ceiling framing with the hardware the manufacturer specifies. Drywall anchors are not a substitute.
- Read the weight rating for each mount and keep the bike well under it. Don’t hang heavy e-bikes on hooks that aren’t rated for them.
- Only lift a bike as high as you can handle comfortably. If you need a step stool to hang a bike you ride weekly, it belongs lower.
- For ceiling lifts, stay clear of the garage door’s travel path and the opener, and make sure the bike clears the car when lowered.
- Charge e-bike batteries according to the manufacturer’s instructions, on a nonflammable surface, away from fuel and clutter, and not unattended for long periods. Don’t use damaged batteries or mismatched chargers.
- In a shared or detached garage, lock bikes to something solid, such as a floor or wall anchor installed into concrete or framing as its maker directs, and keep the garage door closed when no one is around.
- Photograph each bike and write down its serial number, often stamped under the frame near the pedals, in case it’s ever lost or stolen.
- If you rent, get permission before drilling. A freestanding rack or floor stands avoid the question.
8. A sensible buying order
- A stud finder, if you don’t have one.
- A floor stand for the bike you ride most, or for any heavy bike.
- Wall hooks or horizontal racks for occasional bikes, rated for their weight.
- A ceiling lift only for bikes you rarely ride, and only after you’ve mapped the door track.
- A drip mat or boot tray under hanging wheels.
Compare garage bike storage
Affiliate disclosure: As an Amazon Associate I earn from qualifying purchases. These links open Amazon search results for the formats in this guide, not recommendations for a specific model. Check weight ratings, tire and frame fit, and mounting requirements before buying.
Questions
Is it bad to hang a bike by its wheel?
Many bikes are routinely hung by a wheel, but some setups, such as certain disc brakes, carbon rims, or fenders, may call for care. Check your bike maker’s guidance, and choose a frame-supporting rack if you’re unsure.
How do I store bikes in a garage without drilling?
Use floor stands, a freestanding multi-bike rack, or a gravity-style rack that leans against the wall. Check the rack’s stability with your heaviest bike before trusting it.
Where should an e-bike go?
Usually on the floor, given its weight. Keep it where it won’t be knocked over, and follow the manufacturer’s charging and storage instructions for the battery.
Keep reading
More guides for your space
THE KINDRED JOURNAL
Latest from the journal
- What Holiday Lights Really Cost to Run: LED vs. Incandescent, With the Math for Your Own Display
 Read the watts off each tag, multiply by your hours and your own rate, and the answer is clear: eight incandescent strings cost about $25.70 a season in our worked example and their LED versions about $2.18, big C9 bulbs pay back an LED swap in about three seasons, and working mini lights can wait.
- Ideal Indoor Humidity in Winter: Find Your Number, Check Your Meter, Then Add Only What the Room Needs
 Aim for 30 to 50% and never humidify past 50%, let the windows set the limit on the coldest nights, salt-test your hygrometer before you trust it, seal drafts first because a whole bedroom needs only about 4½ ounces of water, and clean the tank on a schedule: a winter humidity guide with the math worked out.
- Toy Storage Ideas: 13 Ways to Make Room Before the Holiday Toy Wave
 Edit the toys before the gifts arrive, give each kind of play one open bin on an anchored low shelf, keep small parts and spare batteries out of a toddler’s reach, skip latching lids and rotate the extras: thirteen toy storage ideas for the weeks before and after the holidays.
- Best Gift Wrap Organizers: 5 Picks for a Closet Corner, Under the Bed or the Back of a Door
 An upright box that holds up to 32 long rolls, a 41.5-inch under-bed bag for big collections, a water-resistant zip bag, an over-the-door organizer and a slim canvas case for eight rolls: five gift wrap organizers matched to the space you can give them.
- Cord and Cable Storage: 13 Ideas for the Spare Chargers, Cables and Adapters Nobody Can Find
 Match every cable to a device you still own, keep a sensible number of spares by connector type, coil them loosely, label the mystery bricks, hang the extension cords and send old batteries and dead cables to a proper drop-off: thirteen ways to store spare cords so the right one turns up in seconds.
- Window Condensation in Winter: Find Which Side the Water Is On, Then Match Humidity to the Forecast
 Do the wipe test to tell room-side fog from a failed seal, check a hygrometer against the outdoor low, keep humidity at or under 40% above 20°F and 30% below 10°F, run the fans, open the curtains by day and dry wet sills the same morning: a window condensation guide with a worked cold-week example.
- How to Clean a Range Hood Filter Before Holiday Cooking: Know Your Filter Type, Then Put It on the Calendar
 Wash metal mesh and baffle filters in hot soapy water or the dishwasher, replace charcoal filters instead of rinsing them, never run the hood with the filter out, and clean the weekend before Thanksgiving and again before Christmas: a range hood filter guide with a worked holiday cleaning calendar.
- Drying Clothes Indoors in Winter: Where the Rack Goes, How Much Rail You Need and What It Saves
 One load gives off about 2 liters of water as it air-dries, so put the rack where that moisture can leave, keep it 3 feet from the space heater, count inches of rail before you buy, space and turn the heavy things, watch humidity and window condensation, and know what the dryer you’re skipping really costs: indoor drying with the math.
- Hat, Glove and Scarf Storage by the Door: One Bin Per Person, Sized to What They Actually Wear
 Keep a daily set plus one dry spare per person, size an open bin for each from a quick measurement, dry wet mittens before they go in, clip pairs together, hang woven scarves and fold knits, skip long scarves on the playground and wash wool before it’s sealed away: a hat and glove station with a worked bin-size example.