A tool chest fills up one project at a time. Sockets roll to the back, wrenches pile on top of each other, and the screwdriver you need is under three you don’t. Once a drawer is a jumble, you spend more time hunting than working, and you buy duplicates of tools you already own. A good layout makes every tool visible when the drawer opens and makes a missing one obvious.
Empty the chest, sort tools by job, and remove duplicates and broken tools. Measure each drawer’s inside height, width, and depth, then assign tools by height: shallow drawers for sockets, bits, and wrenches; medium drawers for pliers and screwdrivers; deep bottom drawers for power tools and heavy items. Add a non-slip liner, then socket rails, wrench racks, or cut foam. Keep heavy tools low and open one drawer at a time.
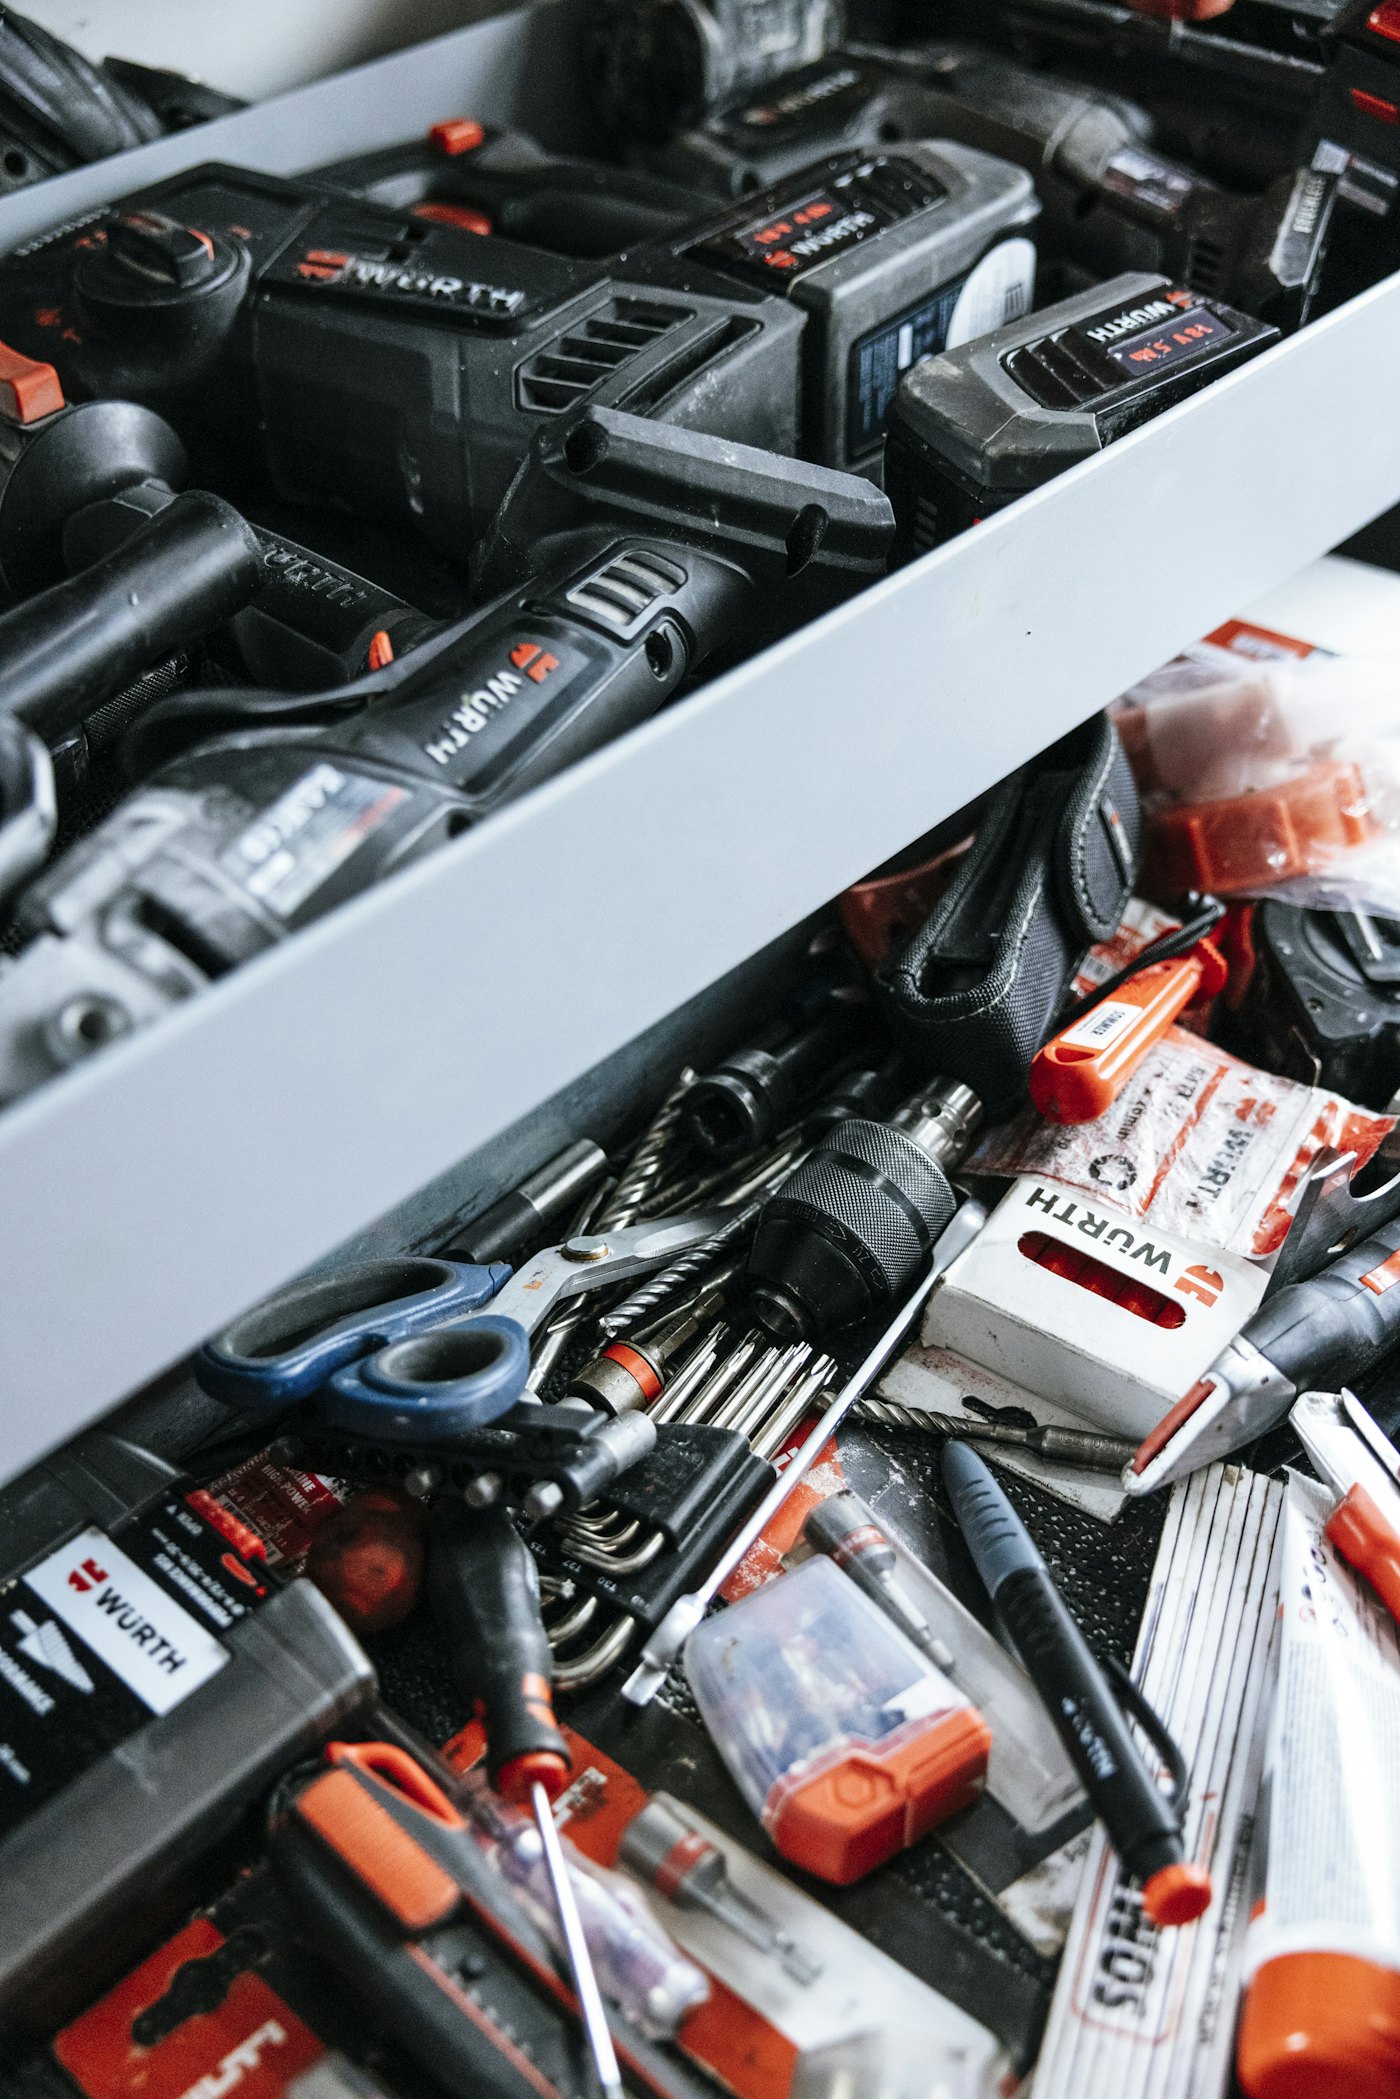
1. Empty the chest and sort by job
Lay a moving blanket or old sheet on the garage floor or a workbench and empty every drawer. Sort into groups by what the tools do, not by brand or by which drawer they came from:
- Turning: sockets, ratchets, extensions, wrenches, hex keys.
- Driving: screwdrivers, bit drivers, driver bits.
- Gripping and cutting: pliers, locking pliers, wire cutters, snips.
- Measuring and marking: tape measures, levels, squares, pencils, markers.
- Striking and prying: hammers, mallets, pry bars.
- Power tools and batteries.
- Consumables: tape, zip ties, sandpaper, fasteners.
As you sort, set aside duplicates you don’t need, broken tools, and anything that belongs elsewhere, such as household batteries, paint, or kitchen items that migrated to the garage. Fasteners usually do better in a separate small-parts organizer than loose in a tool drawer.
2. Measure the inside of each drawer
Tool chest listings often give outside dimensions or a nominal size. What matters is the inside. For each drawer, measure:
- Inside width and depth at the drawer floor, between the sides.
- Usable height: from the drawer floor to the underside of the drawer or frame above it when closed. Measure with the drawer pulled partly out so you can see what it clears.
- Liner thickness, if you plan to add one, which reduces usable height slightly.
Write the numbers on painter’s tape on each drawer front. Tools that stand taller than the usable height, such as a ratchet lying on its side with a socket attached, will catch when you close the drawer.
3. Assign tools to drawers by height and weight
Sockets, bits, wrenches
Pliers, drivers, measuring
Power tools, heavy items
Put the tools you use most often at a comfortable height near the top, and the heaviest tools in the lowest drawers. Keeping weight low makes a chest more stable and makes heavy tools easier to lift out. Keep each job group together in one drawer, or across neighboring drawers, so you know where to look.
4. Drawer organizer types
| Organizer | Best for | Check first |
|---|---|---|
| Non-slip drawer liner | Every drawer, to stop tools sliding | Cut to the inside floor size; it adds a little thickness |
| Socket rails or trays | Sockets by drive size and metric or SAE | Rail length with sockets on, and height of the tallest deep socket |
| Wrench racks | Combination wrenches in size order | Rack footprint and whether wrenches stand upright or lie flat |
| Cut foam inserts | A shadow outline for every tool, so missing ones stand out | Foam thickness against drawer height; takes time to cut |
| Modular plastic trays | Bits, hex keys, small hand tools | Tray sizes that combine to fill the drawer without gaps |
| Screwdriver or plier racks | Standing or angled rows of drivers and pliers | Height when loaded and the handle sizes it accepts |
| Magnetic strips or trays | Bits and small steel parts | Keep magnets away from devices and cards that can be affected |
For tools that don’t fit drawers, such as long levels, clamps, and saws, a wall system often works better. Our garage wall storage guide covers how to plan that.
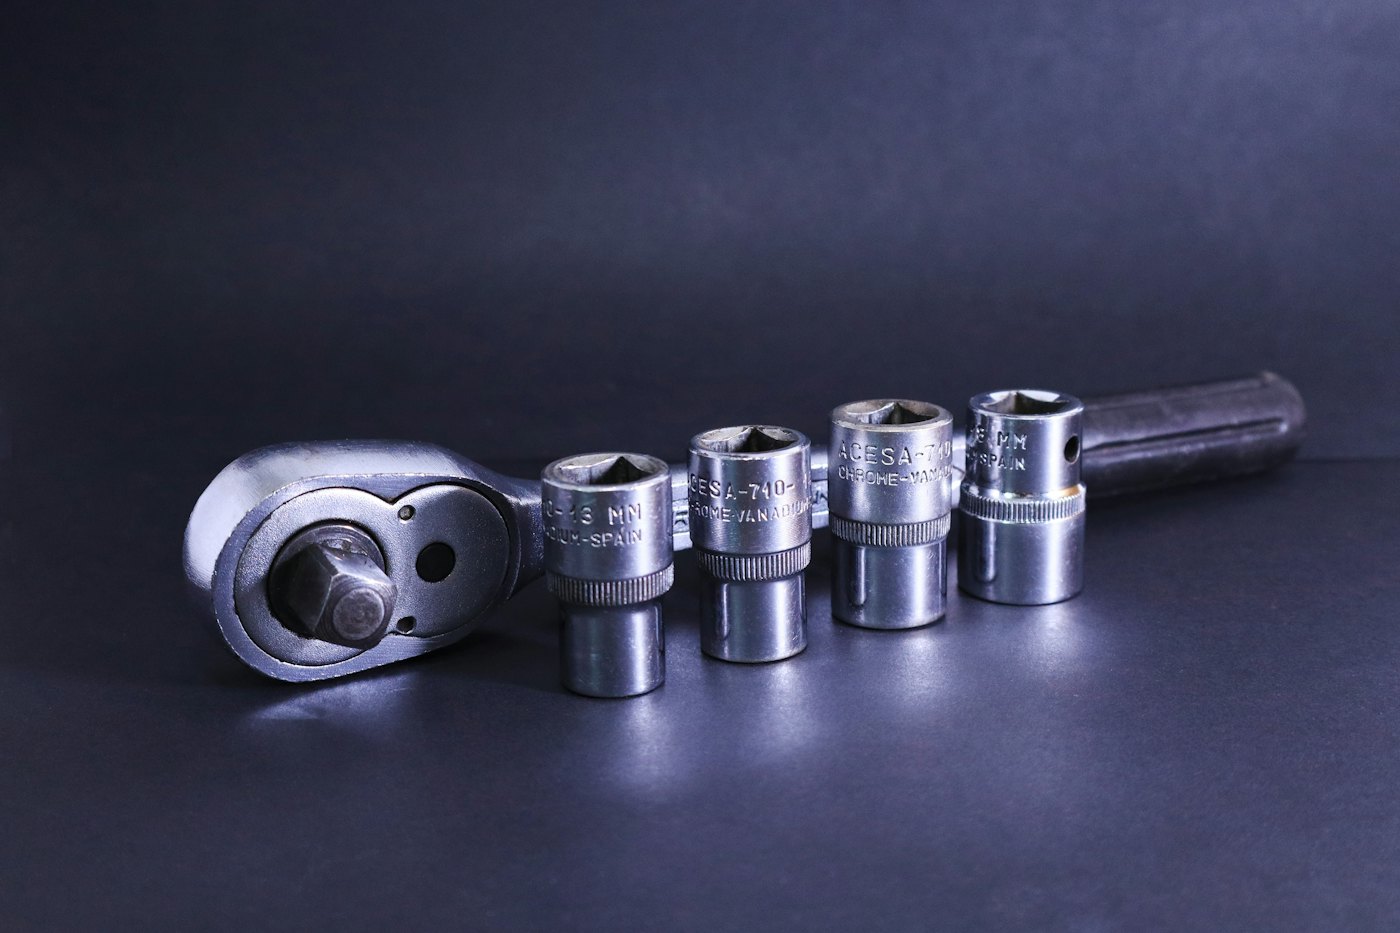
Worked example: one shallow top drawer
Say a top drawer measures about 26 inches wide, 17 inches deep, and 2.5 inches of usable height inside. You want it to hold 3/8-inch drive sockets in metric and SAE, plus one ratchet.
Measure each socket rail with the sockets on. If your metric rail is about 15 inches and your SAE rail about 13 inches, they can’t sit end to end across a 26-inch width with any room left, since together they need 28. Turned front to back instead, a 17-inch depth fits either rail, so run them side by side from front to back. Each rail with sockets might take roughly 1.5 to 2 inches of width, so two rails use about 4 inches of the drawer’s width. That leaves around 22 inches for the ratchet, extensions, and a universal joint laid flat on the liner.
Check height last: a standard socket standing upright on a rail usually clears 2.5 inches, but deep sockets may not. Deep sockets can lie on their side in a separate tray or move to a taller drawer. These numbers are an example; measure your own drawer and tools.
5. Safety and stability
- Open one drawer at a time. A tool chest with several loaded drawers open can tip forward. Many chests have interlocks for this; don’t defeat them.
- Keep the heaviest tools in the lowest drawers, and follow the manufacturer’s load limits per drawer.
- Lock casters when the chest is in use, and park it on a level floor. If you stack a top chest on a rolling cabinet, secure them together as the manufacturer directs.
- If young children can reach the garage, keep the chest locked and the key put away, and anchor it if the manufacturer provides for that.
- Store blades with covers on, and keep utility knives retracted.
- Keep lithium-ion batteries in a cool, dry place away from metal tools, fasteners, and loose bits that could touch the terminals. Don’t store damaged batteries; follow the battery maker’s guidance.
- Don’t store fuel, solvents, or other flammable liquids in a tool chest.
6. What to buy, in order
- Liner in every drawer. A roll of non-slip tool drawer liner, cut to each drawer floor. It’s the cheapest fix and stops most of the sliding.
- Socket storage next. Socket rails or trays that fit under your drawer’s usable height, with metric and SAE kept apart.
- A wrench rack for your most-used set. Drawer wrench racks come in upright and flat styles, so check which one your drawer height allows.
- Small trays for bits and hex keys. Modular trays that combine to fill the drawer with no gaps.
- Foam last. Cuttable foam inserts for the drawers you want to check at a glance, once the layout has settled.
Compare tool drawer organizers
Affiliate disclosure: As an Amazon Associate I earn from qualifying purchases. These links open Amazon search results for the organizer types in this guide, not recommendations for a specific model. Check sizes against your drawer measurements before buying.
Questions
Should I organize my toolbox by tool type or by project?
For most home tool chests, organizing by tool type works best because you always know where to look. If you do one task often, such as bike repair, a small separate kit for that job can sit alongside the main chest.
Is foam worth it for tool drawers?
Cut foam makes missing tools easy to spot and stops rattling, but it uses drawer space and takes time to cut. Many people wait until their layout has settled for a few weeks before cutting foam, so they don’t have to redo it.
How do I keep sockets from rolling around?
Clip them onto socket rails or set them in socket trays sorted by drive size, with metric and SAE kept apart. A non-slip liner under the rails keeps the rails themselves from sliding.
Keep reading
More guides for your space
THE KINDRED JOURNAL
Latest from the journal
- What Holiday Lights Really Cost to Run: LED vs. Incandescent, With the Math for Your Own Display
 Read the watts off each tag, multiply by your hours and your own rate, and the answer is clear: eight incandescent strings cost about $25.70 a season in our worked example and their LED versions about $2.18, big C9 bulbs pay back an LED swap in about three seasons, and working mini lights can wait.
- Ideal Indoor Humidity in Winter: Find Your Number, Check Your Meter, Then Add Only What the Room Needs
 Aim for 30 to 50% and never humidify past 50%, let the windows set the limit on the coldest nights, salt-test your hygrometer before you trust it, seal drafts first because a whole bedroom needs only about 4½ ounces of water, and clean the tank on a schedule: a winter humidity guide with the math worked out.
- Toy Storage Ideas: 13 Ways to Make Room Before the Holiday Toy Wave
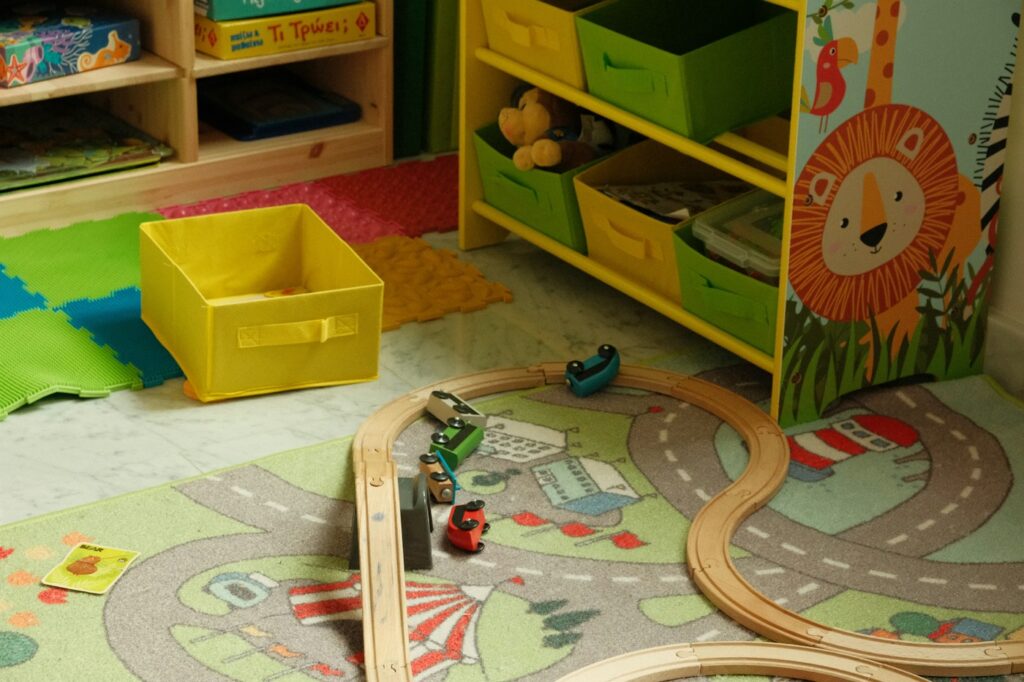 Edit the toys before the gifts arrive, give each kind of play one open bin on an anchored low shelf, keep small parts and spare batteries out of a toddler’s reach, skip latching lids and rotate the extras: thirteen toy storage ideas for the weeks before and after the holidays.
- Best Gift Wrap Organizers: 5 Picks for a Closet Corner, Under the Bed or the Back of a Door
 An upright box that holds up to 32 long rolls, a 41.5-inch under-bed bag for big collections, a water-resistant zip bag, an over-the-door organizer and a slim canvas case for eight rolls: five gift wrap organizers matched to the space you can give them.
- Cord and Cable Storage: 13 Ideas for the Spare Chargers, Cables and Adapters Nobody Can Find
 Match every cable to a device you still own, keep a sensible number of spares by connector type, coil them loosely, label the mystery bricks, hang the extension cords and send old batteries and dead cables to a proper drop-off: thirteen ways to store spare cords so the right one turns up in seconds.
- Window Condensation in Winter: Find Which Side the Water Is On, Then Match Humidity to the Forecast
 Do the wipe test to tell room-side fog from a failed seal, check a hygrometer against the outdoor low, keep humidity at or under 40% above 20°F and 30% below 10°F, run the fans, open the curtains by day and dry wet sills the same morning: a window condensation guide with a worked cold-week example.
- How to Clean a Range Hood Filter Before Holiday Cooking: Know Your Filter Type, Then Put It on the Calendar
 Wash metal mesh and baffle filters in hot soapy water or the dishwasher, replace charcoal filters instead of rinsing them, never run the hood with the filter out, and clean the weekend before Thanksgiving and again before Christmas: a range hood filter guide with a worked holiday cleaning calendar.
- Drying Clothes Indoors in Winter: Where the Rack Goes, How Much Rail You Need and What It Saves
 One load gives off about 2 liters of water as it air-dries, so put the rack where that moisture can leave, keep it 3 feet from the space heater, count inches of rail before you buy, space and turn the heavy things, watch humidity and window condensation, and know what the dryer you’re skipping really costs: indoor drying with the math.
- Hat, Glove and Scarf Storage by the Door: One Bin Per Person, Sized to What They Actually Wear
 Keep a daily set plus one dry spare per person, size an open bin for each from a quick measurement, dry wet mittens before they go in, clip pairs together, hang woven scarves and fold knits, skip long scarves on the playground and wash wool before it’s sealed away: a hat and glove station with a worked bin-size example.