You can feel it from the couch: a cold slide of air coming off the window, even with the heat on. A window insulation kit promises to fix that for the price of a takeout lunch, and it mostly can, but not every window is worth the tape. Shrink film does its best work on single-pane glass and loose, rattly sashes, and it does very little for a tight double-pane window that already has a low-e coating. This guide shows you how to sort your windows into “film it” and “skip it,” how to work out the savings for your own house, and how to put the film up so it’s still tight in February.
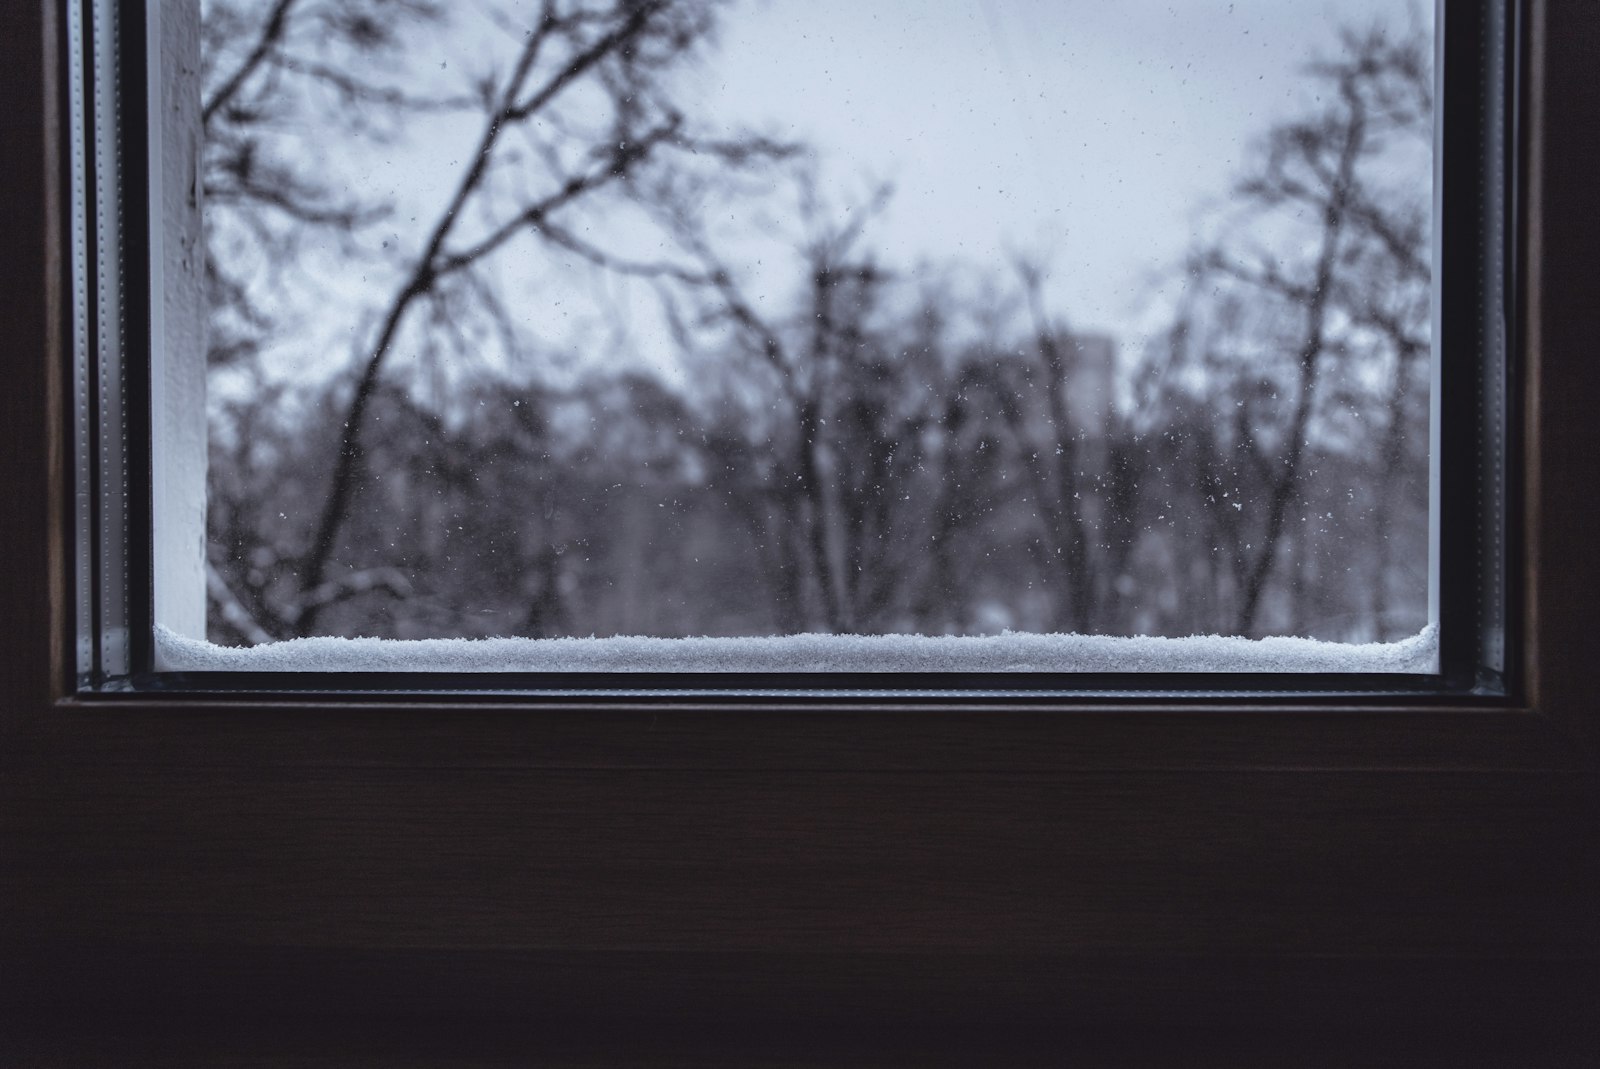
Yes, indoor shrink film works, mostly by stopping drafts and adding a layer of still air. Building researchers put the insulation gain at about R-1, which roughly halves heat loss through the glass of a single-pane window but trims only about a third off a standard double-pane one. ENERGY STAR rates it 2 out of 5 stars for savings: worth doing, but a smaller win than attic and basement sealing. Film the single-pane, leaky and rarely opened windows first, skip tight low-e windows, keep the tape on trim rather than painted wall, and make sure everyone can still get out through any bedroom window you cover.
What the film actually does
An indoor kit is a sheet of clear plastic stuck to double-sided tape around the window trim, then shrunk tight with a hair dryer. That does two separate jobs, and it helps to keep them apart when you’re deciding whether it’s worth it.
1. It seals the air leaks around the sash
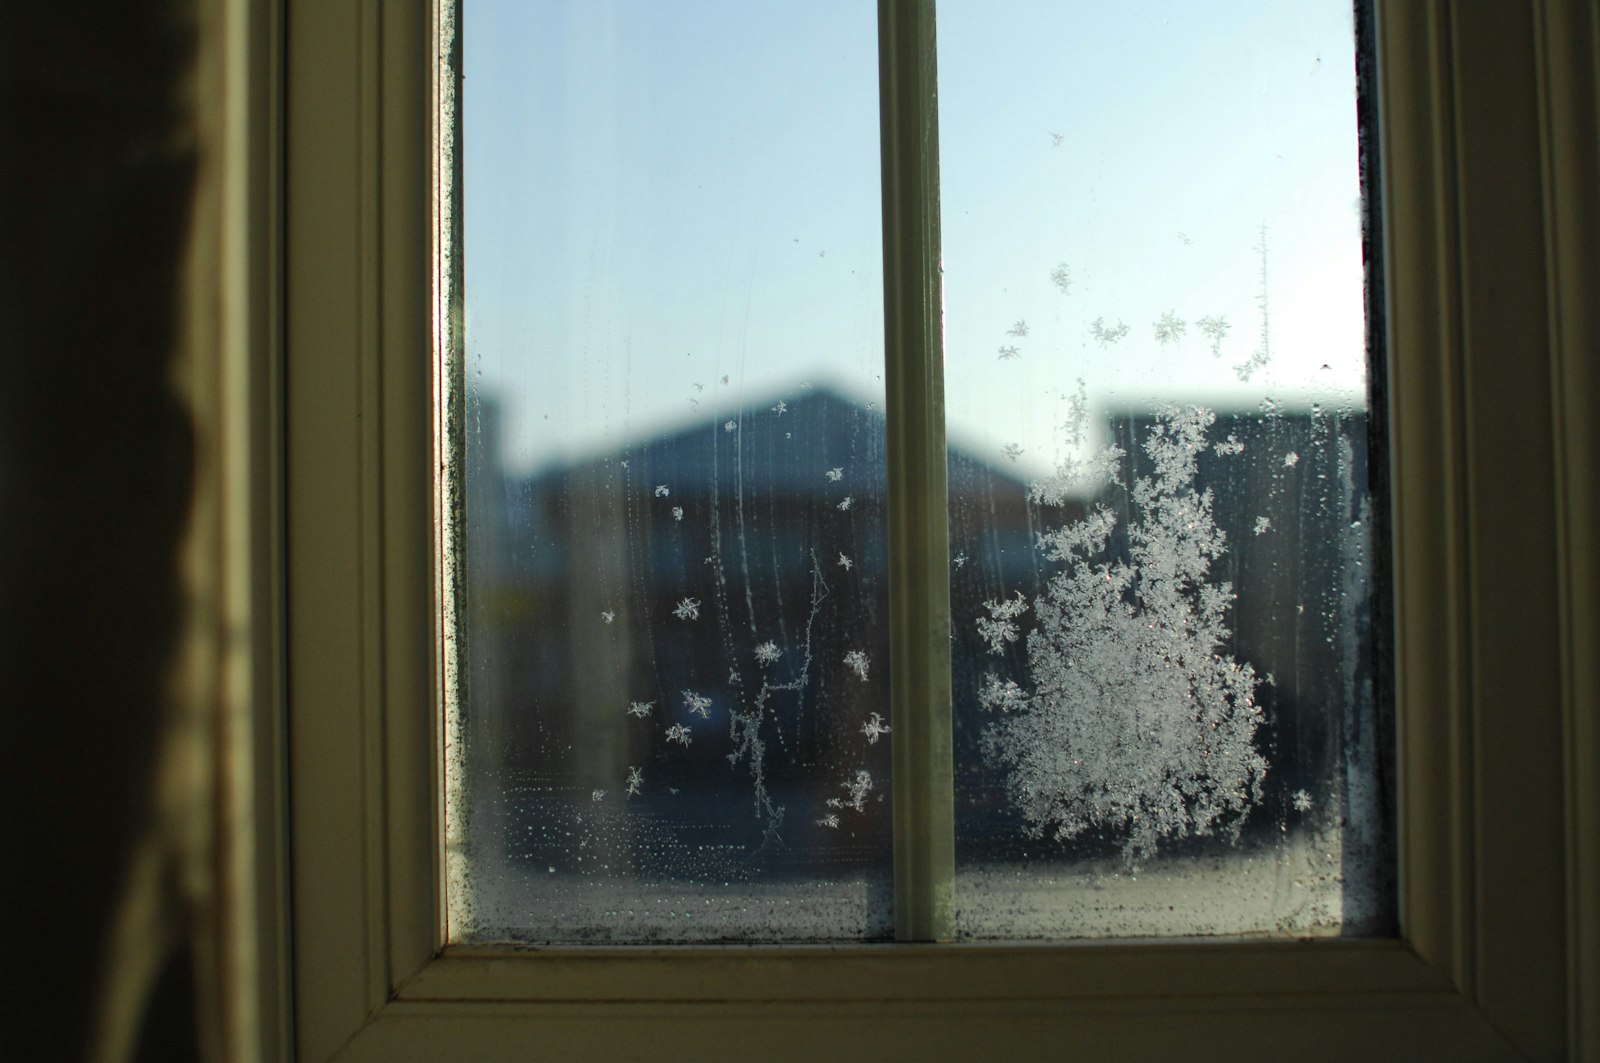
Because the film covers the whole window, including the cracks where the sash meets the frame, it stops the drafts that come through those gaps. ENERGY STAR points out that film can eliminate air leaks around the window when it extends over the woodwork, and notes that kits also cut condensation on the glass and make the room feel warmer. On an old double-hung window that rattles in the wind, this is usually the part you notice first.
2. It adds a layer of still air in front of the glass
The trapped air between film and glass adds a little insulation. In BuildingGreen’s review of window attachments, plastic film kits added roughly R-1. That sounds tiny, but window numbers start small: the Department of Energy’s window fact sheet puts plain single-pane glass at only about R-1, so adding another R-1 roughly doubles its resistance to heat flow. A standard double-pane window starts near R-2, so the same film moves it to about R-3, a smaller relative gain.
What film doesn’t do well is block radiant heat the way a low-e coating does. It’s a draft stopper and an air layer, not a replacement window.
Sort your windows before you buy a kit
Walk the house with a notepad and give every window one of three labels. It takes about ten minutes and keeps you from buying film for windows that don’t need it.
3. Check the glass: one pane or two?
Hold a lighter or a small flashlight close to the glass at night and look at the reflections. One reflection pair usually means single pane; two pairs means double pane. A faint color difference in one of the reflections often points to a low-e coating. Single-pane windows are your first priority.
4. Do the paper and smoke tests for drafts
ENERGY STAR suggests two quick checks: close the window on a sheet of paper, and if it slides back and forth easily the window could seal better; then hold a lit incense stick near the sash and seams and watch whether the smoke gets pushed sideways. Rattling sashes, visible gaps around the trim and peeling paint around the frame are other signs it lists. A leaky window gains from film even if it’s double-pane, because you’re also fixing the draft.
If the leak is behind the trim rather than at the sash, film won’t reach it. Our guide to where your home is losing heat covers sealing those gaps.
5. Ask whether you’ll need to open it before April
Film is meant to stay up all season. A window you open for cooking smells or a stuffy bedroom isn’t a good candidate, and neither is a window your household counts on as a way out in an emergency unless you’ve planned for it (more on that below).
| Window | Verdict | Why |
|---|---|---|
| Single pane, drafty | Film first | Biggest gain on both drafts and heat loss |
| Single pane, tight | Film | Roughly halves heat loss through the glass |
| Double pane, drafty sash | Film if you won’t open it | The draft fix matters more than the insulation |
| Double pane, low-e, tight | Usually skip | Small gain for the effort and tape |
| Bedroom escape window | Only with a plan | Everyone must know how to get through it fast |
Do the math for one window
Heat loss through glass is easy to estimate. A window’s U-factor is the number of Btu it loses per hour for each square foot and each degree of temperature difference, and it’s simply 1 divided by the R-value. Multiply the drop in U-factor by the window’s area and by your winter’s heating degree days times 24 hours, and you get the heat the film keeps in over a season.
The example below uses a typical 36-by-60-inch window, a cold-winter climate of 5,000 heating degree days, a 90% efficient gas furnace and an illustrative gas price of $1.40 per therm. It counts only the glass, not the draft savings, so treat it as a conservative floor rather than a promise.
| Step | Single pane | Double pane |
|---|---|---|
| Area (36 × 60 ÷ 144) | 15 sq ft | 15 sq ft |
| R-value without → with film | R-1 → R-2 | R-2 → R-3 |
| U-factor without → with film | 1.00 → 0.50 | 0.50 → 0.33 |
| Degree-hours (5,000 × 24) | 120,000 | 120,000 |
| Heat saved (U drop × 15 × 120,000) | 900,000 Btu = 9 therms | 300,000 Btu = 3 therms |
| Gas burned at 90% furnace efficiency | 10 therms | 3.33 therms |
| Savings at $1.40 per therm | $14.00 a season | $4.67 a season |
Six single-pane windows like that come to about $84 a winter on gas, before counting the drafts you stopped. If you heat with electric baseboards, convert the heat saved to kilowatt-hours instead: 900,000 Btu ÷ 3,412 Btu per kWh is about 264 kWh, or about $52.75 at an illustrative 20 cents per kWh. Swap in your own degree days (your utility or local weather service lists them), the rate from your bill and your furnace’s efficiency. The exact dollar figure matters less than the ratio: the same kit is worth about three times as much on single-pane glass as on double-pane.
Try it if you have single-pane windows, rattling sashes or a cold room you avoid all winter. Skip it if your windows are newer low-e double-pane units that pass the paper test; your money and your Saturday go further elsewhere.
Put it up so it lasts the winter
6. Measure the trim, then buy by width
Measure across the outside edges of the trim, not just the glass, since the film has to reach the woodwork to seal the gaps. ENERGY STAR advises buying a kit that fits your window’s width and cutting the film so it overhangs a few inches on every side. Patio doors and picture windows need an oversized or patio-door kit.
7. Clean the trim with rubbing alcohol
Most failed kits fail at the tape. ENERGY STAR’s tool list includes cotton balls and rubbing alcohol for exactly this step: wipe the trim where the tape will go, let it dry, and press the tape down firmly along its whole length before you peel the backing.
8. Keep the tape on trim, not the wall
3M says its tape can go on painted, stained or varnished window trim, but not on painted walls. If your windows have no trim, which is common in some newer homes and apartments, look for a mounting method made for the frame itself or choose a different fix. ENERGY STAR says the tape usually comes off without damaging the finish, but BuildingGreen notes some people lose paint when the kit comes down, so test a hidden corner on older or freshly painted trim.
9. Shrink it with steady, moving heat
Press the film onto the tape starting at the top, pull out the big slack, then sweep a hair dryer back and forth across it until the wrinkles disappear. Keep the dryer moving and follow the distance printed on your kit’s box; heat held in one spot can melt a hole. Trim the extra film last with a sharp utility knife. 3M says indoor film can go up in most weather, but if it’s below 0°F outside, pick a bright, sunny day.
10. Keep the blinds working
Film over mini blinds normally locks them in place. ENERGY STAR’s fix: take the tilt wand off before filming; after shrinking, frame the wand hook with four overlapping strips of clear tape, cut out the center with a fresh blade, then reattach the wand and pull the lift cords through.
11. Plan the way out of bedrooms
If a bedroom window is part of your family’s fire escape plan, film adds one more step in the dark. It doesn’t lock the window, but everyone who sleeps in that room should know the film pulls or tears away from the trim by hand. Show them, walk through it at your next fire drill, and never pair film with anything else that makes the window hard to open. Our smoke and CO alarm audit is a good moment to review the whole plan.
Live with it until spring
12. Watch the condensation and humidity
Film keeps warm, damp room air off the cold glass, which is why ENERGY STAR credits it with cutting window condensation. If you see moisture on the room side of the film, the house is probably too humid for the outdoor temperature; our guides to window condensation and winter indoor humidity show how to read a hygrometer and set a target. If the film gets dusty, 3M suggests a soft cloth, any window cleaner and light pressure, so you don’t pull it off the tape.
13. Take it down slowly in spring
When winter is over, peel the film and then the tape, slowly and at a low angle. Indoor film is a one-season product; plan to buy fresh kits next fall rather than saving wrinkled sheets.
When film isn’t the best fix
Film is the cheapest window attachment, not the strongest. In BuildingGreen’s comparison, conventional insulated shades add about R-1 to R-2, high-performance cellular shades or window quilts with side tracks reach up to about R-4 when fully closed, and low-e interior storm panels add about R-2 while sealing air leaks well. Those cost more, but they last for years and don’t haze the view. ENERGY STAR also notes that window projects tend to save less energy than sealing and insulating the attic and basement, so if you’ve never done the attic, start there. For more small moves that add up, see our cheap ways to keep the house warmer and the thermostat mistakes that can quietly cost more than a drafty window.
Affiliate disclosure: As an Amazon Associate I earn from qualifying purchases. The links below are Amazon searches, not specific products we’ve tested or recommend over others.
- Indoor window insulation shrink film kit (Amazon search) ↗
- Patio door and oversized window kit (Amazon search) ↗
- Extra window film mounting tape (Amazon search) ↗
- Indoor hygrometer for checking humidity (Amazon search) ↗
Check the kit’s window count and maximum film size against your trim measurements before you buy.
- Every window labeled: single or double pane, drafty or tight.
- Paper and smoke tests done on the suspect windows.
- Savings worked out with your degree days, rate and furnace efficiency.
- Trim measured outside edge to outside edge; kit bought by width.
- Trim wiped with rubbing alcohol; tape pressed down firmly.
- Tape on trim only, never on painted wall; hidden corner tested.
- Film shrunk with a moving hair dryer, extra trimmed with a sharp blade.
- Blind wands reattached through a taped cutout.
- Bedroom windows: everyone knows how to get through the film.
- Room-side condensation checked against humidity on cold nights.
Can I use indoor and outdoor film on the same window?
3M says yes, as long as you follow each kit’s directions. Outdoor film isn’t shrunk with a hair dryer, because sunlight can over-shrink it, and 3M says to put it up when it’s above 50°F outside, so it’s a fall job rather than a January one.
Is it worth filming double-pane windows?
Usually only if they leak air. In the worked example the film saves about a third as much on double-pane glass as on single-pane, so a tight double-pane window rarely justifies the kit. A drafty double-pane slider you never open is the exception.
Why does the film go on the trim and not the glass?
Covering the trim traps air in front of the whole window and seals the cracks around the sash, which is where many drafts come from. Film stuck only to the glass would leave those gaps open.
Sources: ENERGY STAR, Applying Plastic Over Windows Project · 3M, Window Insulator Kit FAQs · BuildingGreen, Improving Your Windows with Plastic Film Kits, Insulated Shades, and Interior Storm Windows · U.S. Department of Energy / NREL, Energy-Efficient Windows fact sheet. Savings are estimates; your windows, climate and rates will differ.
Keep reading
More guides for your space
THE KINDRED JOURNAL
Latest from the journal
- Winter Storm Emergency Kit: What to Pack and Where Each Part Should Live in the House
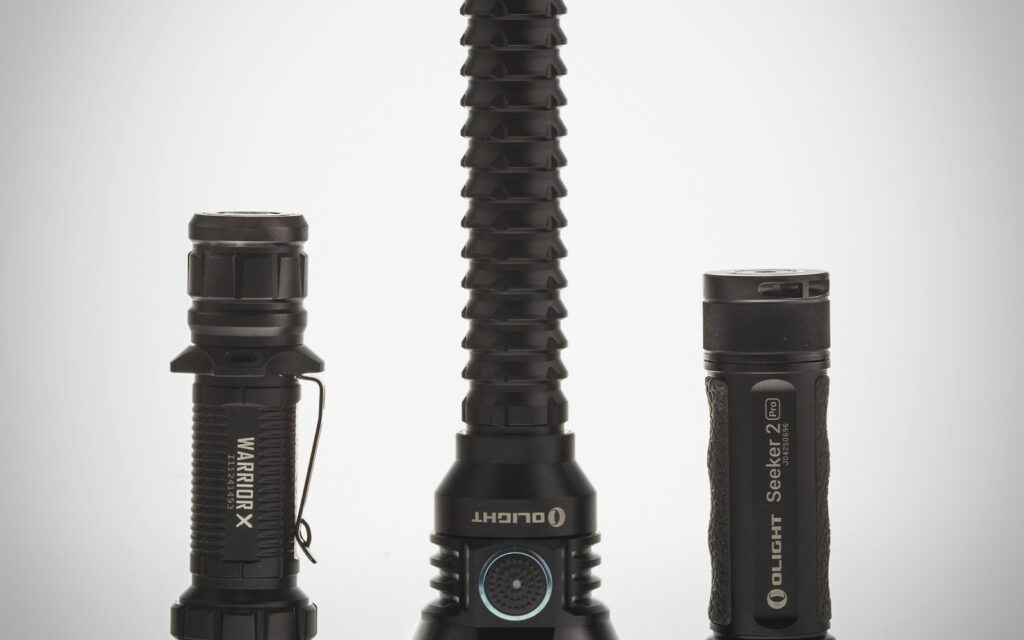 Store a gallon of water per person per day for several days, split the kit into a light grab-and-go bin by the exit, a cool stay-put shelf for the heavy water and food, and a flashlight in every bedroom, keep generators 20 feet out, and check it all every spring and fall: a winter storm kit with a worked family-of-four example.
- Window Insulation Film: Does It Work? Sort Your Windows First, Then Do the Math
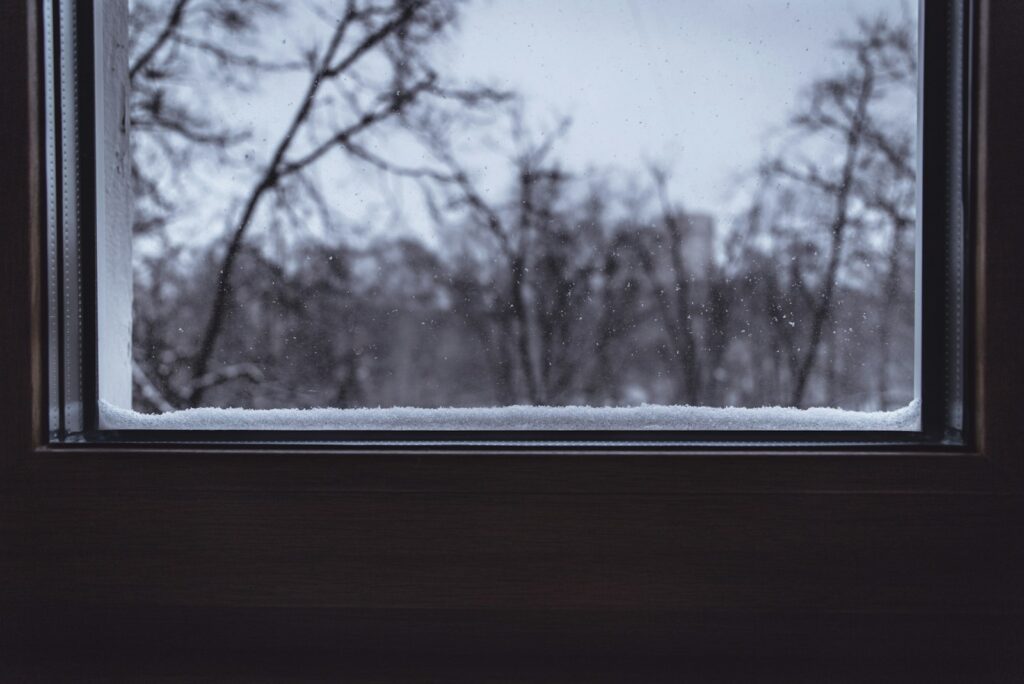 Shrink film adds about R-1 and stops sash drafts, so it roughly halves heat loss through single-pane glass but barely helps a tight low-e window: sort your windows with the paper test, work out one window’s savings, keep the tape on trim and plan the way out of bedrooms.
- What Holiday Lights Really Cost to Run: LED vs. Incandescent, With the Math for Your Own Display
 Read the watts off each tag, multiply by your hours and your own rate, and the answer is clear: eight incandescent strings cost about $25.70 a season in our worked example and their LED versions about $2.18, big C9 bulbs pay back an LED swap in about three seasons, and working mini lights can wait.
- Ideal Indoor Humidity in Winter: Find Your Number, Check Your Meter, Then Add Only What the Room Needs
 Aim for 30 to 50% and never humidify past 50%, let the windows set the limit on the coldest nights, salt-test your hygrometer before you trust it, seal drafts first because a whole bedroom needs only about 4½ ounces of water, and clean the tank on a schedule: a winter humidity guide with the math worked out.
- Toy Storage Ideas: 13 Ways to Make Room Before the Holiday Toy Wave
 Edit the toys before the gifts arrive, give each kind of play one open bin on an anchored low shelf, keep small parts and spare batteries out of a toddler’s reach, skip latching lids and rotate the extras: thirteen toy storage ideas for the weeks before and after the holidays.
- Best Gift Wrap Organizers: 5 Picks for a Closet Corner, Under the Bed or the Back of a Door
 An upright box that holds up to 32 long rolls, a 41.5-inch under-bed bag for big collections, a water-resistant zip bag, an over-the-door organizer and a slim canvas case for eight rolls: five gift wrap organizers matched to the space you can give them.
- Cord and Cable Storage: 13 Ideas for the Spare Chargers, Cables and Adapters Nobody Can Find
 Match every cable to a device you still own, keep a sensible number of spares by connector type, coil them loosely, label the mystery bricks, hang the extension cords and send old batteries and dead cables to a proper drop-off: thirteen ways to store spare cords so the right one turns up in seconds.
- Window Condensation in Winter: Find Which Side the Water Is On, Then Match Humidity to the Forecast
 Do the wipe test to tell room-side fog from a failed seal, check a hygrometer against the outdoor low, keep humidity at or under 40% above 20°F and 30% below 10°F, run the fans, open the curtains by day and dry wet sills the same morning: a window condensation guide with a worked cold-week example.
- How to Clean a Range Hood Filter Before Holiday Cooking: Know Your Filter Type, Then Put It on the Calendar
 Wash metal mesh and baffle filters in hot soapy water or the dishwasher, replace charcoal filters instead of rinsing them, never run the hood with the filter out, and clean the weekend before Thanksgiving and again before Christmas: a range hood filter guide with a worked holiday cleaning calendar.