Most people know they should test their smoke alarms. Far fewer know how old those alarms are, whether there’s one in every bedroom, or that a carbon monoxide alarm and a smoke alarm do different jobs and belong in slightly different places. This guide is a one-hour audit you can do with a step stool and your phone: map where alarms should be, check that each existing one is in a good spot, read the date on the back, test, and make a short list of what to replace or add. A worked example for a two-story house shows how the count and the dates come together.
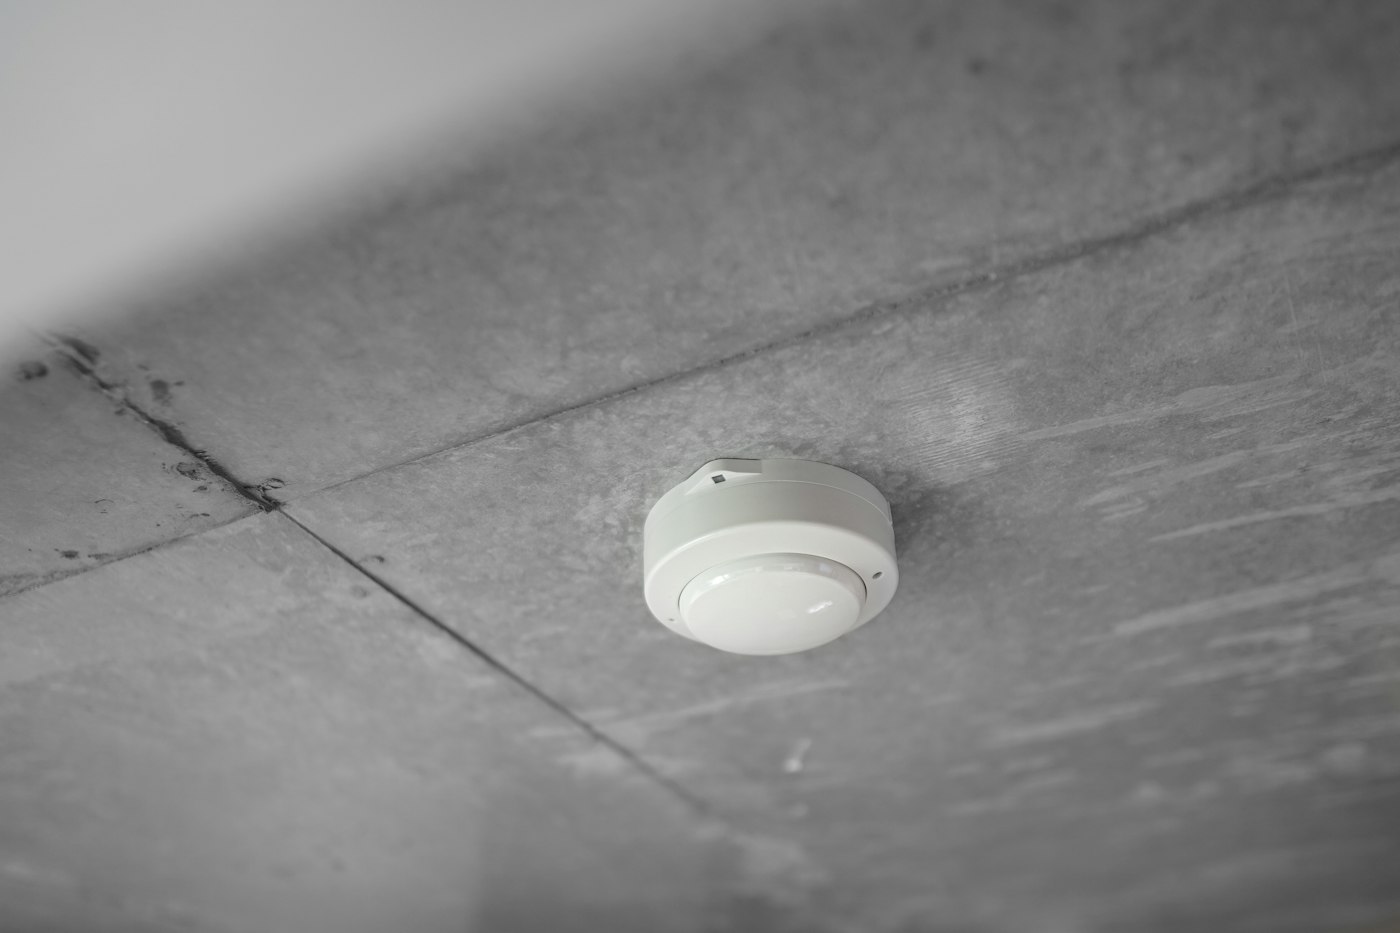
Smoke alarms go in every bedroom, outside each sleeping area and on every level, basement included. CO alarms go on each level and outside sleeping areas. Mount smoke alarms on the ceiling or within 12 inches of it, at least 10 feet from the stove and 3 feet from a bathroom door or air register. Take each one down and read the manufacture date: a smoke alarm is done 10 years after that date, and one with no readable date should be replaced. Test monthly, swap 9-volt batteries yearly, and if a CO alarm sounds, get everyone outside and call 911.
Before you start
You’ll need a step stool, your phone for photos of each label, and a rough sketch of each floor. Renters can do the same audit and send the results to the landlord.
Try it if you’ve never looked at the back of your alarms, or you moved into a home that came with whatever the last owner installed. Skip it if you replaced every alarm in the last few years and already keep a list of dates; just do the monthly test.
Step 1: Map where alarms belong
1. Smoke alarms: every bedroom, every sleeping area, every level
The U.S. Fire Administration (USFA) puts the rule in three parts: a smoke alarm inside every bedroom, one outside each separate sleeping area, and one on every level of the home, including the basement. On your sketch, mark each bedroom with an S, the hallway or landing outside the bedrooms with an S, and each floor that doesn’t already have one. That’s your target count.
USFA notes that a closed door may slow smoke, which is why the in-room alarm matters, and recommends interconnected alarms so that when one sounds, they all do.
2. CO alarms: each level and outside sleeping areas
The Consumer Product Safety Commission (CPSC) recommends CO alarms on each level of the home and outside sleeping areas. It also says CO alarms shouldn’t go in attics or basements unless someone sleeps there, so a basement that only holds the furnace may not need one by CPSC’s guidance, though your local code or the alarm’s manual may say otherwise. Mark each spot with a C.
Carbon monoxide comes from burning fuel: CPSC lists furnaces, ranges, water heaters, room heaters, fireplaces and portable generators among the sources. Many states and cities require CO alarms, so check your local rules too.
3. One combination alarm where both belong
CPSC notes that combination smoke and CO alarms are available. The hallway outside the bedrooms, where both an S and a C belong, is the natural spot for one.
Step 2: Check that each alarm is in a good spot
An alarm that cries wolf is the one that gets its battery pulled. The South Carolina State Fire Marshal’s smoke alarm sheet gives the measurements most homeowners need.
4. Height: on the ceiling, or near it
Smoke rises, so the alarm should be on the ceiling or high on a wall. On a ceiling, mount it toward the middle of the room and at least 4 inches from the wall. On a wall, keep it between 4 and 12 inches below the ceiling. The corner where the wall meets the ceiling is the spot to avoid. If your alarm’s manual gives different numbers, follow the manual; USFA says to check the manufacturer’s instructions for the best location for your model.
5. Distance from the things that cause false alarms
The same fire marshal sheet sets out the nuisance-alarm distances: at least 10 feet from cooking appliances, at least 3 feet from a bathroom door and from air registers, not next to a drafty window, and not in a garage or on an uninsulated exterior wall or ceiling. It also suggests photoelectric alarms near kitchens and bathrooms, since they’re less prone to nuisance alarms there.
CO alarms have their own list. CPSC says to keep them away from heating vents and out of places where furniture or curtains could cover them, and doesn’t recommend putting them in kitchens or directly above fuel-burning appliances. CO alarms can plug into an outlet or go high on the wall; a plug-in or hardwired unit should have a battery backup.
Try it if an alarm goes off whenever you sear something or run a hot shower: measure its distance from the range or bathroom door before you blame the alarm. Skip it if moving it would leave a bedroom area uncovered; better a placement that’s a little annoying than a gap.
Step 3: Read the date on the back
6. Smoke alarms: 10 years from the manufacture date
Twist each alarm off its base and look at the label. USFA says smoke alarms need replacing 10 years from the date of manufacture, not the date you installed them, and the fire marshal sheet adds that an alarm with a missing or unreadable date should simply be replaced. Photograph each label so you have the dates without climbing back up later.
Alarms with a sealed 10-year battery follow the same clock: you don’t change the battery, you replace the whole unit when it reaches the end of its life per the manufacturer’s instructions.
7. CO alarms: check the label or manual for the replacement age
CO alarms don’t all share one lifespan. CPSC says the recommended replacement age is in the product literature or available from the maker, and that newer alarms give an end-of-life signal when it’s time. Note the date and the stated life for each CO alarm, and learn which sound means “replace me” rather than “low battery”; the manual spells it out.
| Location | Needed | Found | Date on back | Age / replace by | Action |
|---|---|---|---|---|---|
| Upstairs hallway (outside 3 bedrooms) | Smoke + CO | Smoke only | May 2014 | 12 yrs 6 mo; was due May 2024 | Replace with a combination smoke/CO alarm |
| Primary bedroom | Smoke | Smoke | Feb 2021 | 5 yrs 9 mo; due Feb 2031 | Keep; test monthly |
| Bedroom 2 | Smoke | None | — | — | Add a smoke alarm |
| Bedroom 3 | Smoke | None | — | — | Add a smoke alarm |
| Main floor living area | Smoke + CO | Smoke only | Sep 2017 | 9 yrs 2 mo; due Sep 2027 | Keep smoke alarm; add a CO alarm |
| Basement (furnace, water heater; no bedroom) | Smoke | Smoke | Unreadable | Unknown | Replace |
The math is simple: the replacement date is the manufacture date plus 10 years, and the age is today minus the manufacture date (November 2026 minus May 2014 is 12 years and 6 months, so that alarm passed its replacement date two and a half years ago). The audit turns up six required smoke locations (three bedrooms, one hallway, one per floor on the two other levels) and two CO locations (the upstairs hallway and the main floor; by CPSC’s guidance the basement doesn’t need one, since nobody sleeps there). Against that, the house had four smoke alarms and no CO alarm at all.
The shopping list comes to one combination alarm for the hallway, one CO alarm for the main floor, and three smoke alarms (two bedrooms and the basement). USFA lists dual-sensor smoke alarms from about $24, so the three smoke alarms start at about 3 × $24 = $72 before the combination and CO units. Put “replace main-floor smoke alarm, Sep 2027” on the calendar now; it’s the next one to age out.
Step 4: Test, and know what the test tells you
8. Press every button, every month
CPSC and USFA both say to test smoke and CO alarms monthly. Press and hold the test button until it sounds; if it’s silent or weak, replace the battery and test again, and replace the alarm if that doesn’t fix it. CPSC points out a limit worth knowing for CO alarms: the test button checks that the circuitry works, not that the sensor is still accurate. That’s the reason the replacement date matters even when the beep sounds fine.
9. Batteries by alarm type
USFA’s care rules split three ways. A 9-volt alarm gets a new battery at least once a year and a new unit every 10 years. A sealed 10-year alarm needs no battery changes but gets replaced on the maker’s schedule. A hardwired alarm has a backup battery that also needs replacing yearly, and the whole unit is replaced at 10 years; USFA says hardwired alarms should be installed only by qualified electricians. Pick one date for the yearly battery change, such as the fall clock change, and stick to it.
A monthly test is easy to forget, so give it a home: a recurring phone reminder, or a line on the wall calendar in your family command center, next to the replacement dates from your audit.
Step 5: Choose what to buy
10. Ionization, photoelectric or both
USFA explains that smoke alarms come in two basic types, ionization and photoelectric, which detect different kinds of fires. Because nobody can predict which kind of fire a home will have, USFA recommends having both types or using dual-sensor alarms that contain both sensors. The fire marshal guidance on photoelectric units near the kitchen fits inside that advice: if the alarm closest to the kitchen keeps sounding, a photoelectric or dual-sensor model with a hush button is worth considering.
11. Look for interconnection, and a listing
Interconnected alarms (wired, or wireless models that talk to each other) mean an alarm in the basement sounds in the bedrooms too. If you’re adding alarms to an existing set, check the manual for which models can link, since not every alarm connects with every other. For CO alarms, CPSC says to choose one that meets the UL 2034 safety standard. USFA also notes alarms with strobe lights or vibration for people with hearing loss.
Try it if money is tight: USFA says some fire departments offer free or reduced-price alarms and will even install battery-operated ones, so call your department’s non-emergency number before you buy. Skip it if your alarms are hardwired; replacements need to suit the existing wiring, so book an electrician rather than swapping in a battery unit.
When an alarm sounds
12. CO alarm: get out first, look for the cause later
CPSC is blunt here: don’t try to find the source. Get everyone outside into fresh air, call 911 or the fire department, count heads, and don’t go back in until responders say it’s safe. If the cause turns out to be an appliance, it stays off until a qualified technician has serviced it. CPSC also warns that mild CO poisoning feels like the flu without a fever (headache, fatigue, nausea, dizziness, shortness of breath), so if several people in the house feel that way at once, treat it as a possible CO problem even without an alarm. CPSC counts more than 200 U.S. deaths a year from CO produced by non-automotive consumer products.
If you heat with gas or oil, our furnace warning signs list is worth a look, and our space heater guide covers safe use of plug-in heat.
13. Smoke alarm while cooking: hush it, don’t disable it
USFA’s advice for cooking or shower-steam alarms is to open a window or door, press the hush button and wave a towel to clear the air, and never pull the battery. If it happens often, move the alarm farther from the kitchen or bathroom, using the distances in Step 2. USFA notes you may have less than 2 minutes to get out once an alarm sounds in a real fire.
Our Christmas tree safety guide covers holiday fire risks, and the winter home maintenance checklist puts this audit alongside the furnace check.
Affiliate disclosure: As an Amazon Associate I earn from qualifying purchases. The links below are Amazon searches, not specific products we’ve tested or recommend over others.
- Dual-sensor smoke alarms (Amazon search) ↗
- Combination smoke and CO alarms (Amazon search) ↗
- Plug-in CO alarms with battery backup (Amazon search) ↗
- Photoelectric alarms with a hush button (Amazon search) ↗
- 9-volt batteries (Amazon search) ↗
Check that a replacement matches your existing power type (battery or hardwired) and, if you want them linked, that it’s compatible with your other alarms.
- Floor sketch with S marks: every bedroom, outside each sleeping area, every level.
- C marks: each level and outside sleeping areas (basement or attic only if someone sleeps there).
- Each smoke alarm on the ceiling (4 in. from the wall) or 4 to 12 in. below it.
- At least 10 ft from the stove and 3 ft from bathroom doors and air registers.
- CO alarms clear of heating vents, furniture and curtains; not in the kitchen.
- Manufacture date photographed for every alarm; replace-by dates written down.
- Any smoke alarm 10 or more years old, or with no readable date, replaced.
- Every alarm tested; 9-volt and backup batteries on a yearly schedule.
- Monthly test reminder set; next replacement date on the calendar.
How do I know how old my smoke alarm is?
Take it off its mounting base and look for the date of manufacture on the back. USFA says to replace it 10 years from that date. If the label is missing or you can’t read it, the South Carolina State Fire Marshal’s guidance is to replace the alarm.
Does a CO alarm need to be low on the wall?
Not necessarily. CPSC says CO alarms can plug into an outlet or be mounted high on the wall, and that the alarm’s own instructions should be followed. The more important points are the location (each level and outside sleeping areas) and keeping it away from heating vents and anything that could cover it.
Sources: U.S. Fire Administration, Smoke Alarms · CPSC, CO Alarms · CPSC, Carbon Monoxide Fact Sheet · South Carolina State Fire Marshal, Smoke Alarms (PDF). General guidance; follow your alarms’ instructions and your local code.
Keep reading
More guides for your space
THE KINDRED JOURNAL
Latest from the journal
- Window Condensation in Winter: Find Which Side the Water Is On, Then Match Humidity to the Forecast
 Do the wipe test to tell room-side fog from a failed seal, check a hygrometer against the outdoor low, keep humidity at or under 40% above 20°F and 30% below 10°F, run the fans, open the curtains by day and dry wet sills the same morning: a window condensation guide with a worked cold-week example.
- How to Clean a Range Hood Filter Before Holiday Cooking: Know Your Filter Type, Then Put It on the Calendar
 Wash metal mesh and baffle filters in hot soapy water or the dishwasher, replace charcoal filters instead of rinsing them, never run the hood with the filter out, and clean the weekend before Thanksgiving and again before Christmas: a range hood filter guide with a worked holiday cleaning calendar.
- Drying Clothes Indoors in Winter: Where the Rack Goes, How Much Rail You Need and What It Saves
 One load gives off about 2 liters of water as it air-dries, so put the rack where that moisture can leave, keep it 3 feet from the space heater, count inches of rail before you buy, space and turn the heavy things, watch humidity and window condensation, and know what the dryer you’re skipping really costs: indoor drying with the math.
- Hat, Glove and Scarf Storage by the Door: One Bin Per Person, Sized to What They Actually Wear
 Keep a daily set plus one dry spare per person, size an open bin for each from a quick measurement, dry wet mittens before they go in, clip pairs together, hang woven scarves and fold knits, skip long scarves on the playground and wash wool before it’s sealed away: a hat and glove station with a worked bin-size example.
- Guest Room That Doubles as Storage: Pick the Bed by Floor Space, Keep the Window Clear
 Count the nights the room really hosts, compare bed footprints before comfort, put storage on one wall behind a curtain, keep the window and door clear, leave guests half the closet and one drawer, and pack a single guest bin: a storage room that turns into a guest room in fifteen minutes, with a worked 10 by 11 foot example.
- Dining Room Storage for Holiday Hosting: Measure the Walkway First, Then Fit the Sideboard
 Measure the table with the leaf in, leave 44 inches where people walk and 32 where nobody passes, subtract the sideboard’s depth before you buy, anchor the hutch and give the leaf, extra chairs and holiday linens a home: dining room storage planned for the biggest night of the year, with a worked placement example.
- Winter Car Emergency Kit: 12 Things to Pack and Where Each One Should Ride
 Start from the National Weather Service list, put the heavy gear in one strapped-down trunk bin, keep the blanket, light and charger in the cabin and the scraper in the door, and know the stranded-car basics: twelve ideas for a winter car kit that stays packed until February.
- Smoke and CO Alarms: A One-Hour Audit of Where They Go, How Old They Are and What to Replace
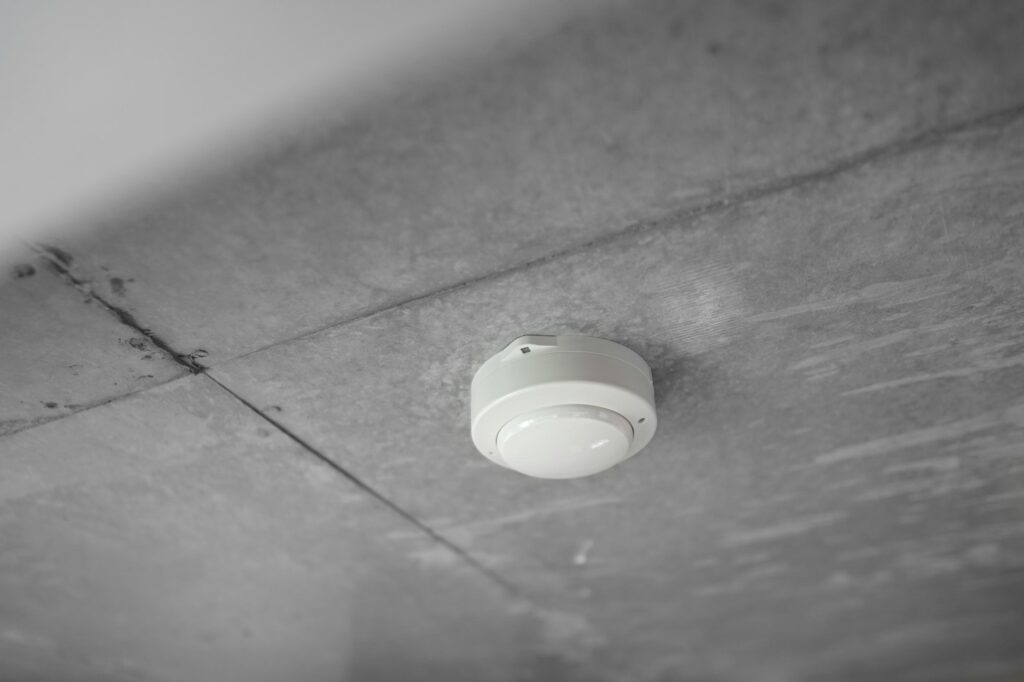 Put a smoke alarm in every bedroom, outside each sleeping area and on every level, add CO alarms outside sleeping areas, keep them 10 feet from the stove, read the date on the back and replace anything 10 years old: a one-hour alarm audit, with a worked two-story example.
- Winter Home Maintenance Checklist: Do the Safety Jobs First, Then the Water, Then the Savings
 Book the furnace and chimney check, clear 3 feet around every heat source, mark the outdoor vents before snow buries them, work out how many gallons each downspout carries and extend the heavy ones: a winter maintenance checklist sorted by what happens if you skip it.