Most winter maintenance lists run to forty items with no hint of which ones matter. That’s how people end up polishing the storm door while a furnace vent sits under a snowdrift. This checklist sorts the jobs by what happens if you skip them: first the ones that can hurt someone, then the ones that flood or freeze the house, and last the ones that only cost money. Do the first tier before the next cold snap, the second before the first big storm, and fit the third in when you can.
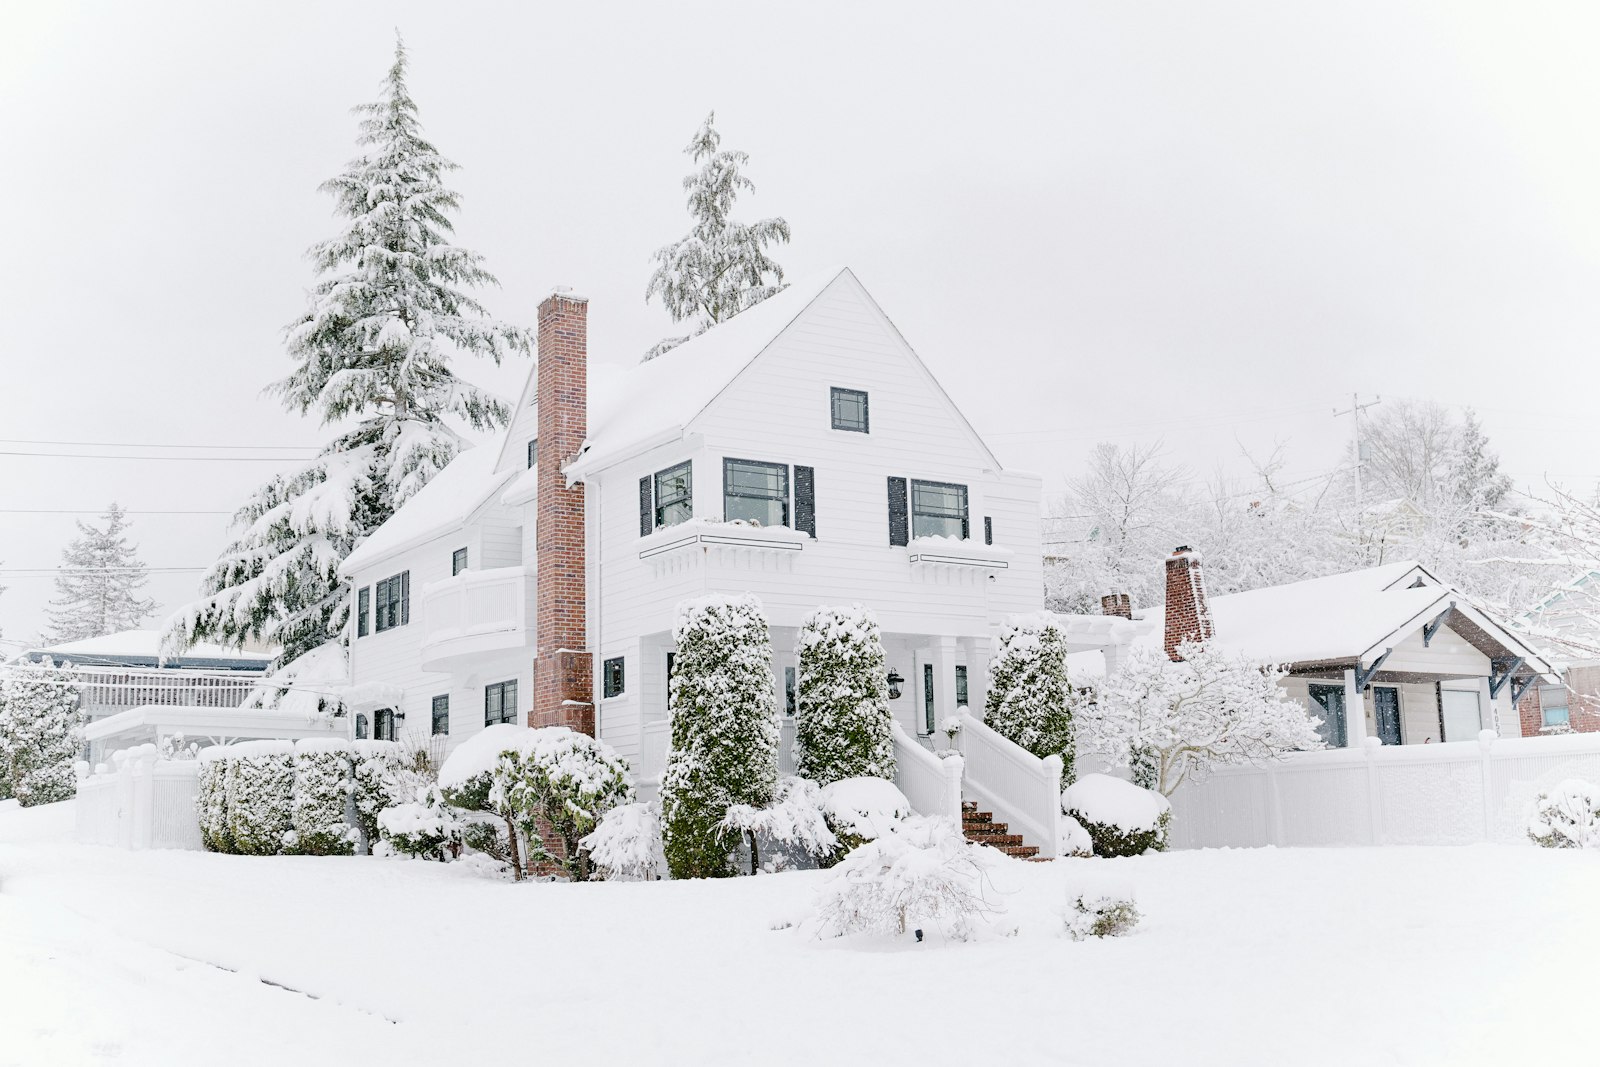
Book the furnace and chimney check now, before contractors get busy, and keep a 3-foot clear zone around every heat source. Test smoke and CO alarms, find the outdoor vents for your furnace and water heater so you can keep them clear of snow, and decide where a generator would run (outside, 20 feet from the house) before you need one. Then work out how much water each downspout carries, extend the ones that dump next to the foundation, and finish with the money jobs: a monthly filter check and sealing the obvious drafts.
How to use this list
Each job below has a rough time estimate so you can plan a weekend. Those are our estimates for a typical single-family house, not figures from the sources; a two-story home with a lot of gutter runs will take longer. If you rent, skip anything structural and send the landlord a short list instead (the furnace service, the gutters and any vent you can’t reach are usually theirs).
Try it if you want one list that covers the whole house and tells you where to start. Skip it if you’ve already had a pro do a full fall service and you only need the storage side; our winter-ready garage guide covers shovels, salt and where the summer gear goes.
Tier 1: the jobs that keep people safe
The National Fire Protection Association (NFPA) notes that about half of home heating fires are reported in December, January and February. The jobs in this tier deal with fire and carbon monoxide, so they come first even though none of them is glamorous.
1. Book the heating and chimney check (10 minutes to book)
NFPA’s heating safety sheet says heating equipment and chimneys should be cleaned and inspected every year by a qualified professional. ENERGY STAR adds a practical reason to call now: contractors get busy once the season turns, so the heating system is best checked in the fall. A heating check-up should cover the gas or oil connections, gas pressure, burner combustion and the heat exchanger; ENERGY STAR notes that a dirty burner or a cracked heat exchanger can make the equipment run less safely. If your furnace is already making odd noises or cycling on and off, our furnace warning signs list tells you what to mention when you call.
2. Clear a 3-foot zone around every heat source (20 minutes)
NFPA’s rule is simple: keep anything that can burn at least 3 feet from the furnace, fireplace, wood stove or space heater. Winter is when storage creeps into that zone: holiday bins stacked next to the furnace, a laundry basket parked by the water heater closet, a throw left on the hearth. Walk the house with a tape measure once. In the utility room, a strip of floor tape at 3 feet makes the boundary obvious to everyone who stores things there.
3. Test the smoke and CO alarms (15 minutes)
The Consumer Product Safety Commission (CPSC) says to test smoke and CO alarms monthly and replace batteries if needed, and to install battery-operated alarms or alarms with battery backup on each level and outside separate sleeping areas. Smoke alarms also belong inside each bedroom. Press each test button and listen; any alarm that’s silent, weak or chirping gets a new battery or a replacement today, not after the holidays.
4. Find your outdoor vents before the snow does (15 minutes)
A high-efficiency furnace or a water heater often vents out the side wall through plastic pipes, and those pipes can sit low enough for a drift to cover. CPSC advises clearing snow away from the outside vents for fuel-burning appliances such as furnaces so carbon monoxide doesn’t build up inside. Find every one now, while you can see them, and mark it: a garden stake with a strip of reflective tape next to each pipe tells whoever is shoveling where to dig after a storm.
Skip it if your heat is all-electric (baseboard or an all-electric heat pump) and you have no gas water heater; there’s nothing burning, so there’s no flue to clear. Check the dryer vent anyway, which is a lint and fire issue rather than a CO one; our dryer vent guide shows what a blocked one looks like.
5. Decide where a generator would go, before the outage (15 minutes)
CPSC says an average of about 100 people die in the U.S. each year from carbon monoxide poisoning from portable generators. Its rules: run a portable generator outside only, at least 20 feet from the house, never in the garage, basement or shed, and not on a porch or in a carport, which is still too close. Point the exhaust away from the house and anywhere people can go in. Pace out 20 feet from the wall now, in daylight, and check whether your extension cord reaches; a storm at night is the wrong time to discover it doesn’t. CPSC also suggests looking for portable generators with a CO shut-off feature if you’re buying one.
Tier 2: the jobs that keep water outside
Freezing and flooding are what turn a cold month into an insurance claim. Our frozen pipe guide covers hoses, faucets and the main shutoff in detail, so this tier focuses on the part people forget: where the roof’s water actually goes.
6. Clean the gutters and check every elbow (1 to 3 hours)
Oklahoma State University Extension recommends cleaning gutters at least twice a year, more often under trees, keeping every elbow and bend clear, checking for holes and gaps, and adding hangers where a gutter has started to sag. Late fall, after the leaves are down, is the cleaning that matters most for winter. Work from a stable ladder with someone nearby, and leave two-story gutters to a pro if you’re not comfortable at that height.
7. Work out how much water each downspout carries
Here’s the number most people never see. One inch of rain is one-twelfth of a foot of water, so every square foot of roof sheds 1/12 of a cubic foot, and at 7.48 gallons per cubic foot that’s about 0.623 gallons per square foot per inch of rain. Multiply that by the roof area draining to each downspout and you know how much water is landing at its foot. Measure the house footprint (the roof’s slope doesn’t change the answer, since rain falls straight down), then split it by which gutter runs feed which downspout.
| Downspout | Roof area it drains | Gallons per 1 in. of rain | Gallons in a 1.5 in. storm | Lawn area to receive it (10%) |
|---|---|---|---|---|
| Front left | 300 sq ft | 300 × 0.623 = 187 | 187 × 1.5 = 280 | 30 sq ft |
| Front right | 300 sq ft | 187 | 280 | 30 sq ft |
| Back | 600 sq ft | 600 × 0.623 = 374 | 374 × 1.5 = 561 | 60 sq ft |
| Whole roof | 1,200 sq ft | 748 | 1,121 | 120 sq ft |
The back downspout is the one to worry about: it carries twice the water of either front one, about 374 gallons for every inch of rain, and a 1.5-inch storm sends roughly 560 gallons to a single spot. If that spot is the corner of a basement wall, that’s where the damp patch or the winter seep will show up. (Figures are rounded to the nearest gallon; the unrounded total for the 1.5-inch storm is 1,121.4.)
8. Extend the downspouts that dump at the wall (30 minutes each)
OSU Extension’s guidance for downspouts is to drain away from the foundation, at least 6 feet from basement walls and at least 2 feet from a crawl space, onto a lawn or bed that slopes away, and to keep each downspout to no more than 1,000 square feet of roof. It also recommends a receiving area of at least 10 percent of the roof area it drains, which is where the last column of the table comes from: the back downspout needs about 60 square feet of lawn, roughly an 8 × 8 foot patch. A plain extension with a splash block at the end usually does it. Keep the end off driveways and sidewalks, where the water can freeze into a slick patch overnight.
Try it if you have a basement or see water marks low on a foundation wall. Skip it if your downspouts already run into a buried drain line that you know flows; just check that the inlet isn’t packed with leaves.
Tier 3: the jobs that only cost money if you skip them
9. Check the furnace filter monthly (5 minutes)
ENERGY STAR lists filter care as the one job to do yourself: inspect, clean or change it once a month during heavy use, since a dirty filter raises energy costs and can damage the equipment. Write the filter size on the furnace cabinet in marker and keep two spares on a shelf nearby, so the monthly check ends in a swap instead of a store run.
10. Seal the drafts you can feel (1 to 2 hours)
Weatherstripping a door that rattles in the wind and caulking around a window trim gap are cheap jobs with quick payback. Our guide to where your home loses heat walks through the attic hatch, the rim joist and seven other spots to check with a candle or an incense stick.
11. Set the thermostat schedule (10 minutes)
ENERGY STAR’s check-up list starts with thermostat settings that keep you comfortable at home and save energy while you’re away. If you have a programmable model and never set the schedule, this is the week; the default program is rarely the one you live by.
A one-weekend plan
Saturday morning: book the furnace and chimney visit, clear the 3-foot zones, test the alarms and mark the outdoor vents (about an hour all told). Saturday afternoon: gutters and the downspout math. Sunday: buy and fit the extensions, pace out the generator spot, check the filter and seal the worst draft. Anything left over goes on next weekend’s list, but tier 1 shouldn’t wait. While you’re in the garage, pack the car too; our winter car emergency kit lists what to carry and where it should ride.
Affiliate disclosure: As an Amazon Associate I earn from qualifying purchases. The links below are Amazon searches, not specific products we’ve tested or recommend over others.
- Downspout extensions and splash blocks (Amazon search) ↗
- Reflective marker stakes for vents (Amazon search) ↗
- CO alarms with battery backup (Amazon search) ↗
- Gutter scoops (Amazon search) ↗
- Door weatherstripping (Amazon search) ↗
Match furnace filters to the size printed on your current filter’s frame, and look for a testing-lab listing on any alarm.
- Furnace and chimney inspection booked with a qualified pro.
- Nothing that can burn within 3 feet of the furnace, fireplace, stove or heaters.
- Smoke and CO alarms tested; dead or chirping units fixed today.
- Every outdoor appliance vent found and marked so it can be kept clear of snow.
- Generator spot paced out: outside, 20 feet from the house, exhaust pointed away.
- Gutters cleaned; elbows clear; sagging runs re-hung.
- Gallons per downspout worked out; the heaviest ones extended at least 6 feet from basement walls.
- Hoses off, outdoor faucets drained, main water shutoff located.
- Furnace filter size written on the cabinet, two spares on hand, monthly check on the calendar.
- Worst drafts sealed; thermostat schedule set.
When should I do winter home maintenance?
Book the heating inspection in early fall if you can, since ENERGY STAR notes contractors get busy once the season arrives. Clean gutters after most leaves have fallen, which for many areas is November. Alarm tests and filter checks then repeat monthly through the season.
Do I need to clear snow from my furnace vent?
If your furnace or water heater vents out the side of the house, yes. CPSC advises clearing snow from outside vents for fuel-burning appliances so carbon monoxide can’t build up inside. Check them after every heavy snowfall or drift, not just at the start of winter.
How far should a downspout extension reach?
Oklahoma State University Extension recommends draining at least 6 feet from basement walls and 2 feet from a crawl space, onto ground that slopes away from the house and not onto a driveway or sidewalk. Local rules can differ, so check with your city if you’re disconnecting a downspout from a sewer line.
Sources: NFPA, Heating Safety tip sheet · CPSC, winter storm carbon monoxide and fire safety tips (Dec. 2025) · ENERGY STAR, Maintenance Checklist · Oklahoma State University Extension, Disconnecting Residential Downspouts. General guidance; follow your equipment makers’ instructions and local codes.

Keep reading
More guides for your space
THE KINDRED JOURNAL
Latest from the journal
- Toy Storage Ideas: 13 Ways to Make Room Before the Holiday Toy Wave
 Edit the toys before the gifts arrive, give each kind of play one open bin on an anchored low shelf, keep small parts and spare batteries out of a toddler’s reach, skip latching lids and rotate the extras: thirteen toy storage ideas for the weeks before and after the holidays.
- Best Gift Wrap Organizers: 5 Picks for a Closet Corner, Under the Bed or the Back of a Door
 An upright box that holds up to 32 long rolls, a 41.5-inch under-bed bag for big collections, a water-resistant zip bag, an over-the-door organizer and a slim canvas case for eight rolls: five gift wrap organizers matched to the space you can give them.
- Cord and Cable Storage: 13 Ideas for the Spare Chargers, Cables and Adapters Nobody Can Find
 Match every cable to a device you still own, keep a sensible number of spares by connector type, coil them loosely, label the mystery bricks, hang the extension cords and send old batteries and dead cables to a proper drop-off: thirteen ways to store spare cords so the right one turns up in seconds.
- Window Condensation in Winter: Find Which Side the Water Is On, Then Match Humidity to the Forecast
 Do the wipe test to tell room-side fog from a failed seal, check a hygrometer against the outdoor low, keep humidity at or under 40% above 20°F and 30% below 10°F, run the fans, open the curtains by day and dry wet sills the same morning: a window condensation guide with a worked cold-week example.
- How to Clean a Range Hood Filter Before Holiday Cooking: Know Your Filter Type, Then Put It on the Calendar
 Wash metal mesh and baffle filters in hot soapy water or the dishwasher, replace charcoal filters instead of rinsing them, never run the hood with the filter out, and clean the weekend before Thanksgiving and again before Christmas: a range hood filter guide with a worked holiday cleaning calendar.
- Drying Clothes Indoors in Winter: Where the Rack Goes, How Much Rail You Need and What It Saves
 One load gives off about 2 liters of water as it air-dries, so put the rack where that moisture can leave, keep it 3 feet from the space heater, count inches of rail before you buy, space and turn the heavy things, watch humidity and window condensation, and know what the dryer you’re skipping really costs: indoor drying with the math.
- Hat, Glove and Scarf Storage by the Door: One Bin Per Person, Sized to What They Actually Wear
 Keep a daily set plus one dry spare per person, size an open bin for each from a quick measurement, dry wet mittens before they go in, clip pairs together, hang woven scarves and fold knits, skip long scarves on the playground and wash wool before it’s sealed away: a hat and glove station with a worked bin-size example.
- Guest Room That Doubles as Storage: Pick the Bed by Floor Space, Keep the Window Clear
 Count the nights the room really hosts, compare bed footprints before comfort, put storage on one wall behind a curtain, keep the window and door clear, leave guests half the closet and one drawer, and pack a single guest bin: a storage room that turns into a guest room in fifteen minutes, with a worked 10 by 11 foot example.
- Dining Room Storage for Holiday Hosting: Measure the Walkway First, Then Fit the Sideboard
 Measure the table with the leaf in, leave 44 inches where people walk and 32 where nobody passes, subtract the sideboard’s depth before you buy, anchor the hutch and give the leaf, extra chairs and holiday linens a home: dining room storage planned for the biggest night of the year, with a worked placement example.