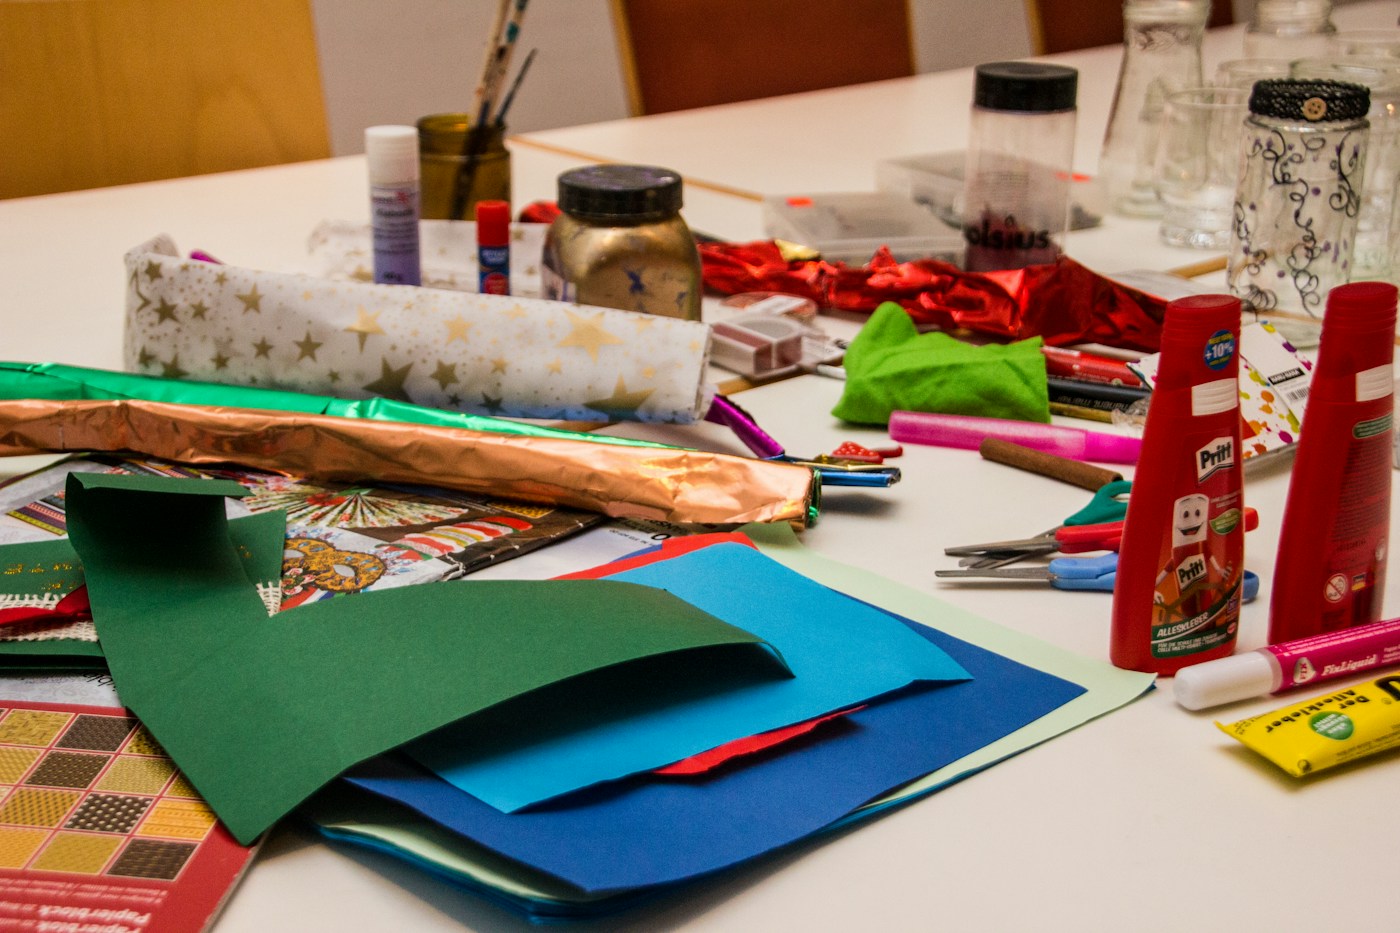
The most common craft-storage mistake is buying the organizer first. A wall of matching drawers looks great on day one, then the cardstock doesn’t fit, the yarn gets crushed and the hot glue gun ends up back on the counter. Craft supplies come in wildly different shapes, so the storage has to follow the supplies, not the other way around. With holiday cards, ornaments and gift tags coming up, here are thirteen ideas to get your supplies sorted so a project takes ten minutes to set up, not an hour to dig out.
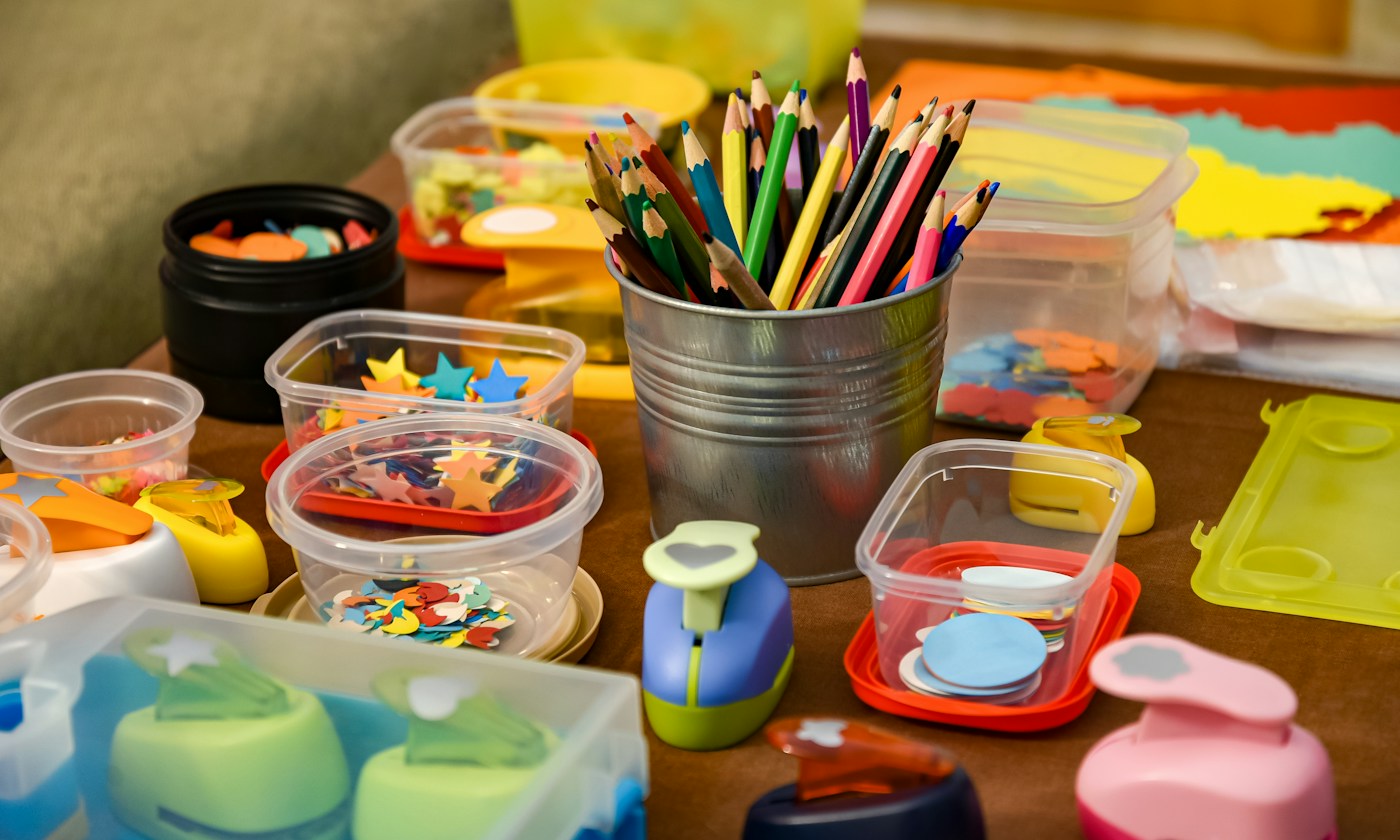
Pull everything into one spot, sort it into what you actually make, and only then measure for storage. Paper lies flat or stands upright in a file, yarn goes in something that breathes, messy supplies get lids, and anything small enough to swallow lives above toddler reach. Keep a separate “this season” bin so holiday projects aren’t scattered across the house.
Sort before you store
1. Gather it all, then sort by project, not by material
Craft supplies tend to live in five places at once: a drawer of ribbon, a closet shelf of paper, a bag of yarn under the bed. Bring it all to one table first. Then sort by what you make, such as cards, knitting, kids’ crafts, sewing, rather than by type. A card-making bin with its own scissors, glue and stamps is far quicker to use than a “scissors drawer” across the room.
Try it if you keep buying duplicates of tape or glue because you can’t find the ones you have.
2. Edit with one honest question
For each item, ask: will I use this in the next year? Dried-out markers, glue that’s turned thick or stringy, and a half-finished project you no longer like can go. Donate usable leftovers; schools, libraries and senior centers often take craft supplies, but call first to ask what they need.
3. Measure your biggest flat item before buying anything
Scrapbook paper is typically 12 by 12 inches, and standard letter-size cardstock is 8½ by 11. Those two numbers decide most of your storage: a drawer or bin needs a little more than that inside, not outside, or the edges curl and bend. Check the interior dimensions on any organizer, and measure the shelf or closet it’s going into. Every space is different, so measure yours.
Paper, fabric and yarn
4. Stand paper upright in a file box or magazine holder
Stacked paper gets heavy, and the sheet you want is always at the bottom. Standing it upright in a file box, a 12 x 12 paper holder or sturdy magazine holders lets you flip through by color like files. Keep heavier cardstock in its own holder so it doesn’t slump.
Skip it if the paper is thin tissue or vellum; those crease standing up and do better flat in a shallow drawer.
5. Fold fabric to one size, like a shop
Fabric stores fold bolts and cuts to the same width so they line up. Do the same at home: fold each piece around a ruler or a stiff piece of cardboard to one width, then stand them in a bin or on a shelf so every color shows. Small scraps go in a single bag labeled by size.
6. Give yarn a basket or a bin with air
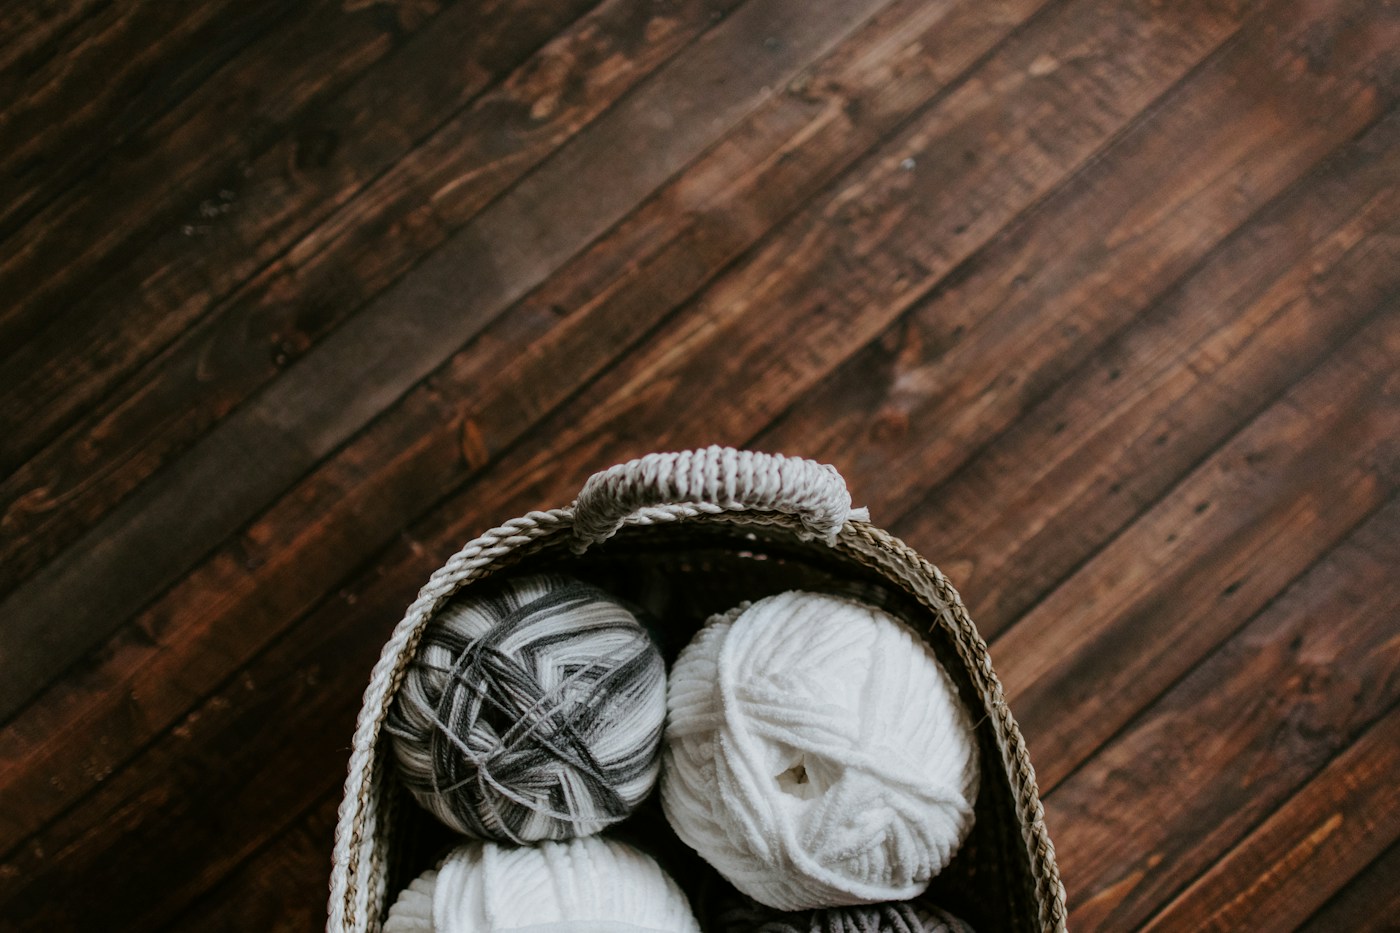
Yarn holds its shape better when it isn’t squashed, and a woven basket or a bin with some air flow keeps it from feeling musty. If you store wool long term, keep it clean and sealed away from clothes moths, the same way you’d store seasonal sweaters. Keep the label with each skein (a rubber band works) so you can match the dye lot later.
7. Ribbon and washi tape on a rod or dowel
Spools roll and unwind in a drawer. Slide them onto a tension rod in a cabinet, a dowel set across a bin, or a paper towel holder, and pull off what you need. Our gift wrap storage ideas cover the same trick for the wrapping station.
Tools, paint and the messy stuff
8. Stand brushes, pens and markers in cups
Store brushes bristle-up once they’re fully dry, so the tips keep their shape. Markers often last longer stored flat or tip-down depending on the type, so check the package. A row of jars or a spinning caddy on the table keeps the daily colors in reach.

9. Lidded bins for glitter, glue and paint
Anything that spills, sheds or dries out gets a lid. One bin for glitter and sequins, one for glue and adhesives, one for craft paint. Follow each product’s label for storage temperature, and keep them out of a garage that freezes or bakes. Our guide to storing leftover paint explains why temperature matters for paint in general.
10. A tackle box or bead organizer for the tiny pieces
Buttons, beads, brads and charms belong in a divided case with latching lids, one compartment per type. Turn it upside down in the store, or shake it gently at home, to make sure the dividers reach the lid; if they don’t, the pieces mix the first time you tip it.
Where it all lives
11. Use a closet or a cabinet you can close
Craft supplies are visually busy. A closet with a few adjustable shelves, a rolling cart that tucks into a corner, or a tall cabinet you can shut keeps the room calm. Put the heaviest bins on the lowest shelf, and anchor any tall cabinet or bookcase to the wall, especially in a home with children. Our small home office storage guide has more on fitting supplies around a desk.
Try it if your craft space doubles as a guest room or home office.
12. Label every bin, on the end you see
Opaque bins look tidier but hide what’s inside. Label the end that faces you, not the lid, so you can read it on the shelf. A label maker makes this fast; see our label maker comparison. Picture labels help kids put things back.
13. Pack a “this season” project bin
Between now and New Year’s, put everything for holiday projects into one bin: cardstock for cards, ornament blanks, gift tags, the glue gun and its sticks, ribbon offcuts. Pull it out, make the thing, put the lid back on. When January comes, sort what’s left into your main bins and pack the bin away with the decorations.
| Supply | Store it | Watch out for |
|---|---|---|
| Scrapbook paper, cardstock | Upright in a file box or holder sized for 12 x 12 or letter size | Bent corners in containers that are too small |
| Tissue, vellum | Flat in a shallow drawer | Creasing when stood up |
| Yarn | Basket or bin with some air | Moths in long-stored wool; crushed skeins |
| Fabric | Folded to one width, standing in a bin | Sun fading on open shelves |
| Glitter, glue, paint | Lidded bins, one per type | Heat and freezing; follow the label |
| Beads, buttons | Latching divided case, up high | Choking hazard for children under 3 |
- Everything gathered to one table.
- Sorted by project, not by material.
- Dried-out and unwanted supplies removed.
- Biggest flat item measured before buying storage.
- Small parts in latched cases above toddler reach.
- Bins labeled on the end that faces out.
- One holiday project bin packed.
Storage to compare
Affiliate disclosure: As an Amazon Associate I earn from qualifying purchases. These are Amazon searches for the types of storage in this guide, not recommendations for a specific model. Check interior dimensions before you buy.
If the overflow is in a kitchen drawer rather than a craft closet, our junk drawer guide covers the scissors-and-tape problem from the other side.
Questions
What’s the best way to store craft supplies in a small space?
A rolling cart or a few lidded bins in a closet. Sort by project so you only pull out one bin at a time, and use the back of a closet door for flat items like stencils.
Clear bins or opaque bins?
Clear bins help when you need to see colors at a glance; opaque bins look calmer on open shelves. Either way, a label on the front saves opening every lid.
Should yarn go in sealed bins?
For yarn you’re using, an open basket is fine. For long-term storage, especially wool, clean, sealed containers help keep moths out.
Sources: U.S. Consumer Product Safety Commission, Small Parts: What Parents Need to Know. General guidance; follow the storage directions on each product’s label.
Keep reading
More guides for your space
THE KINDRED JOURNAL
Latest from the journal
- Ideal Indoor Humidity in Winter: Find Your Number, Check Your Meter, Then Add Only What the Room Needs
 Aim for 30 to 50% and never humidify past 50%, let the windows set the limit on the coldest nights, salt-test your hygrometer before you trust it, seal drafts first because a whole bedroom needs only about 4½ ounces of water, and clean the tank on a schedule: a winter humidity guide with the math worked out.
- Toy Storage Ideas: 13 Ways to Make Room Before the Holiday Toy Wave
 Edit the toys before the gifts arrive, give each kind of play one open bin on an anchored low shelf, keep small parts and spare batteries out of a toddler’s reach, skip latching lids and rotate the extras: thirteen toy storage ideas for the weeks before and after the holidays.
- Best Gift Wrap Organizers: 5 Picks for a Closet Corner, Under the Bed or the Back of a Door
 An upright box that holds up to 32 long rolls, a 41.5-inch under-bed bag for big collections, a water-resistant zip bag, an over-the-door organizer and a slim canvas case for eight rolls: five gift wrap organizers matched to the space you can give them.
- Cord and Cable Storage: 13 Ideas for the Spare Chargers, Cables and Adapters Nobody Can Find
 Match every cable to a device you still own, keep a sensible number of spares by connector type, coil them loosely, label the mystery bricks, hang the extension cords and send old batteries and dead cables to a proper drop-off: thirteen ways to store spare cords so the right one turns up in seconds.
- Window Condensation in Winter: Find Which Side the Water Is On, Then Match Humidity to the Forecast
 Do the wipe test to tell room-side fog from a failed seal, check a hygrometer against the outdoor low, keep humidity at or under 40% above 20°F and 30% below 10°F, run the fans, open the curtains by day and dry wet sills the same morning: a window condensation guide with a worked cold-week example.
- How to Clean a Range Hood Filter Before Holiday Cooking: Know Your Filter Type, Then Put It on the Calendar
 Wash metal mesh and baffle filters in hot soapy water or the dishwasher, replace charcoal filters instead of rinsing them, never run the hood with the filter out, and clean the weekend before Thanksgiving and again before Christmas: a range hood filter guide with a worked holiday cleaning calendar.
- Drying Clothes Indoors in Winter: Where the Rack Goes, How Much Rail You Need and What It Saves
 One load gives off about 2 liters of water as it air-dries, so put the rack where that moisture can leave, keep it 3 feet from the space heater, count inches of rail before you buy, space and turn the heavy things, watch humidity and window condensation, and know what the dryer you’re skipping really costs: indoor drying with the math.
- Hat, Glove and Scarf Storage by the Door: One Bin Per Person, Sized to What They Actually Wear
 Keep a daily set plus one dry spare per person, size an open bin for each from a quick measurement, dry wet mittens before they go in, clip pairs together, hang woven scarves and fold knits, skip long scarves on the playground and wash wool before it’s sealed away: a hat and glove station with a worked bin-size example.
- Guest Room That Doubles as Storage: Pick the Bed by Floor Space, Keep the Window Clear
 Count the nights the room really hosts, compare bed footprints before comfort, put storage on one wall behind a curtain, keep the window and door clear, leave guests half the closet and one drawer, and pack a single guest bin: a storage room that turns into a guest room in fifteen minutes, with a worked 10 by 11 foot example.