It’s Thanksgiving morning. The turkey needs somewhere to rest, the pie needs somewhere to cool, someone is chopping celery, and the only clear spot on the counter is the 10 inches between the toaster and a stack of mail. Most kitchens don’t run out of counter on the big day because they’re small. They run out because the counter has quietly turned into storage. These thirteen ideas get it back, starting with how much clear space you actually need and where it should be.
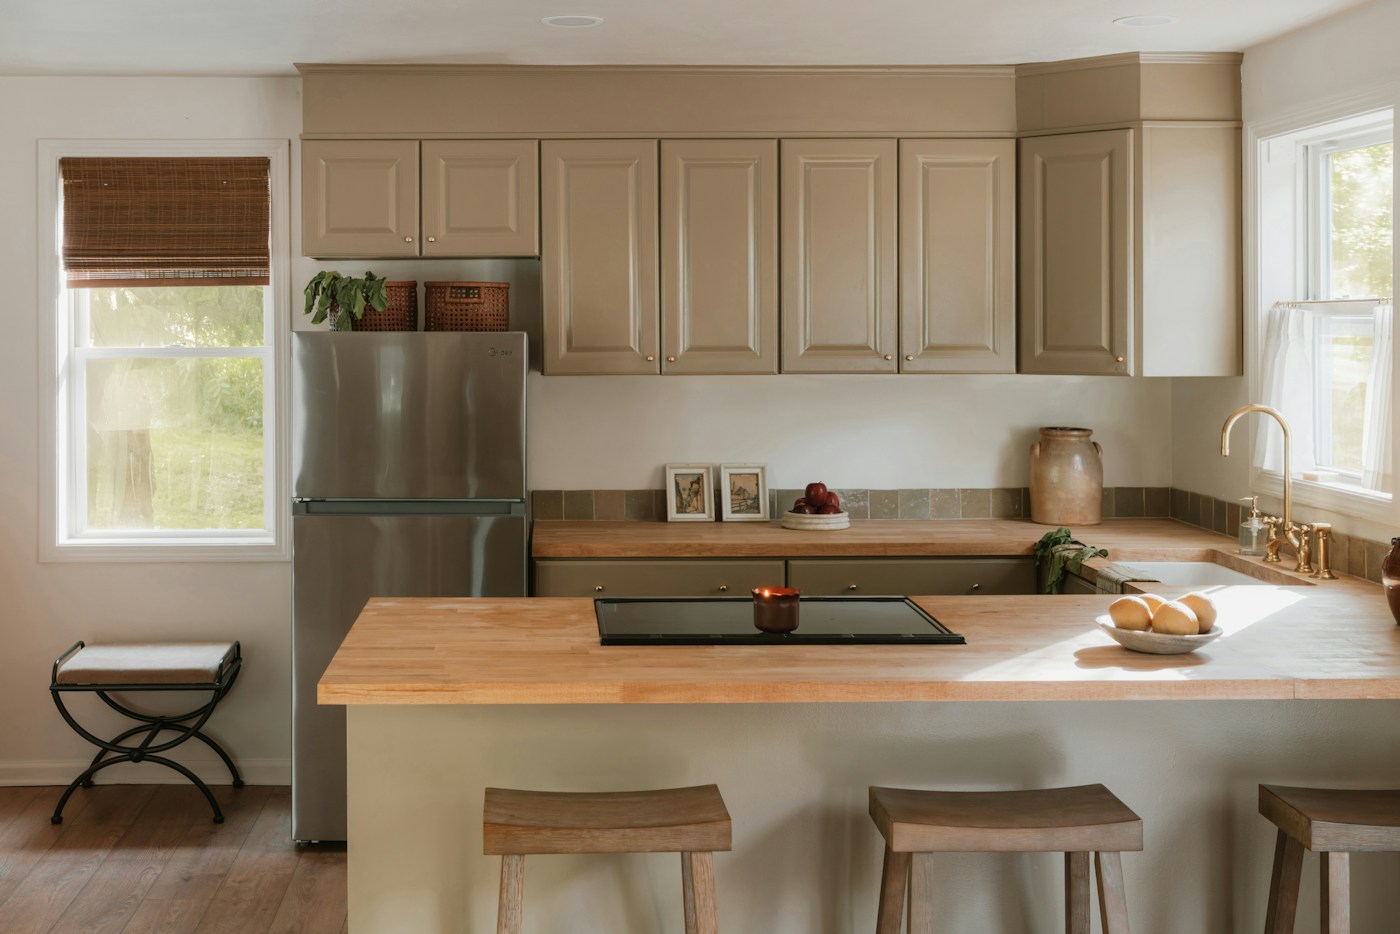
Clear the counter completely, then put back only what you use every day. Protect one continuous prep stretch and a landing spot beside the fridge, stove and microwave. Keep anything that can burn away from the cooktop and anything that plugs in away from the sink. Move occasional appliances into a cabinet, edit the utensil crock, and give the mail, the fruit and the dish rack new homes. The week of the holiday, plan a separate spot for raw turkey and a separate spot for finished dishes.
Start with the space you need
1. Do the everything-off test
Take every single thing off the counter and put it on the dining table. Then put back only what you used in the last few days: usually the coffee maker, a utensil crock, dish soap and maybe a knife block. Everything else needs a reason to come back. This is the fastest way to see how much of the counter was holding things you don’t touch.
Try it if you can’t remember what color your counter is in the corners.
2. Protect one prep stretch about 3 feet wide
The National Kitchen & Bath Association’s planning guidelines call for at least one continuous section of countertop 36 inches wide and 24 inches deep for prep. That’s a good target for the stretch you keep clear no matter what. In many kitchens it’s the run between the sink and the stove, since that’s where food gets washed, cut and carried to the pan. Measure yours with a tape and put a small piece of painter’s tape at each end for a week so everyone sees the line.
Skip it if your whole counter is shorter than that; then the island, a cart or the dining table becomes the prep stretch on cooking days (see idea 12).
3. Keep landing spots by the fridge, stove and microwave
A landing spot is the clear patch where you set something down the second it comes out: a gallon of milk, a hot sheet pan, a bowl from the microwave. Designers plan for them because carrying hot or heavy things across the kitchen is where spills happen. Here are the NKBA’s planning figures; use them as targets and measure what you have.
| Next to | NKBA planning guideline | What to keep off it |
|---|---|---|
| Refrigerator | 15 in on the handle side (or within 48 in across from it) | Fruit bowl, mail, chargers |
| Cooktop | 12 in on one side, 15 in on the other | Towels, paper, wooden tools, food packaging |
| Microwave | 15 in above, below or beside the handle side | The bread box, small appliances |
| Sink | 24 in on one side, 18 in on the other | Plug-in appliances, the dish rack all day |
| Prep area | 36 in wide × 24 in deep, continuous | Anything not used to cook |
Few existing kitchens hit every number, and that’s fine. The point is to know which spots matter most, so when you do have to store something on the counter, it goes in a corner instead of a landing zone.
Make the cooking zone safer
4. Clear anything that can burn away from the stovetop
The U.S. Fire Administration says to keep anything that can catch fire away from the stovetop, and lists paper towels, oven mitts, wooden utensils, food packaging, towels and curtains. The Electrical Safety Foundation International (ESFI) says the same about towels, napkins and pot holders. That rules out the popular setup of a paper towel holder and a crock of wooden spoons right beside the burners. Move the paper towels to the sink side and keep the utensil crock a step away, not touching the cooktop’s edge.
The USFA also recommends a 3-foot kid-free zone around the stove, which is worth planning for when cousins are underfoot. A clear floor and counter around the range makes that zone easier to keep.
5. Keep plug-in appliances away from the sink
ESFI’s kitchen advice: keep appliances away from the sink, keep their cords away from hot surfaces like the range and the toaster, and plug countertop appliances into GFCI-protected outlets (the ones with test and reset buttons), testing them monthly. If your coffee maker lives right beside the faucet because that’s where the outlet is, check whether another outlet on the counter would work. Never use an appliance that has gotten wet.
Move the things that don’t need to be out
6. Give occasional appliances a cabinet
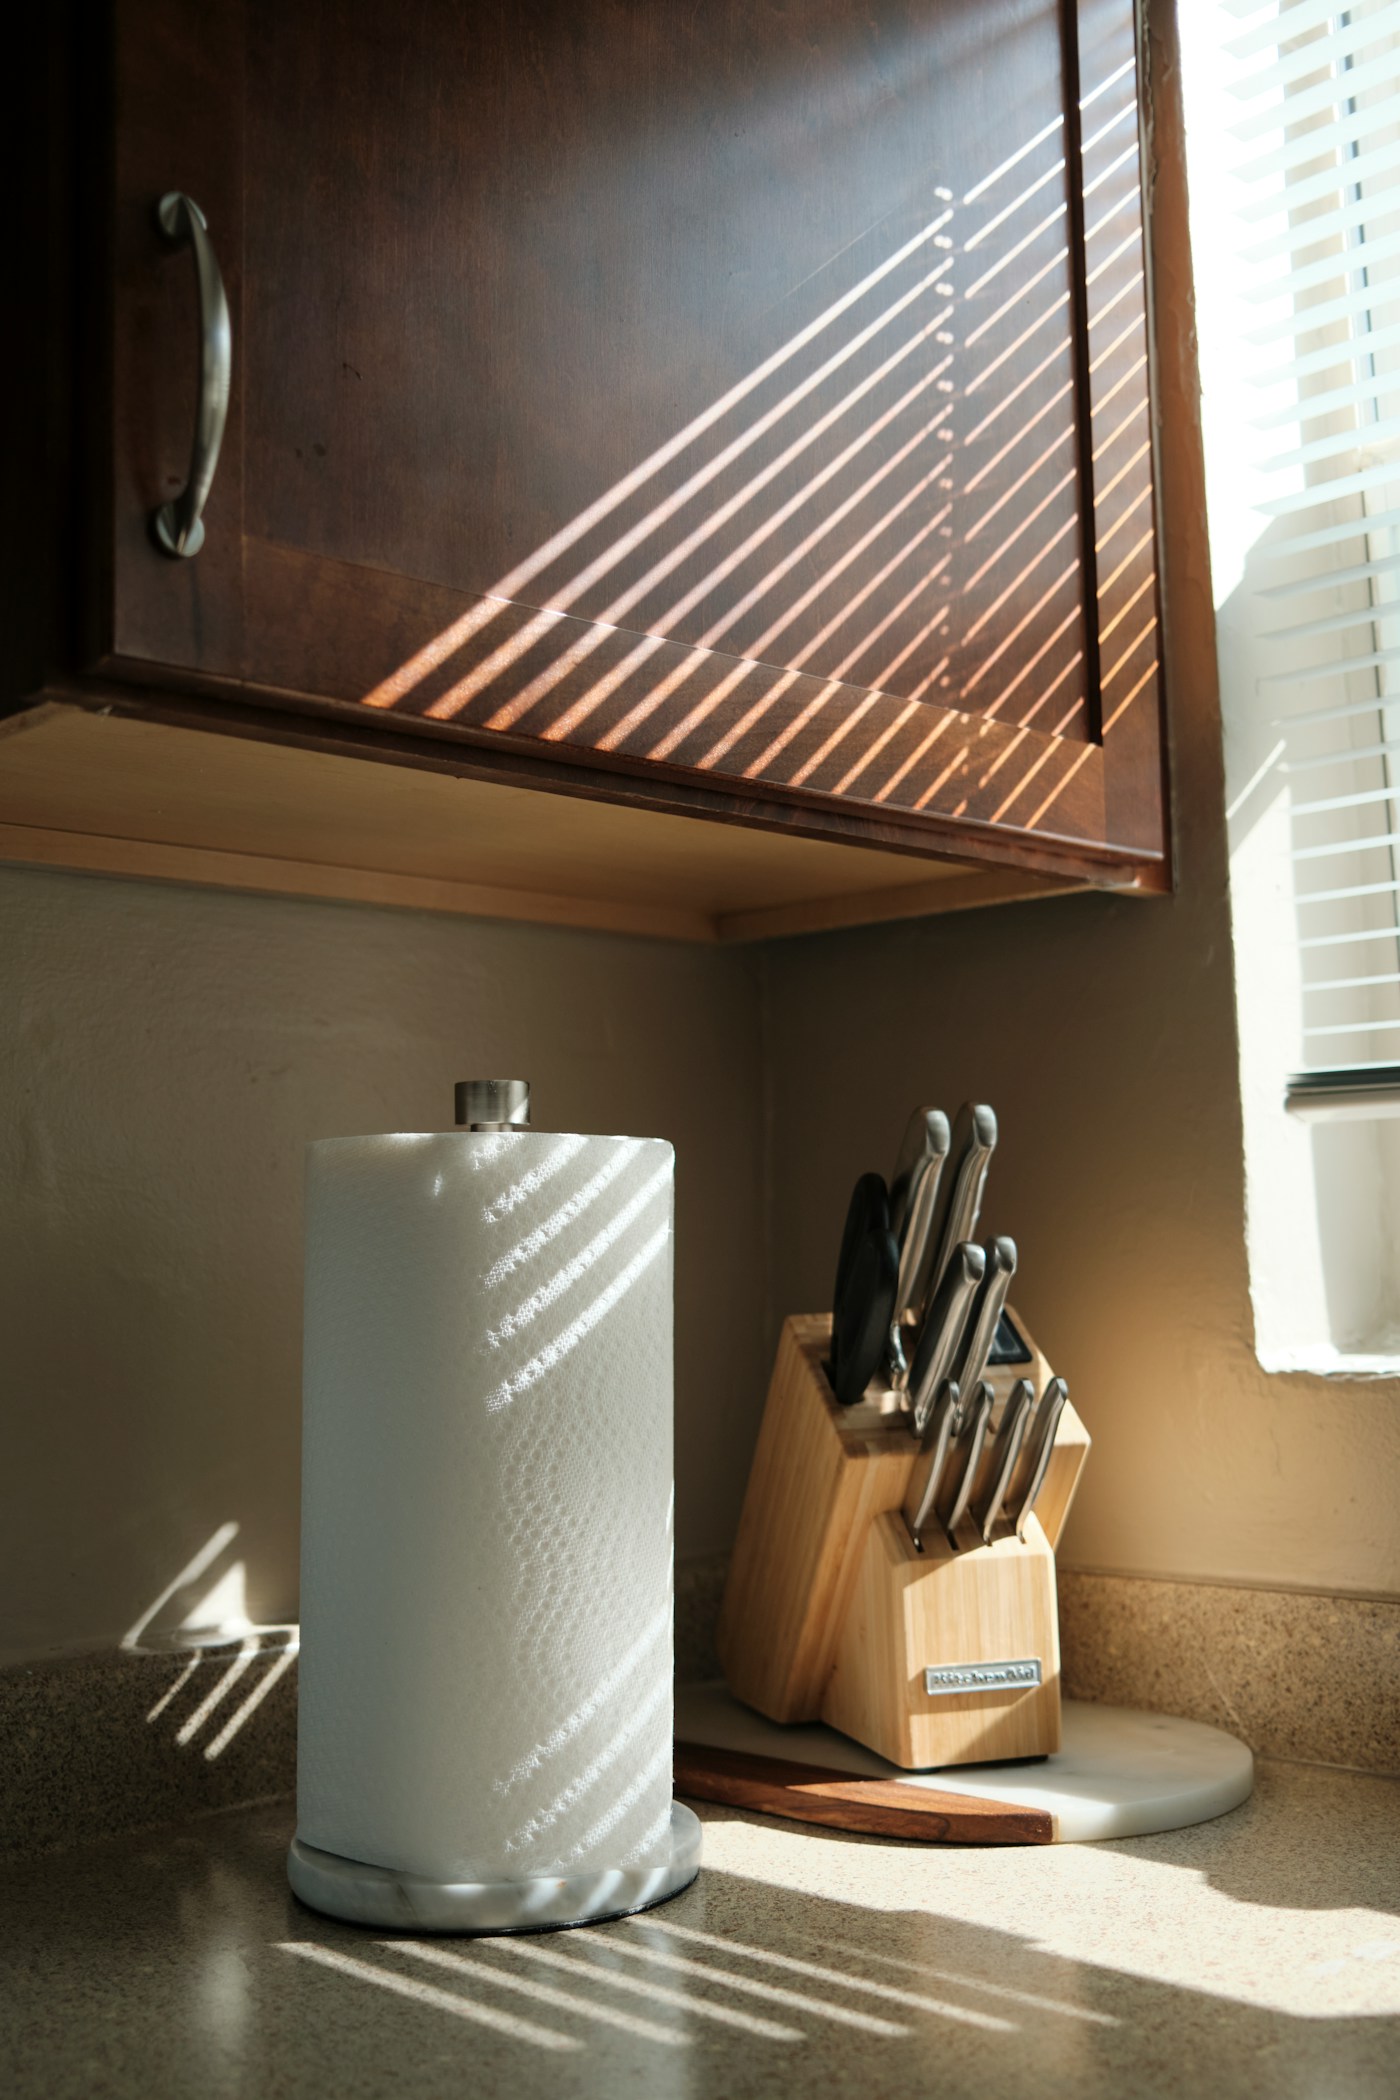
A useful rule: an appliance earns counter space if you use it most days. The toaster in a toast-every-morning house qualifies; the stand mixer that comes out four times a year, the slow cooker and the air fryer you use on weekends usually don’t. Store heavy ones in a low cabinet near where you use them, so you’re never lifting a mixer down from over your head. ESFI also suggests unplugging the toaster and other countertop appliances when they’re not in use, which is easier when fewer of them live out.
For the baking gear that comes out in December, our baking supplies reset sets up one zone near the mixer.
Skip it if lifting a heavy appliance is hard for you; then a spot on the counter, at the back of a corner, is the safer choice.
7. Edit the utensil crock to the tools you reach for
Dump the crock out. Most cooks reach for a spatula, a wooden spoon, tongs, a ladle, a whisk and a slotted spoon, and not much more. Put those back and move duplicates and specialty tools into a drawer. A crock that isn’t jammed full is also easier to grab from one-handed while something’s on the burner. Our drawer-by-drawer kitchen plan has a home for what you take out.
8. Get the knives off the counter
A countertop knife block takes up a corner and usually holds more knives than anyone uses. A magnetic strip on the wall or the side of a cabinet frees that space; screw it into a stud or use the anchors it comes with, and mount it well above where kids can reach. An in-drawer knife tray is another option if you’d rather keep blades out of sight.
Skip it if you rent and can’t drill. Then keep the block and edit it to the knives you actually use.
9. Corral oils and salt on one tray
Cooking oils, salt, pepper and the one spice you use daily tend to drift across the counter. A small tray or a turntable gathers them so the whole group lifts off in one move when you wipe down. Keep it near the stove but not on top of the range or touching the cooktop. Oils last longer away from heat anyway.
10. Move the fruit bowl up or into the corner
A wide fruit bowl in the middle of the counter can eat a whole landing spot. Move it into a back corner, switch to a two-tier stand that holds the same fruit on half the footprint, or hang a basket. Bananas and anything you want to ripen stay out; much of the rest of the produce in many kitchens can go into the crisper drawer.
11. Send the mail and the chargers somewhere else
Paper and phones are the most common things on a kitchen counter that have nothing to do with cooking. Give mail one sorter on the wall or by the door, and give phones a charging spot away from the sink and stove (our family charging station ideas cover where to put one). Our family command center ideas cover both, including a slot for holiday paperwork.
Set up for the big cooking day
12. Add a temporary surface, away from the stove
On Thanksgiving, even a well-edited counter is short. Plan where the overflow goes before the day: a rolling cart for drinks and serving tools, a folding table near the dining room for desserts and cooled sides, or the dining table itself until dinner. Put the overflow outside the path between the fridge, sink and stove so nobody is reaching across hot pans. If you’ll set up a drink station, guests stay out of the kitchen too.
Try it if you’re hosting more than six people or the kitchen has one long counter.
13. Give raw turkey its own corner, then clean it
USDA’s Thanksgiving guidance is the reason to think about where raw poultry goes. Use one cutting board for raw meat and poultry and a separate one for fruits and vegetables, and clean and sanitize counters, sinks and anything else raw turkey or its juices touch, before and after cooking. USDA also advises against washing raw poultry, because it splashes bacteria around the sink. In practice, pick the counter corner nearest the sink for raw prep, keep the salad and bread on the other side, and wipe the corner down before it gets used for anything else.
Once dinner is done, USDA says to refrigerate perishable food within two hours. A clear fridge helps; our Thanksgiving fridge countdown plans that from the week before, and the leftover container picks help with the packing.
What about the dish rack?
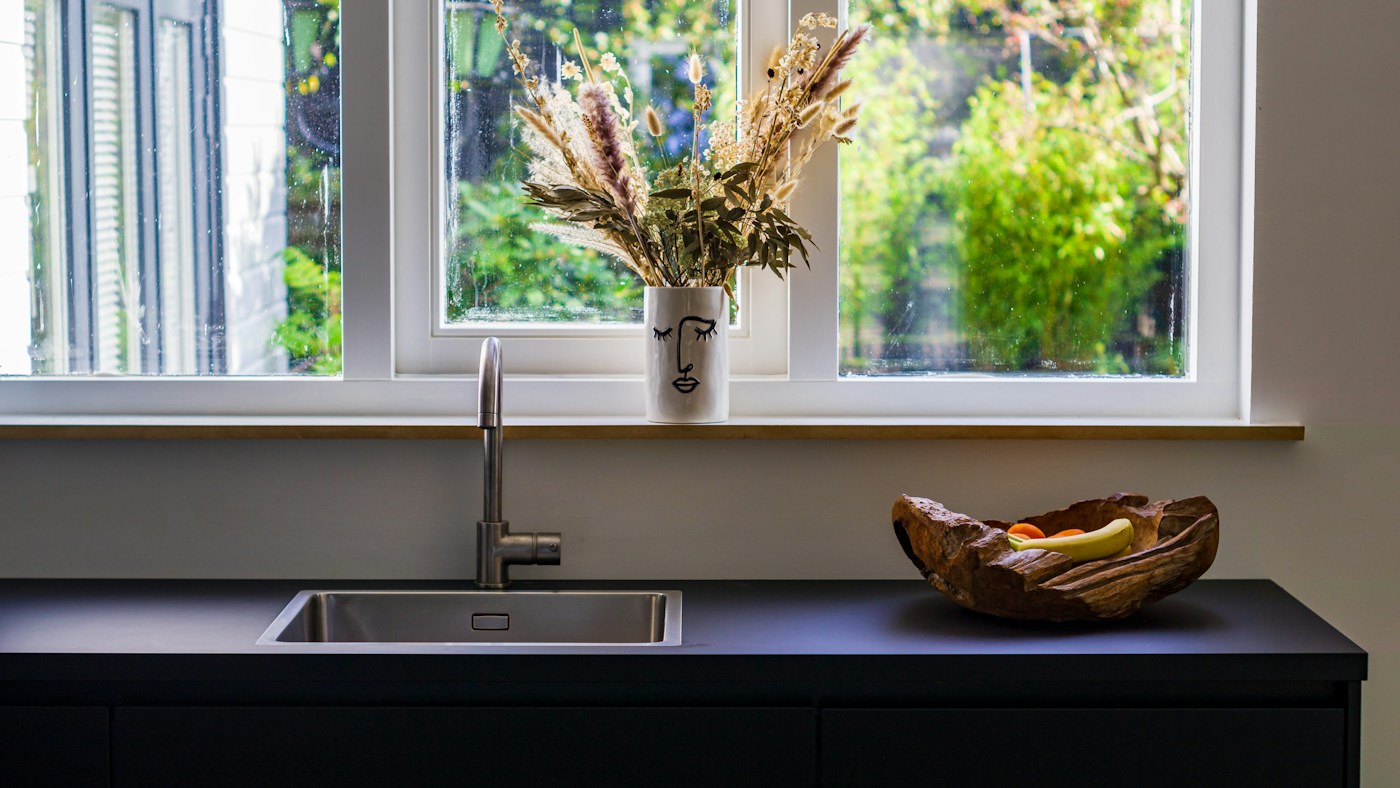
A full-size dish rack can take a third of a small counter, all day. Three ways out: run the dishwasher and empty it before you start cooking, so dirty dishes go straight in; use a roll-up rack that sits over the sink and rolls away when dry; or keep a folding rack under the sink and bring it out only for hand-wash items. On the holiday, start with an empty dishwasher and an empty sink. It’s the simplest counter space you’ll get all day.
Affiliate disclosure: As an Amazon Associate I earn from qualifying purchases. The links below are Amazon searches, not specific products we’ve tested or recommend over others.
- Wall-mounted magnetic knife strip (Amazon search) ↗
- Roll-up over-the-sink drying rack (Amazon search) ↗
- Two-tier fruit stand (Amazon search) ↗
- Countertop turntable for oils and salt (Amazon search) ↗
- Three-tier rolling kitchen cart (Amazon search) ↗
Measure the space first, and check that a knife strip’s mounting hardware suits your wall.
- Prep stretch cleared and wiped; nothing on it that isn’t for cooking.
- Landing spots open beside the fridge, cooktop and microwave.
- Towels, paper towels and wooden tools moved away from the burners.
- Plug-in appliances away from the sink; ones you won’t use unplugged and put away.
- Two cutting boards out: one for raw turkey, one for everything else.
- Sanitizing wipes or spray by the raw-prep corner.
- Dishwasher empty, sink empty, dish rack put away.
- Overflow table or cart set up outside the cooking path.
- Room cleared in the fridge for leftovers.
My kitchen has almost no counter. Where do I prep?
Make one surface the prep stretch and keep it completely clear, even if it’s short. A rolling cart, a sturdy cutting board over a clear table, or the dining table can add space on cooking days. Keep any temporary surface out of the path to the stove.
Sources: NKBA, Kitchen Planning Guidelines · U.S. Fire Administration, Cooking Fire Safety · ESFI, Cooking Up Safety in the Kitchen · USDA, Stay Food Safe this Thanksgiving Holiday. General guidance; follow your appliance manuals and local codes.

Keep reading
More guides for your space
THE KINDRED JOURNAL
Latest from the journal
- What Holiday Lights Really Cost to Run: LED vs. Incandescent, With the Math for Your Own Display
 Read the watts off each tag, multiply by your hours and your own rate, and the answer is clear: eight incandescent strings cost about $25.70 a season in our worked example and their LED versions about $2.18, big C9 bulbs pay back an LED swap in about three seasons, and working mini lights can wait.
- Ideal Indoor Humidity in Winter: Find Your Number, Check Your Meter, Then Add Only What the Room Needs
 Aim for 30 to 50% and never humidify past 50%, let the windows set the limit on the coldest nights, salt-test your hygrometer before you trust it, seal drafts first because a whole bedroom needs only about 4½ ounces of water, and clean the tank on a schedule: a winter humidity guide with the math worked out.
- Toy Storage Ideas: 13 Ways to Make Room Before the Holiday Toy Wave
 Edit the toys before the gifts arrive, give each kind of play one open bin on an anchored low shelf, keep small parts and spare batteries out of a toddler’s reach, skip latching lids and rotate the extras: thirteen toy storage ideas for the weeks before and after the holidays.
- Best Gift Wrap Organizers: 5 Picks for a Closet Corner, Under the Bed or the Back of a Door
 An upright box that holds up to 32 long rolls, a 41.5-inch under-bed bag for big collections, a water-resistant zip bag, an over-the-door organizer and a slim canvas case for eight rolls: five gift wrap organizers matched to the space you can give them.
- Cord and Cable Storage: 13 Ideas for the Spare Chargers, Cables and Adapters Nobody Can Find
 Match every cable to a device you still own, keep a sensible number of spares by connector type, coil them loosely, label the mystery bricks, hang the extension cords and send old batteries and dead cables to a proper drop-off: thirteen ways to store spare cords so the right one turns up in seconds.
- Window Condensation in Winter: Find Which Side the Water Is On, Then Match Humidity to the Forecast
 Do the wipe test to tell room-side fog from a failed seal, check a hygrometer against the outdoor low, keep humidity at or under 40% above 20°F and 30% below 10°F, run the fans, open the curtains by day and dry wet sills the same morning: a window condensation guide with a worked cold-week example.
- How to Clean a Range Hood Filter Before Holiday Cooking: Know Your Filter Type, Then Put It on the Calendar
 Wash metal mesh and baffle filters in hot soapy water or the dishwasher, replace charcoal filters instead of rinsing them, never run the hood with the filter out, and clean the weekend before Thanksgiving and again before Christmas: a range hood filter guide with a worked holiday cleaning calendar.
- Drying Clothes Indoors in Winter: Where the Rack Goes, How Much Rail You Need and What It Saves
 One load gives off about 2 liters of water as it air-dries, so put the rack where that moisture can leave, keep it 3 feet from the space heater, count inches of rail before you buy, space and turn the heavy things, watch humidity and window condensation, and know what the dryer you’re skipping really costs: indoor drying with the math.
- Hat, Glove and Scarf Storage by the Door: One Bin Per Person, Sized to What They Actually Wear
 Keep a daily set plus one dry spare per person, size an open bin for each from a quick measurement, dry wet mittens before they go in, clip pairs together, hang woven scarves and fold knits, skip long scarves on the playground and wash wool before it’s sealed away: a hat and glove station with a worked bin-size example.