It’s the Tuesday before Thanksgiving and you’re standing on a chair, pulling a roasting pan out from over the fridge, while the gravy boat could be in any of three cabinets. Serving pieces are hard to store because you use them twice a year, they’re big or breakable, and they always end up in the most awkward spots. The ideas below give them one home, keep the fragile ones safe, and make next year’s hunt take two minutes.
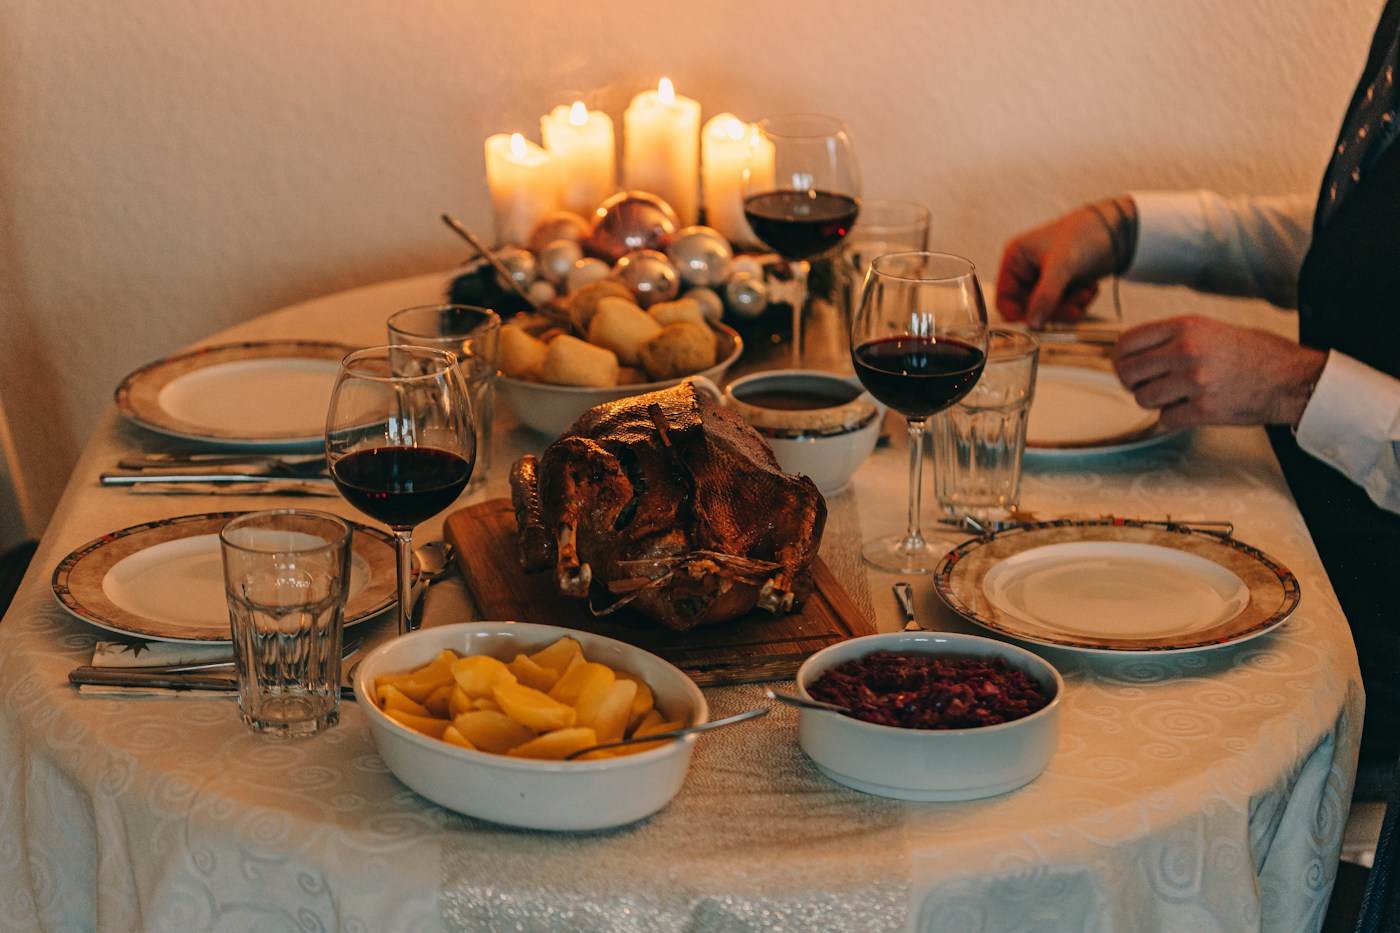
Do ideas 1 and 2 this weekend: they’re free and tell you what you actually have before the holiday. Ideas 3, 5 and 8 make the biggest difference to everyday cabinets. Ideas 9 through 11 are for the pieces that only come out once a year.
Before the holiday
1. Pull everything out and check it against the menu
Set every platter, serving bowl, baker, gravy boat and serving utensil on the dining table. Then write the menu next to it and assign a dish to each item: turkey on the big oval platter, stuffing in the 9×13 baker, potatoes in the deep bowl. Gaps show up right away, and so do the three nearly identical bowls you never use.
Doing this two or three weeks ahead gives you time to borrow, wash or replace something without a last-minute store run. Our Thanksgiving fridge countdown works on the same timeline.
2. Sort by how often you really use each piece
Make three piles. Monthly or more: the bowl you use for salad on Sundays, the everyday 9×13. A few times a year: birthday cake stand, the big pasta bowl. Once a year: the turkey platter, the roaster, the cranberry dish shaped like a leaf. Only the first pile needs prime kitchen space. The rest can live farther away, which frees the shelves you open every day.
Try it if your everyday cabinets are full but half of what’s in them hasn’t moved since last December.
3. Edit before you store
Chipped pieces, a third gravy boat, the platter that doesn’t fit in your oven or on your table: donate or recycle them now. A good test is whether you’d buy the piece again today. If not, it doesn’t need a year of cabinet space.
Everyday cabinets
4. Stand platters on edge
Stacked platters mean lifting four to reach the bottom one. A vertical rack, a tray divider or a heavy-duty file organizer lets you pull out one platter without touching the others. It’s the same trick that works for pans; our pots and pans storage ideas use it for pans and lids.
Measure the inside height of the cabinet first. A 16-inch platter standing on its long edge won’t fit a standard upper cabinet shelf; put it on its short edge or move it to a taller base cabinet.
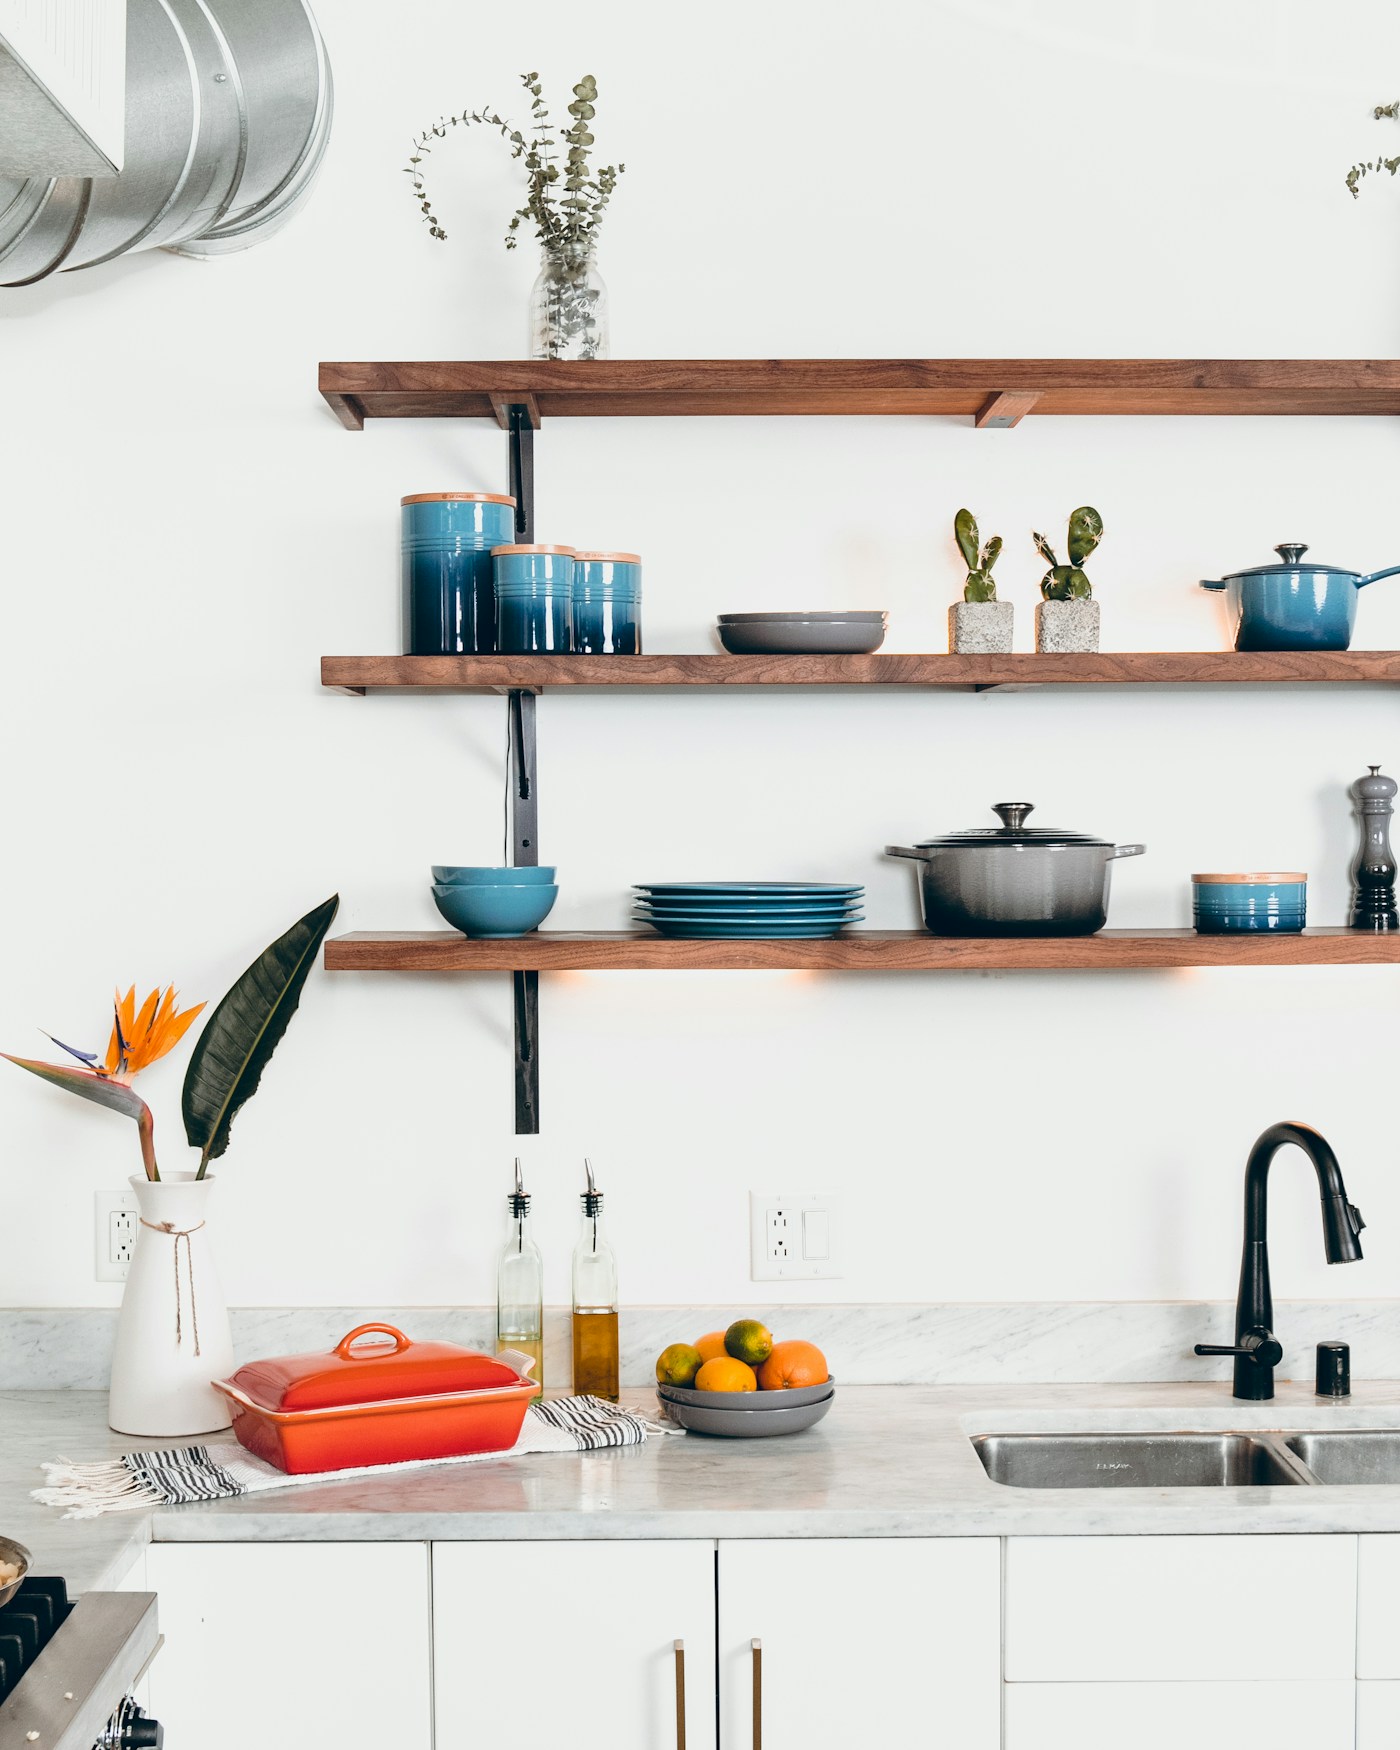
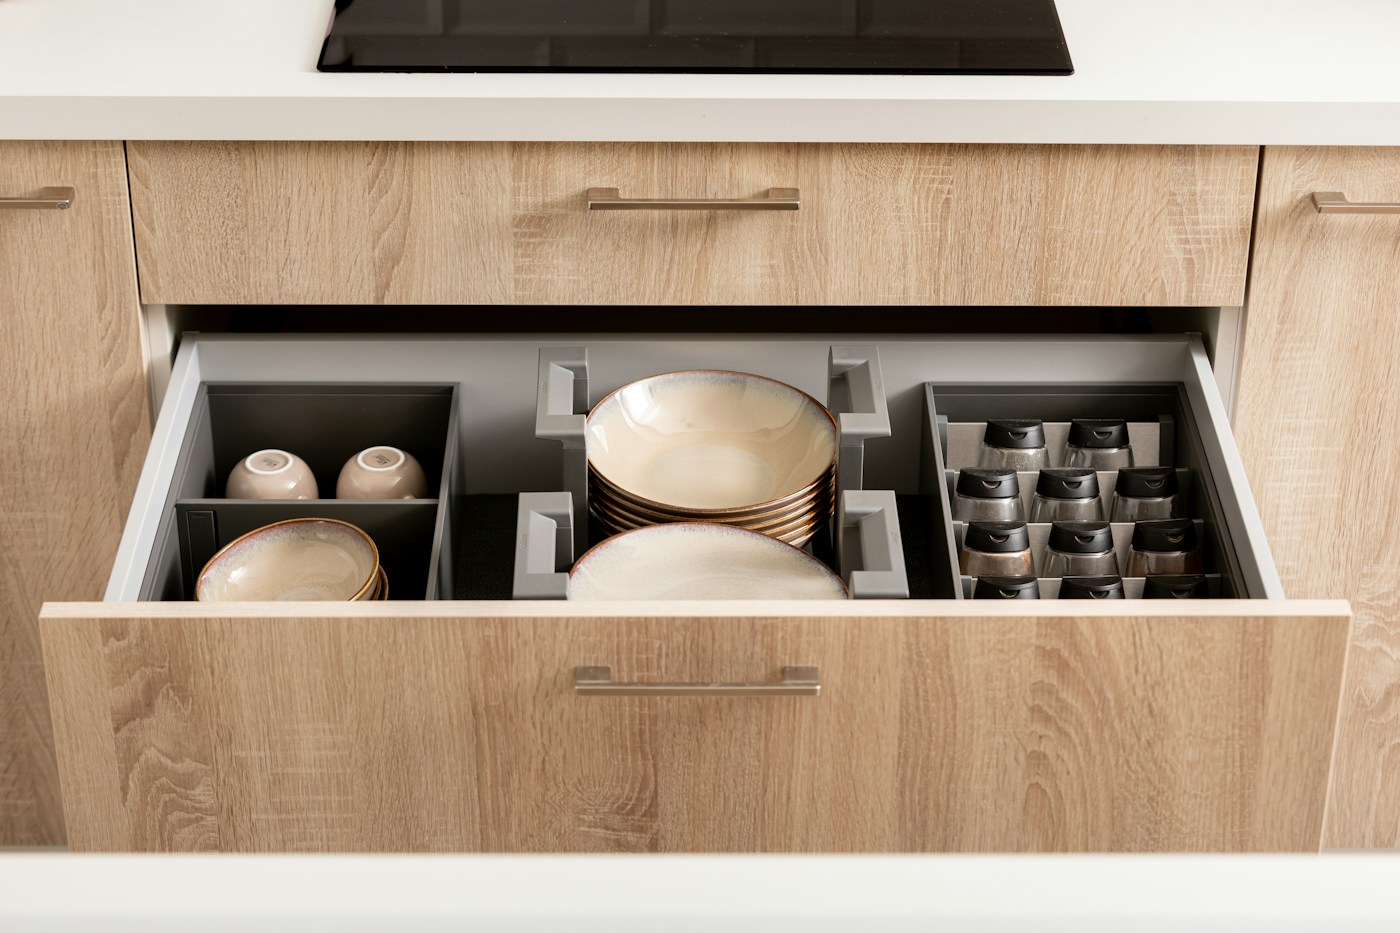
5. Use a deep drawer and pegs for bowls and bakers
Deep base drawers are easier than cabinets for heavy pieces, because the drawer comes out to you instead of you reaching in. A pegboard drawer insert keeps stacks of serving bowls and bakers from sliding when the drawer opens. Measure the drawer’s inside height and depth before ordering; our kitchen drawer guide shows how.
Skip it if your deep drawers already hold pots. Pots you use every day win that spot.
6. Nest bowls with a buffer between them
Nesting saves the most space, but glazed bowls can chip or scratch rim to rim. Put a paper towel, a felt plate divider or a folded dish towel between each one. The same goes for stacked plates you only use for guests.
7. Keep heavy pieces between knee and shoulder height
Cast-iron bakers, stoneware and a loaded roasting pan are the last things you want to lift down from over your head. Keep the heaviest serving pieces on low or middle shelves, and put the lighter ones (a plastic punch bowl, a wicker bread basket) up high. If you need a step stool to reach a shelf, keep it nearby so nobody stands on a chair.
8. Make the blind corner earn its keep
The hard-to-reach back of a corner cabinet is no good for daily dishes but fine for pieces you use a few times a year, if they’re in a handled bin you can pull forward. Our blind corner cabinet guide covers the options, and the deep cabinet guide has the same idea for regular base cabinets.
Once-a-year pieces
9. Turn the roasting pan into a holiday kit
The roaster is big and mostly empty, so use it. Store the rack inside, then add the things that only come out with it: the baster, turkey lifters, kitchen twine, a fat separator and the probe thermometer. When the pan comes out in November, everything else does too.
10. Give small pieces one labeled bin
Gravy boat, butter dish, salt cellars, the cranberry dish, place card holders and a cake server get lost when they’re spread across the kitchen. Put them in one lidded bin labeled “Holiday table” and store it with the platters. A clear bin lets you see what’s inside, and a label on the front saves opening the wrong one.
11. Move them out of the kitchen entirely
Once-a-year pieces don’t have to live in the kitchen. A dining room buffet, the top shelf of a hall or coat closet, or a sturdy shelf in a basement are all options. Wrap fragile pieces and pack them in a lidded tote so they stay clean, and wash them before the holiday anyway. Keep the tote low enough to lift safely when it’s full; dishes add up fast. If space is tight, our small apartment storage ideas have more places to look.
12. Use padded cases for fine china
If you have a wedding set or inherited china that comes out for holidays, zippered padded cases sized for dinner plates, salad plates and cups are worth it. They stack, they keep dust off, and they protect rims. Before washing, check the maker’s care instructions; pieces with metallic trim are often meant to be washed by hand.
13. Store linens and serving utensils with their set
Hang tablecloths on a hanger or roll them around a cardboard tube to avoid deep creases, then store them with the table bin. Keep serving spoons and the carving set in a utensil roll or zip pouch in the same place. Our linen closet guide has more on folding and shelf space.
14. After the holiday, make a “next year” note
When everything’s clean, take a photo of the open cabinet or tote and tape a short note inside the lid: what you borrowed and from whom, what broke, and what you wished you’d had. Next year, step 1 takes five minutes instead of an afternoon.
Where each piece goes
| How often you use it | Where it goes | Examples |
|---|---|---|
| Monthly or more | Main kitchen cabinets, between knee and shoulder | Salad bowl, 9×13 baker |
| A few times a year | Blind corner or deep cabinet, in a handled bin | Cake stand, large pasta bowl |
| Once a year, heavy | Low shelf in the pantry, basement or closet | Roasting pan, stoneware platter |
| Once a year, light or small | Higher shelf, in a labeled bin | Gravy boat, place card holders, bread basket |
| Fine china | Padded cases, dining room or closet | Wedding set, inherited dishes |
- Every serving piece pulled out and matched to the menu.
- Gaps noted and borrowed or bought at least a week ahead.
- Chipped and unused pieces donated.
- Platters standing on edge; bowls nested with buffers.
- Heavy pieces at waist height; a step stool nearby for high shelves.
- Roasting pan packed with its tools.
- Small pieces in one labeled “Holiday table” bin.
- A “next year” note taped inside the lid.
Helpful for serving pieces
Affiliate disclosure: As an Amazon Associate I earn from qualifying purchases. These links open Amazon search results for each type of item, not recommendations for a specific model we’ve tested. Measure your cabinets and drawers before ordering.
Questions
Where should I store a big turkey roasting pan?
A low shelf where you can slide it out without lifting it overhead: a base cabinet, the bottom of a pantry, or a shelf in a closet or basement. Pack the rack and holiday tools inside so it’s one grab in November.
Is it better to stack platters or stand them up?
Standing them on edge in a rack or divider makes each one easy to pull out and avoids lifting a heavy stack. Stack only if the cabinet is too short for them to stand, and put a buffer between each one.
Can serving dishes be stored in the garage?
They can, if they’re in a sealed tote on a shelf, but garages get dusty and some see big temperature swings. An indoor closet or basement shelf is usually a better spot. Wash anything that’s been stored for months before you serve food on it.
Related: Get baking supplies ready for the holidays
Keep reading
More guides for your space
THE KINDRED JOURNAL
Latest from the journal
- What Holiday Lights Really Cost to Run: LED vs. Incandescent, With the Math for Your Own Display
 Read the watts off each tag, multiply by your hours and your own rate, and the answer is clear: eight incandescent strings cost about $25.70 a season in our worked example and their LED versions about $2.18, big C9 bulbs pay back an LED swap in about three seasons, and working mini lights can wait.
- Ideal Indoor Humidity in Winter: Find Your Number, Check Your Meter, Then Add Only What the Room Needs
 Aim for 30 to 50% and never humidify past 50%, let the windows set the limit on the coldest nights, salt-test your hygrometer before you trust it, seal drafts first because a whole bedroom needs only about 4½ ounces of water, and clean the tank on a schedule: a winter humidity guide with the math worked out.
- Toy Storage Ideas: 13 Ways to Make Room Before the Holiday Toy Wave
 Edit the toys before the gifts arrive, give each kind of play one open bin on an anchored low shelf, keep small parts and spare batteries out of a toddler’s reach, skip latching lids and rotate the extras: thirteen toy storage ideas for the weeks before and after the holidays.
- Best Gift Wrap Organizers: 5 Picks for a Closet Corner, Under the Bed or the Back of a Door
 An upright box that holds up to 32 long rolls, a 41.5-inch under-bed bag for big collections, a water-resistant zip bag, an over-the-door organizer and a slim canvas case for eight rolls: five gift wrap organizers matched to the space you can give them.
- Cord and Cable Storage: 13 Ideas for the Spare Chargers, Cables and Adapters Nobody Can Find
 Match every cable to a device you still own, keep a sensible number of spares by connector type, coil them loosely, label the mystery bricks, hang the extension cords and send old batteries and dead cables to a proper drop-off: thirteen ways to store spare cords so the right one turns up in seconds.
- Window Condensation in Winter: Find Which Side the Water Is On, Then Match Humidity to the Forecast
 Do the wipe test to tell room-side fog from a failed seal, check a hygrometer against the outdoor low, keep humidity at or under 40% above 20°F and 30% below 10°F, run the fans, open the curtains by day and dry wet sills the same morning: a window condensation guide with a worked cold-week example.
- How to Clean a Range Hood Filter Before Holiday Cooking: Know Your Filter Type, Then Put It on the Calendar
 Wash metal mesh and baffle filters in hot soapy water or the dishwasher, replace charcoal filters instead of rinsing them, never run the hood with the filter out, and clean the weekend before Thanksgiving and again before Christmas: a range hood filter guide with a worked holiday cleaning calendar.
- Drying Clothes Indoors in Winter: Where the Rack Goes, How Much Rail You Need and What It Saves
 One load gives off about 2 liters of water as it air-dries, so put the rack where that moisture can leave, keep it 3 feet from the space heater, count inches of rail before you buy, space and turn the heavy things, watch humidity and window condensation, and know what the dryer you’re skipping really costs: indoor drying with the math.
- Hat, Glove and Scarf Storage by the Door: One Bin Per Person, Sized to What They Actually Wear
 Keep a daily set plus one dry spare per person, size an open bin for each from a quick measurement, dry wet mittens before they go in, clip pairs together, hang woven scarves and fold knits, skip long scarves on the playground and wash wool before it’s sealed away: a hat and glove station with a worked bin-size example.